When you’ve finished doing your basic color correction to an image in Lightroom you’re ready to look into sharpening the image. In a previous posts I explained the basics of sharpening and how to use the High Pass Filter in Photoshop to sharpen an image. Today I’ll show you how to sharpen in Lightroom.

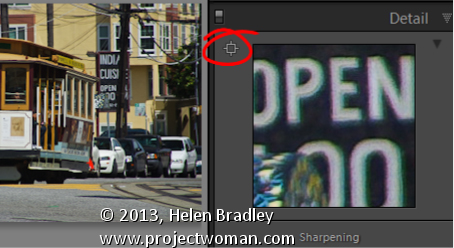
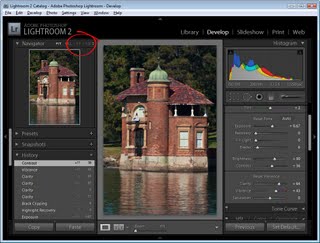
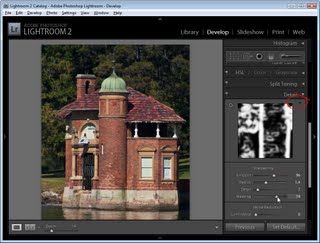
You’ll find the sharpening tools in the Detail area in the Lightroom Develop module. It’s best to work on the image at a 1:1 ratio as this ensures that the sliders that you’ll use can be seen at work on the image. If you aren’t in at least 1:1 view you will have to work from the small preview window. To select 1:1 zoom, click the indicator in the top left of the screen.

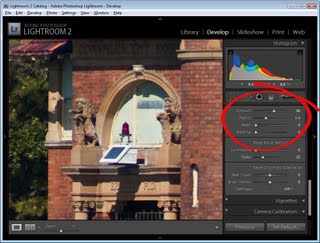
You have four sliders in the sharpening area. Amount controls how much sharpening is applied to the image. This can be considered to be your fine-tuning tool.
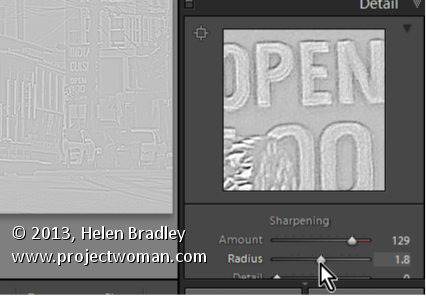
The Radius is one of the key settings to use. The Radius value can be moved between 0.5 and 3. Typically, a good Radius to start sharpening with is around 0.5 to 1 and then adjust it from there if the sharpening is insufficient. Images with large areas that are not very detailed such as portraits, may need larger values for the radius where images with a lot of fine detail may respond better to smaller values.

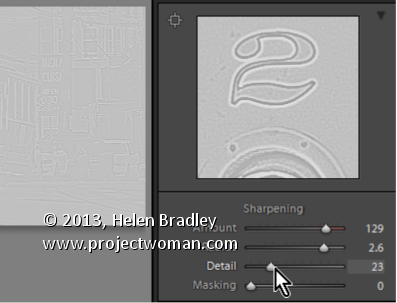
The Detail slider reduces the haloing in the image. The higher the value you use for Detail, the more halos you will see around the edges in the image. The lower the Detail value the less halo effect and the smoother the result.
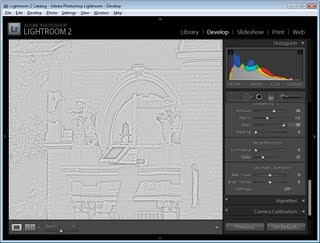
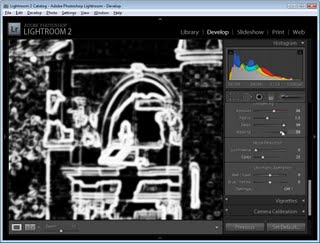
You can see how the slider works when you are viewing a 1:1 preview size. Hold the Alt or Option key as you drag on a slider. The higher the Detail value the more lines you will see in the grayscale preview indicting the sharpening effect on the image.

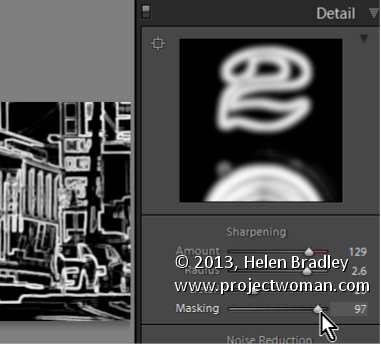
The Masking slider works to mask out areas of smooth color. What it does is to enhance the edges and remove the sharpening effect from areas in the image that have smoother color transitions which you probably don’t want to be sharpened.
Again, you can hold the Alt key as you work with the slider. The slider values range from 0 – 100. At zero, everything in the image is sharpened and at 100 only the edges are sharpened. In the preview, the white areas are those being sharpened and those that are black will not be sharpened.

If you aren’t using 1:1 view you will need the preview window to be visible so you can see the results when using the Masking and Detail preview options. To view this, click the arrow in the top right corner of the Detail area.

When you’re starting out learning how to sharpen it can be difficult to see just what effect the sharpening is having on the image. If you press the backslash key you’ll return to the unedited image rather than to the image as it was before you started sharpening it.
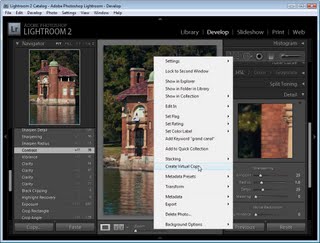
This is a time where virtual copies can be useful. Wind back the history to just before you started sharpening the image. Right click the image and choose Create Virtual Copy. This creates a virtual copy of the image whose starting history is the current view of the image after your initial fixes have been made.

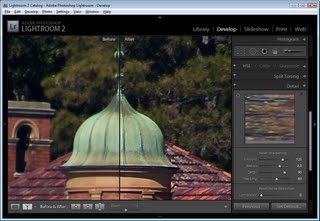
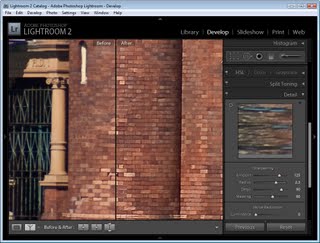
Now when you sharpen the image and use the Before and After settings you can see the change that the sharpening is applying to the image because that’s the only change to the virtual copy that you are editing.
Typically, if you are displaying images on the web you want to sharpen the image so that what you’re seeing on the screen is what you want to see when the image is on the web. On the other hand, for printing you generally apply heavier sharpening to the image as some of this will be lost in the printing process.
Helen Bradley


