Monday, April 30th, 2012

Save an Excel Chart as a Picture

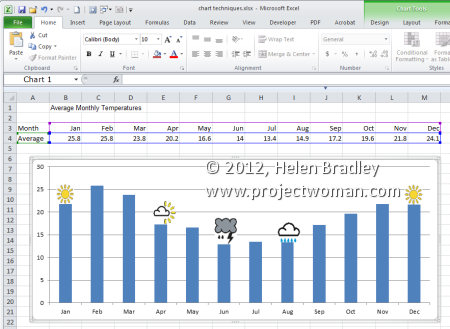
You can save a chart as a picture from inside Excel so you can use it elsewhere such as in a report or on the web.

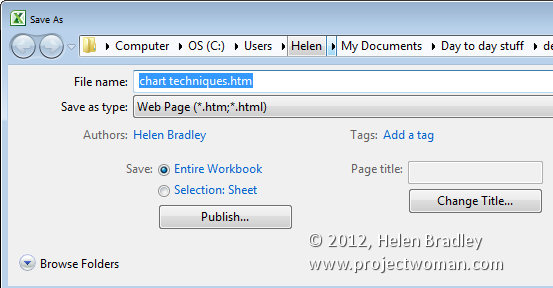
To do this you will use a workaround and the simplest way to do it is to size the chart on the worksheet so it is a good size. Choose File > Save As, select the location to save the file in and from the Save As Type dropdown list choose Web Page (*.htm;*.html), type a name and click Save.

This converts the worksheet to an html file and because html files cannot contain images the chart is saved as a separate png image file and linked to the html file.

You can find your chart in the folder that you saved the html file into. So, if your file was called sales.htm then the images will be in a folder called sales_files. Of course, you’ll also need to save your Excel worksheet if you want to save the data and chart to work on in Excel in future.

Helen Bradley

Friday, April 27th, 2012

Edit images on the iPad with PhotoPower

Download: PhotoPower on the iPad – 2.99

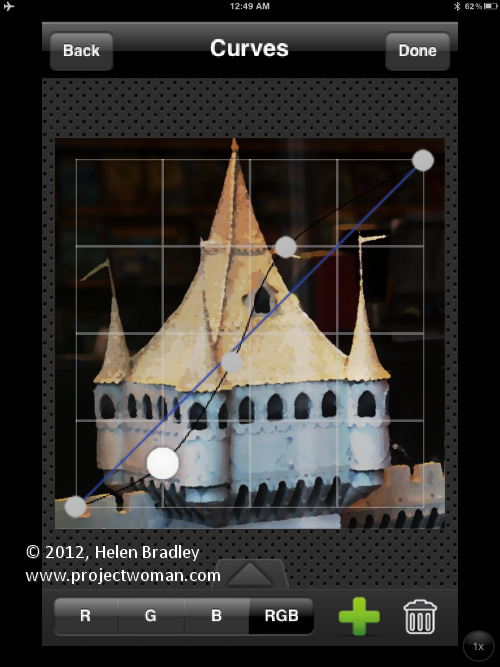
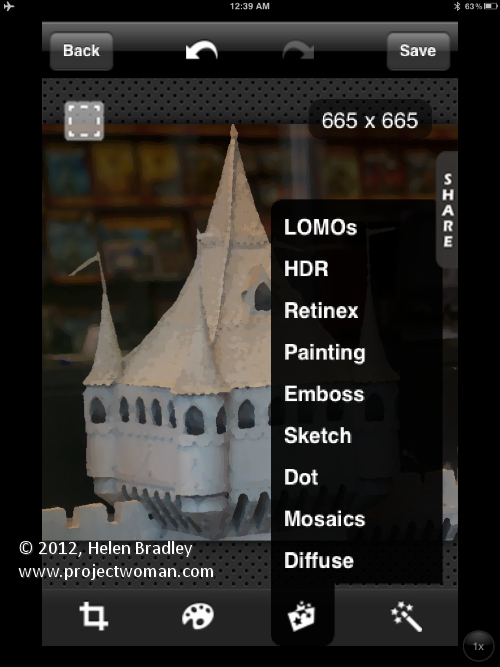
This is an iPhone app that runs on the iPad. It totally rocks and it’s an example of what a photo fixing app should do. It is simple to use but extraordinarily powerful it even includes a curves tool!

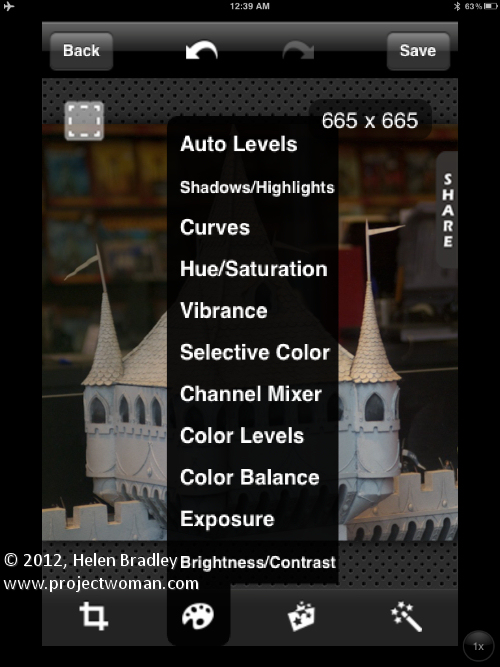
Open an image, crop  it and then adjust it. There are tools from Exposure to Vibrance and in many tools you can adjust the separate color channels or the composite channel.

Tap any of the Adjustments, Effects or Filters and you’ll see a long list of options to choose from. This is a seriously awesome program with heaps of cool features. It’s a pity it isn’t available for the iPad at full screen size but that gripe aside it is well worth looking at as a tool for adjusting your images.

Helen Bradley

Thursday, April 26th, 2012

Harness the power of Business Information sets in Publisher


Publisher’s Business Information Sets make it easy to populate documents with information about people and businesses. You only need type the text once and you’ll know it is always  correct wherever it happens to be used.

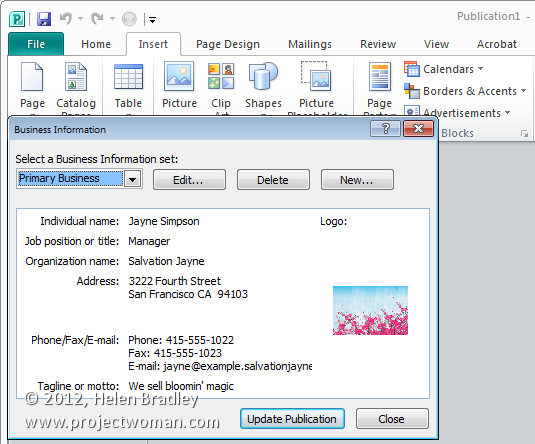
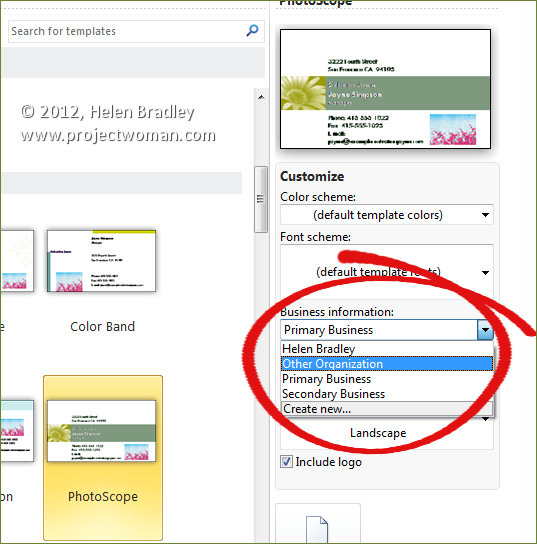
To use these sets, in Microsoft Publisher use File > Info and select the Edit Business Information. Here you can view the information sets that you have available. While they’re called Home/Family, Other Organization, Primary and Secondary Business, you can make them anything you want them to be.

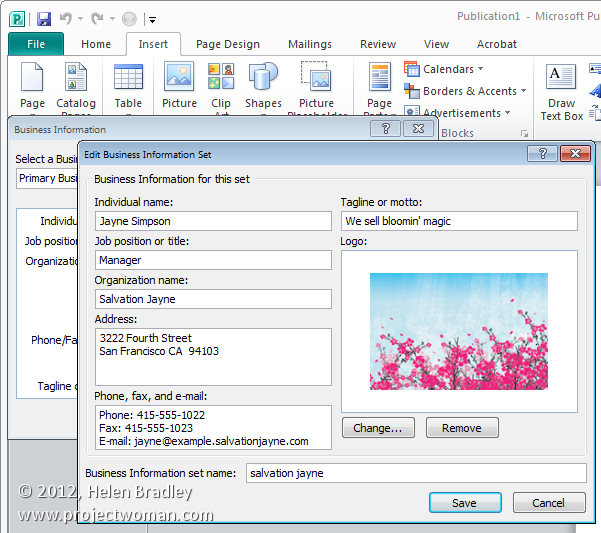
So select an option and click Edit. Enter the information for your business including the person’s name, address and information. Click Add Logo to add a your company logo.

You can also type a new set name in the set name box. By adding to the business information sets details you use frequently, you can use this information in any document later on such as business cards and brochures.

To do this, select the business card template to use and then select the business information set to use with it. You can choose to include your logo or not as circumstances demand. Click Create and the business card will be created for you with all the details already in place.

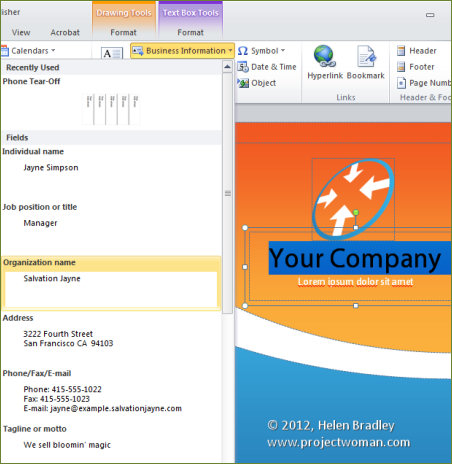
You can also use business information in regular documents by choosing Insert and then from the Business Information dropdown list select the items that you want to use in a document. For example, you can drag and drop telephone information into any document from the business information set.

You can also change the business information in a document. So, if you’ve created a business card and want to do the same thing for another person for whom you have a business information set  created, just choose File > Info > Edit Business Information and select the set to use and click Update Publication. This allows you to quickly change information in documents and create flyers for multiple businesses or business cards from multiple people.

Helen Bradley

Wednesday, April 25th, 2012

Create spot color effects on the iPad with ColorUP Lite

Download: ColorUP on the iPad – Free

This free program will only let you adjust images captured by the iPad – if you want to be able to use images from your camera roll you have to upgrade to a paid version.

Here, because I wasn’t online to get the upgrade, I just shot the cover of a copy of Vanity Fair which I was reading on a flight home from Washington DC!

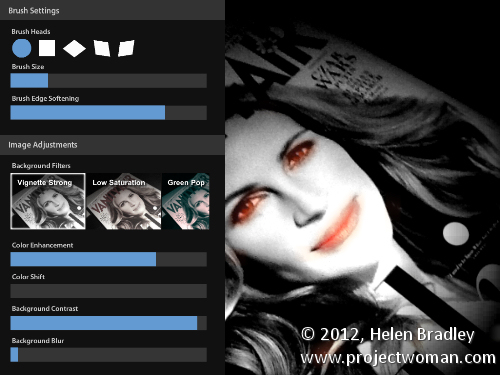
The app turns the image into monochrome and you then paint over the areas of the image to bring back color.

You can adjust the brush size and see the mask. If you make a mistake just erase the brushstrokes.

You can blur the background, adjust its contrast and even change the color in the image by adjusting the hue.

If you like the effect it is worth shelling out for the full version as not many programs let you do this as easily as this one does and the extra features for adjusting the background are great.

Helen Bradley

Tuesday, April 24th, 2012

Add Custom Keyboard Shortcuts in Word 2010

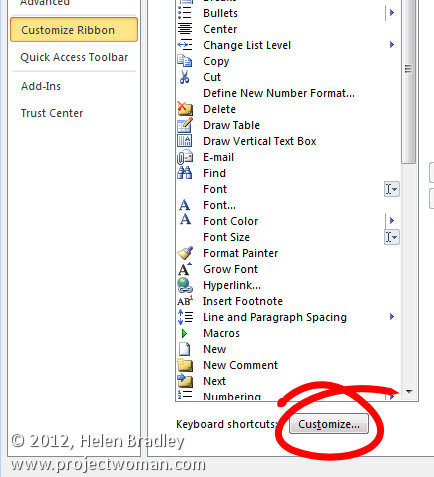
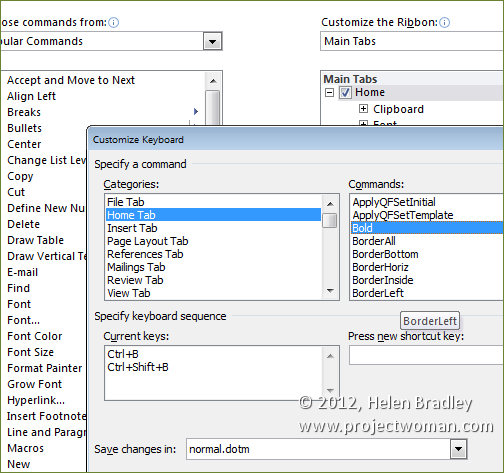
In Word 2010 you can set keyboard shortcuts for ribbon buttons using the program options. Choose File > Options and click Customize Ribbon. Click the Customize button at the foot of the dialog – this is available in Word 2010 but not in Excel 2010 curiously.

Click the tab that you’re interested in and locate the button on the tab that you want to customize. For example, if you choose the Home tab and click Bold as the command you’ll see that there are already keyboard shortcuts associated with that command.

Many other commands do not have keyboard shortcuts associated with them and if you want to add them you can do so.

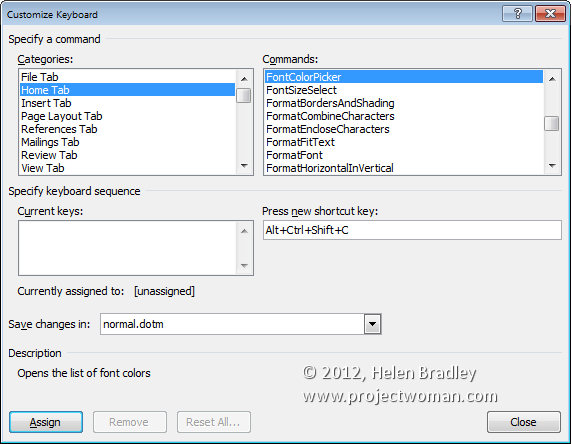
For example, there is no keyboard shortcut for the Font Color Picker. Select Home tab and then Font Color Picker and press a new shortcut key. For example the shortcut Alt + Ctrl + Shift + C is not currently assigned.

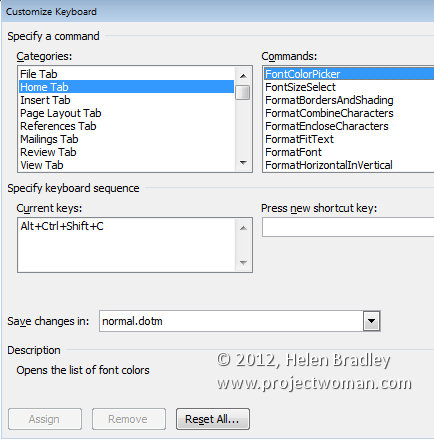
Click in the box and press that keyboard combination. If you want to use that for the Font Color Picker, you can do so by clicking Assign. This assigns this keystroke to the Font Color Picker tool.

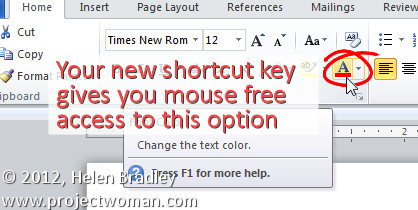
To test this, click Close and then Ok. Now when you select a piece of text you can apply the currently selected font color to it by pressing Ctrl + Alt + Shift + C.

Helen Bradley

Monday, April 23rd, 2012

Quickly adjust color in a photo on the iPad with Auto Adjust

Download: Auto Adjust in iTunes – 0.99

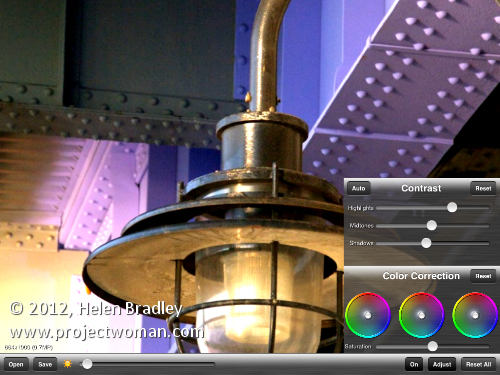
This is a no nonsense tool that has a few sliders and not much more. You can adjust Brightness, highlights, midtones, shadows and color saturation. The app won’t scale your photos so you don’t see everything on the screen and you can’t move the image around.

The tool really doesn’t do enough to warrant using it – there are plenty of other tools that have a broader feature set.

This program would have to be gobsmacking great to justify opening images in it since you’ll generally want to do more than just these adjustments.

Helen Bradley

Friday, April 20th, 2012

Must know Windows 8 keystrokes

Windows 8 makes a lot of use of keystrokes –  more use than other versions of Windows ever has. Here is a list of handy keystrokes, you won’t use all of them but some are totally awesome for getting around. My fave? This week it is Windows + E! yeah instant access to My Computer – you gotta love it!

Windows key              display the Start menu

Windows + tab           display the task switching panel

Windows + C              reveal Charms

Windows + D              switch to the desktop

Windows + M             switch to the Desktop

Windows + H              Share charm

Windows + I               Settings charm

Windows + K               Devices charm

Windows + L              Lock the screen

Windows + P             shows second monitor options

Windows + Z              display an app’s application bar

Windows + T              Cycle through small images of open apps – press Enter to switch

Windows + Q             Open Metro search charm

Alt + Tab                    Cycle through open apps

Windows + , (comma) Show desktop (temporarily)

Right click an application window                 reveal the application bar

Windows + PrtSc        Capture a picture and save it to the Pictures folder

Windows + Space       change input language and keyboard

Windows + R                          Display the Run dialog

Windows + T                          Cycle through programs on the taskbar

Windows + F                          Find other computers on your network

Windows + E                          Open Windows Explorer and show My Computer

Windows + left arrow             Dock a desktop app to the left of the screen

Windows + right arrow           Dock a desktop app to the right of the screen

Windows + Shift + Up arrow maximize desktop app’s height (width is unchanged)

Windows + Shift + Down arrow        restore/minimize desktop app’s height (width is unchanged)

Windows + 1 (or 2, 3…)         Launch or switch to the application at this position on the taskbar

Windows + Shift + 1 (or 2, 3…)        Launch a new instance of the application at this position on the taskbar

Windows + + (plus)                Magnifier – zoom in

Windows + – (minus)              Magnifier – zoom out

Helen Bradley
Thursday, April 19th, 2012

Quick and easy grunge effects with TtV PS Lite

Download: TtV PS Lite on the iPad – Free

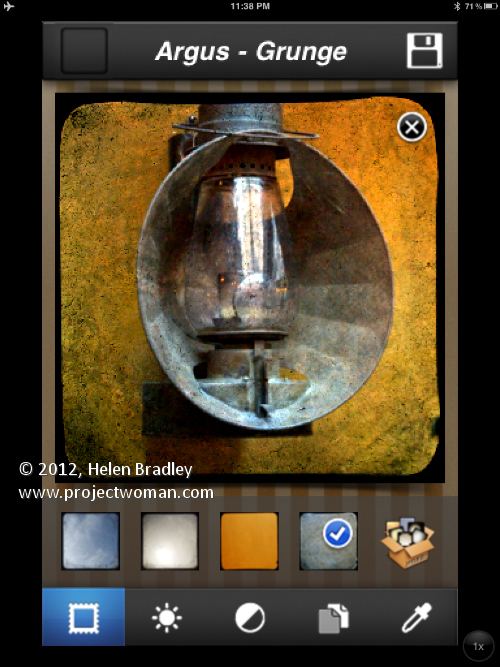
This app doesn’t do much at all but it’s pretty nice none the less. It comes with 4 camera effects, three colour filters, an opacity adjuster and brightness and contrast adjusters.

It is simple to use and can be upgraded to a paid version. For that you get 30 viewfinders and full resolution output.

The grunge effects are pretty nice while limited.

This isn’t a fancy app but it is easy to learn and to use.

Helen Bradley
Thursday, April 19th, 2012

Age an image on the ipad with OldPhotoPRO

Download: OldPhotoPRO on the iPad – Free

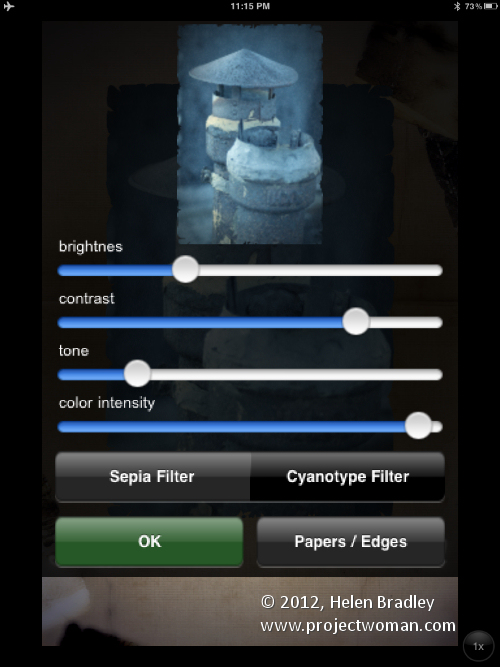
This free app doesn’t promise much and doesn’t disappoint, in fact quite the opposite. You simply open an image and it applies an old photo effect to it. Click Edit and you get a heap of edits you can make from Brightness, Contrast, Tone and Color intensity and a couple of options for Sepia and Cyanotype.

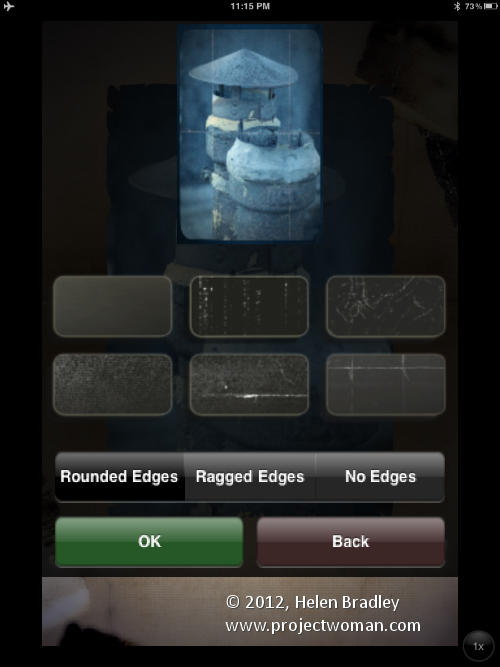
Tap Papers / Edges and you can add edge effects and scratches.

This is a no frills app. It is simple to use and can crank out some fun effects for aging images.

Helen Bradley
Wednesday, April 18th, 2012

Unhide Hidden PowerPoint 2010 animations

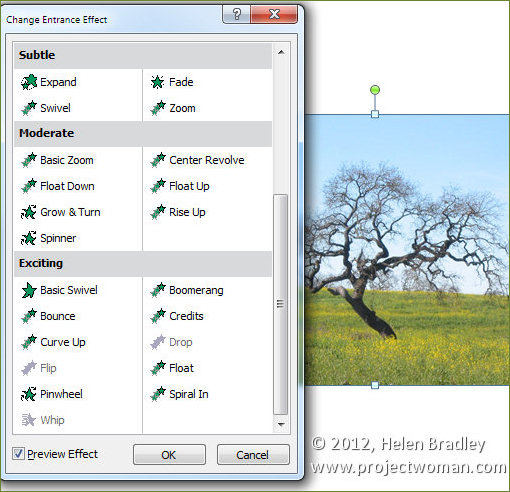
Sometimes when you’re working in PowerPoint you’ll notice that an animation is not available and it is greyed out.

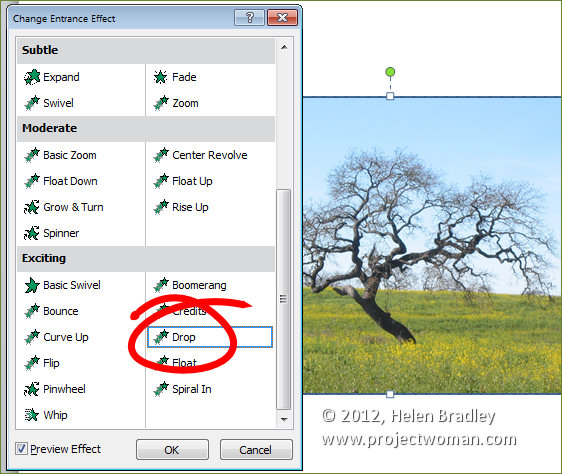
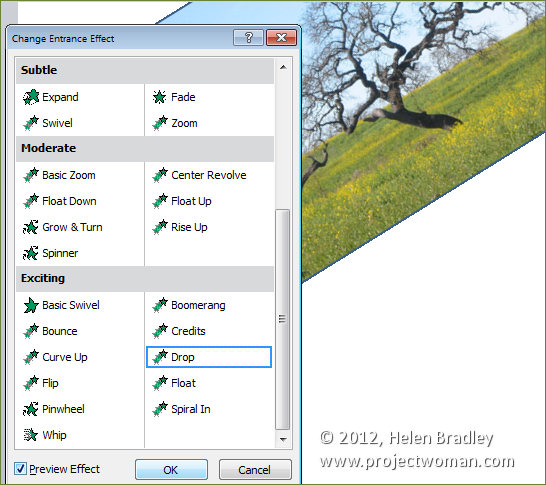
For example add an image to a slide and then try to select the drop animation from the Entrance Effects. It’s not available because what you’re trying to select is a tool that is used to animate text and  you are using an image.

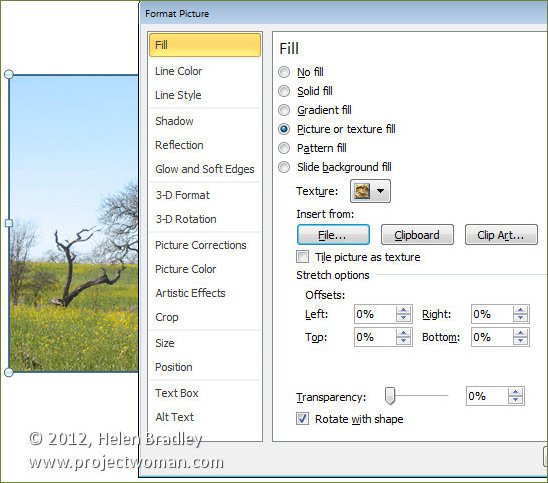
However you can use this animation on an image, you just need to know how to do so. To do this, place the image inside a shape. So, add a shape to the slide – a plain rectangle will do, and as the shape background add the picture by right-clicking the shape, choose Format Shape and then from the shape Fill options select Picture and fill it with a picture.

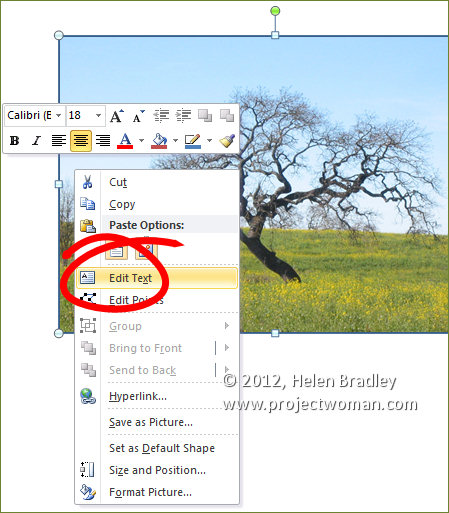
Right click the shape and choose Edit Text and press the spacebar a couple of times so that you add some text to the shape – spaces won’t show but they are text. It’s critical that you do this because without the text the shape will not be able to be animated using text animation tools.

Now when you select the Animate options and the Entrance Effects you’ll find that the effects that you couldn’t use before like Drop, Flip and Whip are now available because you’re working with PowerPoint deems to be a text object.


Helen Bradley
Page 7 of 9« First56789