Wednesday, June 26th, 2013
Place tables side by side in a document using text boxes to keep them in place
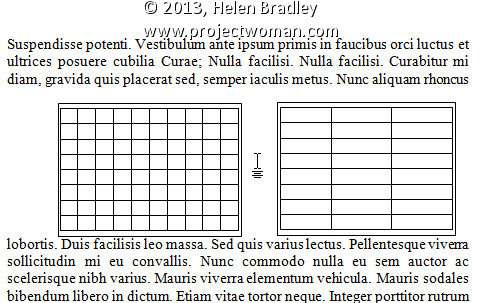
If you add a table to a text box in Microsoft Word, you can position the text box wherever you want it to be on the screen.
If you need two tables to be placed side by side in your document you can do so by placing each of them inside a text box and then arranging the text boxes side by side.
To do this, create a text box by selecting the Insert tab on the Ribbon, click Text Box and click Draw Text Box. Click and drag to create a text box and then click inside it and create a table by choosing Insert > Table. Repeat the process to create the second table in its text box then drag to position the text boxes side by side.
Helen Bradley
Labels: 1, 2010, 2013, insert, Microsoft Office, Microsoft Word, Page, Part 1, Ribbon, side, side by side, Simple Text Box, table, text box, tip, trick, Tutorial, Word, Word 2010, Word 2013
Categories:office
posted by Helen Bradley @ 6:00 am11 Comments links to this post
Monday, May 13th, 2013
Finding and Fixing Page Numbers that Can’t be Seen and/or Won’t Print
If you have included page numbers at the foot of a page and find that they’re missing from your printouts the problem lies with your page settings. The footer text is being forced to print so far down the paper that your printer is ejecting the paper before this point is reached.
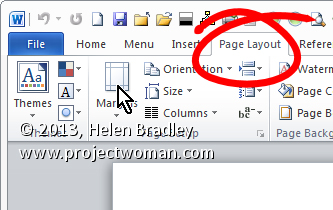
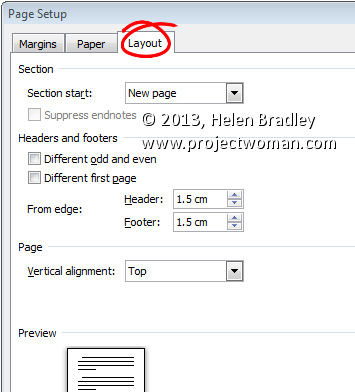
Solve the problem by selecting the Page Layout tab, click the Margins dropdown list, and click Custom Margins. Now, in this dialog select the Layout tab. Finally, increase the From edge: Footer measurement slightly. Experiment to find the smallest increase which will allow your page numbers to print.
Helen Bradley
Labels: 2010, 2013, Custom, Find, fix, footer, From edge, layout, locate, margins, measurments, Microsoft Office, Microsoft Word, Number, Page, Page Layout, print, tip, trick, Word
Categories:office
posted by Helen Bradley @ 6:42 am2 Comments links to this post
Wednesday, April 24th, 2013
How to make a New Page (or Page Break) When and Where you Want
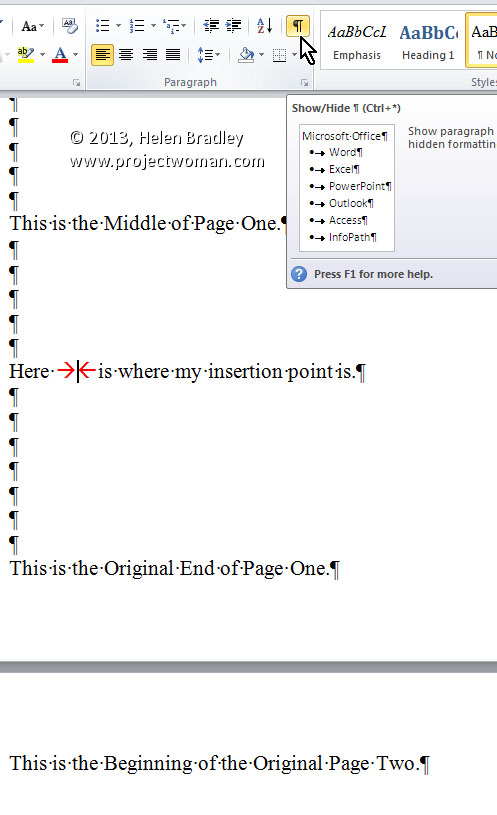
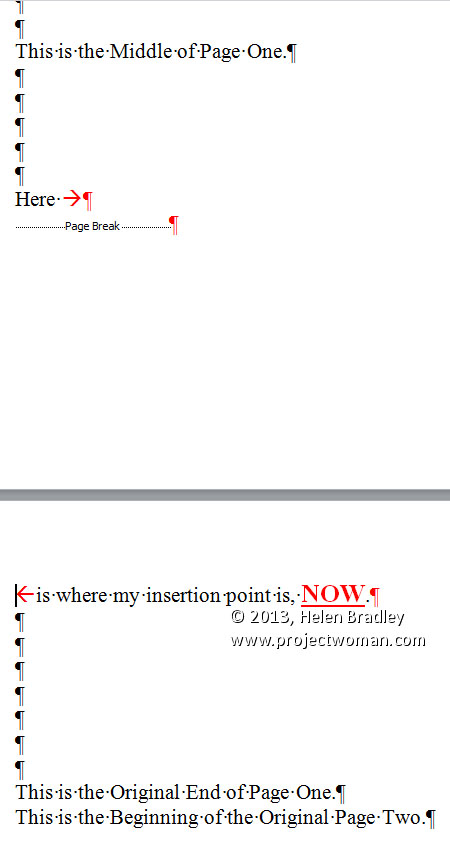
To create a new page in a Word 2010 and 2013 document before you’ve reached the end of your current page, simply press CTRL + ENTER. This places a ‘…Page Break…’ in your document exactly where your insertion point was. It also moves the insertion point onto the top of the next page. You can see the page break marker if you select the ‘¶’ button on the Home tab of the Ribbon.
Lastly, if you need to, you can delete the page break by positioning the insertion point immediately in front of it and pressing Delete.
Helen Bradley
Labels: 2010, 2013, create, CTRL, ENTER, instantly, Microsoft Office, Microsoft Word, new, Page, Page Break, tip, Word
Categories:office
posted by Helen Bradley @ 6:50 amNo Comments links to this post


