Learn to insert a table in a Word document with a single click
When you need to repeatedly create the same type of table in a Word document you can do so using the new Word Quick Part feature.
This technique works well when you use the same table layout repeatedly. Your inserted table will be the same size, have the same number of columns and rows and contain any preset formatting that it had when you created it as a Quick Part entry. Once created, you can insert it quickly whenever you need it.
To do this:
- Create a new table with the number of rows and columns you want all your tables to have.
- Include any text in the table that needs to always be in this type of table – if there is none, leave the cells blank.
- Format the cells in the way you wan them to be formatted every time – including text formats and cell background colors and borders.
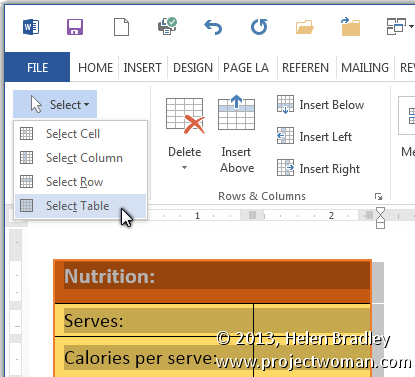
When you are done, select the table by clicking in it and choose Table Tools > Layout > Select > Select Table.
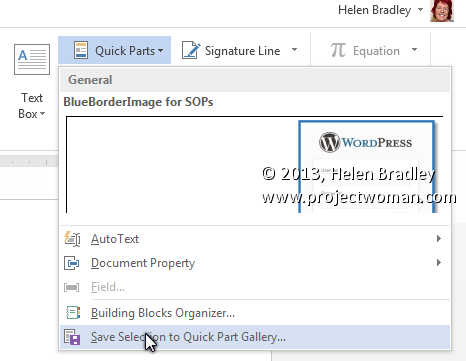
Choose Insert > Quick Parts > AutoText > Save Selection to AutoText Gallery.
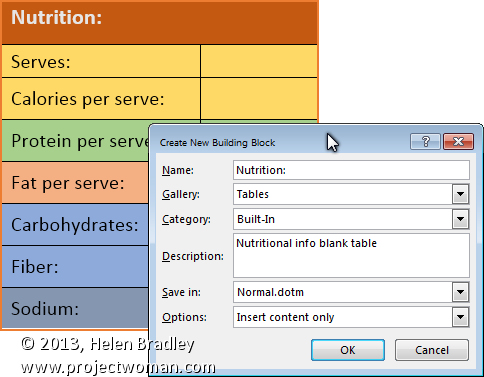
In the Create New Building block dialog set the Gallery to Tables and type a description of the table and click Ok.
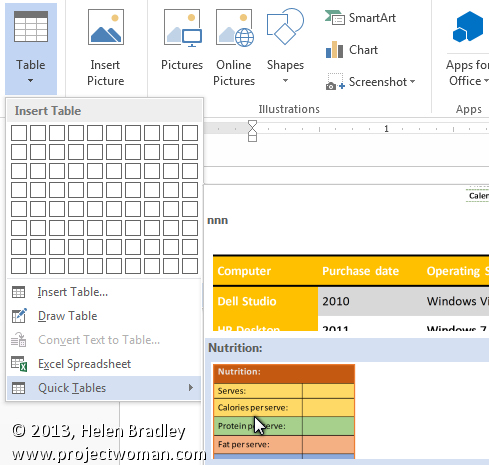
In future, to create a table to these exact specifications choose Insert > Tables > Quick Tables, locate the table in the list and click it to insert it into the document.
This feature is the successor to the AutoText feature in earlier versions of Word. It looks a little more cumbersome but it is more easily discovered so you don’t have to remember where the table was saved as it appears automatically on the Insert Table menu.





Wednesday, October 16th, 2013
A Comment on Comments
Sometimes you’ll want to add a comment to a piece of text but not so that it actually appears in the text.
For example you may want to ask someone else who is working on the document with you a question about something mentioned in the text or you may want to remind yourself to check the source of a quote you have used. The best choice for this task is Word’s Comment option. Select the text to attach the comment to and select Review > New Comment. A comment box will open to the side of the document with your initials and a comment number in brackets (eg [HB1]).
If your initials or name are incorrect, alter them by selecting File > Options > General and changing the Username and Initials text boxes.
If you’re viewing a document which contains a number of comments you can move from one to the next quickly by using the Previous and Next. Use the Delete Comment button to delete a comment, leaving the text it’s attached to intact – right clicking a comment and selecting Delete Comment works the same way. You can edit the text in a comment simply by selecting the comment and typing.
You can choose to print with or without comments by selecting the print range dropdown menu under print settings and checking or unchecking Print Markup.
Using comments is particularly useful when you’re working on a document with someone else as they effectively allow you to ‘carry on a conversation’ about the document.
Helen Bradley
Labels: comments, markup, Office, print, review, Word
Categories:office
posted by Helen Bradley @ 9:00 amNo Comments links to this post