Wednesday, November 28th, 2012
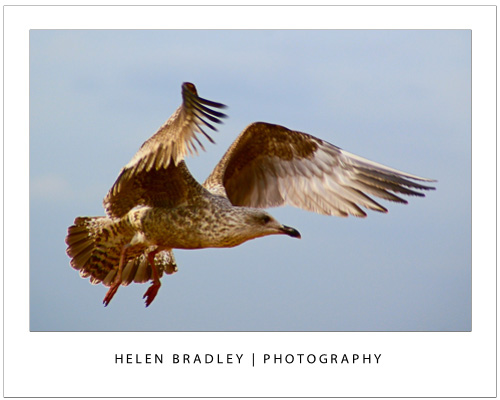
These 5 techniques can help you improve your photography today
Here are 5 techniques you can put to work today to help take better photos:
Tip 1 – Capture Moving objects
When shooting a moving object, capture it as it comes towards because as your camera can focus more easily this way.
If an object is travelling across your field of vision, follow the movement with the camera as you capture the shot. The object will be in focus and the remainder of the background will be pleasantly blurry. Or do it in reverse and focus on the background and let the subject move across the image.
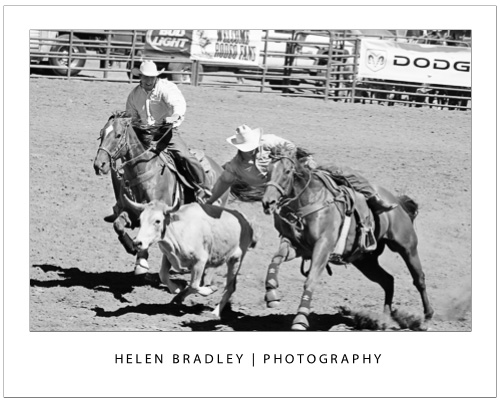
In this photo I opted to keep the background in focus and the vehicles in motion:
Tip 2 – Create a frame
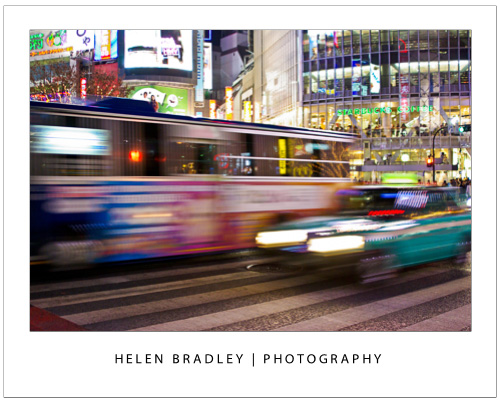
When shooting an object in the distance, frame it using an object in the foreground such as an overhanging tree or an arched window. The frame will invite the viewer to look into the image.

Tip 3 – Focus and shift
To focus on an object off centre in your photo, point to the object and press the shutter release halfway down to focus on the object. Move the camera to reframe the scene and continue to depress the shutter and take the photograph.
In this image I focused on the boat on the right then reframed the image before capturing the shot.

Tip 4 – Reflections
Look for interesting items to reflect your subject in. Faces can be reflected in a car’s rear vision mirror and buildings can be reflected in a puddle on the footpath. Images of objects reflected in shiny surfaces often result in more compelling images than would be the case if you simply photographed the original object.

Tip 5 – Get down low
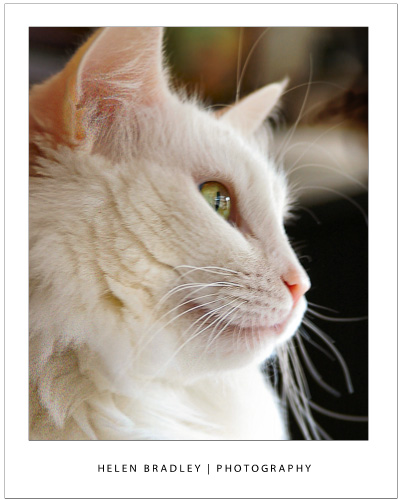
When photographing pets and children get down to their level so you capture the child or animal face on rather than photographing the top of their head. If shooting from above, get a lot higher and get your subject to look up as you take the shot.
Helen Bradley
Labels: 5 tips better photography, capture a moving object, focus and recompose, get down low, how to, make a frame, reflections, techniques, Tutorial
Categories:photography
posted by Helen Bradley @ 12:54 pmNo Comments links to this post
Wednesday, November 28th, 2012
 original Photo By: Gisela Royo
To resize the content on a layer or an object in Photoshop CS6 bring up the bounding box or transform controls by pressing Ctrl + T on a PC or Command + T on a Mac. When the controls appear you can drag on them to resize the object. To resize the background layer of an image you’ll first have to transform it to a regular layer by double clicking it in the layer palette and click Ok.
Helen Bradley
Labels: Adobe, how to, image, Photoshop, resize, tip, trevor adobe, trevor payne
Categories:photoshop, trevor tip
posted by Trevor Payne @ 8:00 amNo Comments links to this post
Tuesday, November 27th, 2012
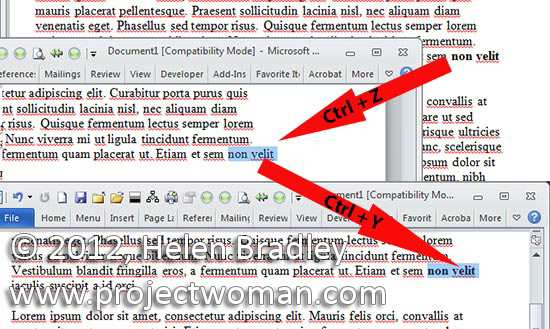
Made a mistake? Undo it with Ctrl + Z and, if you change your mind yet again, redo the undone command by pressing Ctrl + Y. In most programs you can press Ctrl + Z repeatedly to roll back your changes.
Helen Bradley
Labels: how to, Microsoft, Microsoft Office, redo, tip, trevor office, trevor payne, Undo, Word
Categories:office, trevor tip
posted by Trevor Payne @ 8:00 amNo Comments links to this post
Friday, November 23rd, 2012
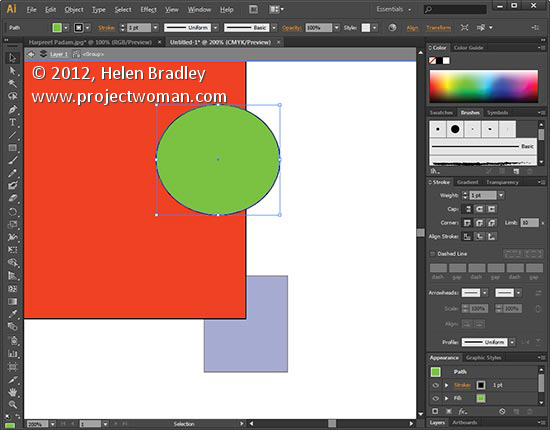
When you want to edit a specific part of a group of shapes without ungrouping everything to do so double click the grouped shape to enter isolation mode. Now select the object that you want to edit and make your changes. When you’re done double click outside the grouped shapes to exit isolation mode. This works for groups contained within groups as well.
Helen Bradley
Labels: Adobe, edit, how to, Illustrator, isolation mode, tip, trevor adobe, trevor payne, vector
Categories:photoshop, trevor tip
posted by Trevor Payne @ 8:00 amNo Comments links to this post
Tuesday, November 20th, 2012
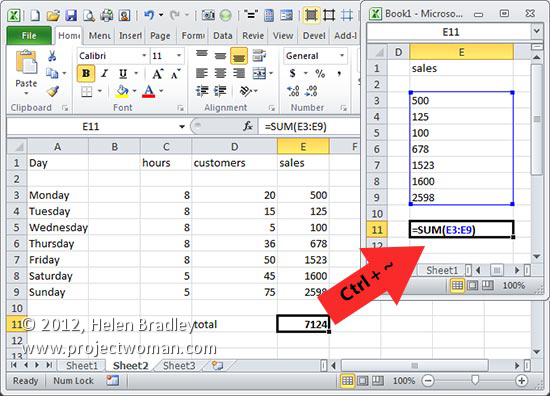
When you need view formulas instead of their results press Ctrl + ~ to display formulas in all cells in the worksheet. To return to viewing the worksheet as it was, press Ctrl + ~ again.
Helen Bradley
Labels: display formulas, Excel, formulas, how to, Microsoft, tip, trevor office, trevor payne
Categories:office, trevor tip
posted by Trevor Payne @ 8:00 amNo Comments links to this post
Friday, November 16th, 2012
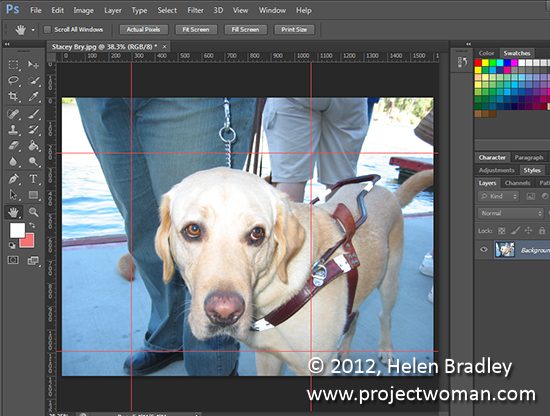 original photo by: Stacey Bry
When you need to add guides to an image to help line up objects or the image itself you can do so if you first display your Rulers. Then click on the ruler and drag onto the image to create a guide – drag from the left to make a vertical guide and from the top to make a horizontal one. To remove an unwanted guide, drag it off the screen back to the ruler and it will disappear. To remove all guides choose View > Clear Guides.
Helen Bradley
Labels: Adobe, guide lines, how to, Photoshop, quick guide lines, tip, trevor payne
Categories:photoshop, trevor tip
posted by Trevor Payne @ 8:00 amNo Comments links to this post
Wednesday, November 14th, 2012
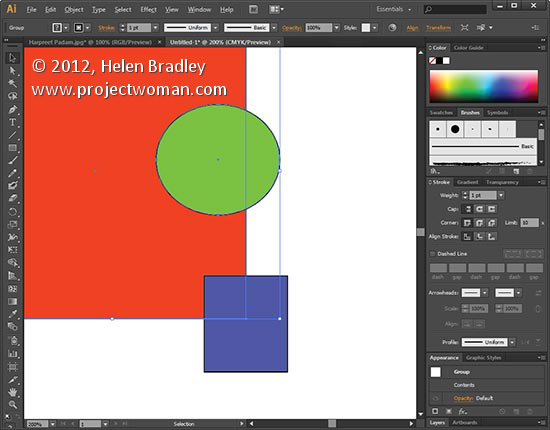
When working with Multiple Shapes to make one image it’s good to be able to resize or edit them together. To Group them all together, begin by selecting everything to be grouped and press Ctrl + G on a PC or Command + G on a Mac. To ungroup them press Ctrl + Shift + G.
Helen Bradley
Labels: Adobe, groups, how to, Illustrator, tip, trevor adobe, trevor payne, vector art
Categories:photoshop, trevor tip
posted by Trevor Payne @ 8:00 amNo Comments links to this post
Tuesday, November 13th, 2012
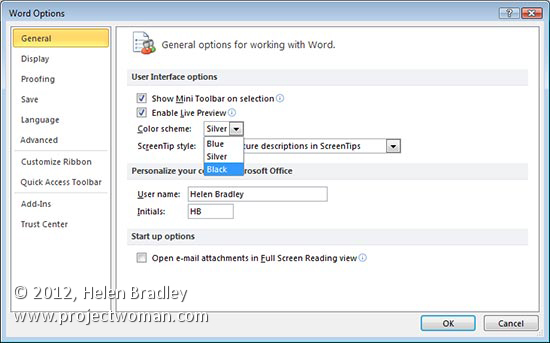
Use these keys to quickly select items in any Windows dialog. Press Alt+Down Arrow to open a dropdown list and then use the Up Arrow and Down Arrow to navigate to an item to select. Use the Space Bar to select or deselect options in the dialog box or, if an item has a letter underlined in its description press Alt + that letter – for example for File, press Alt + F.
Helen Bradley
Labels: dialog box navigation, how to, key shortcuts, Microsoft Office, navigate, tip, trevor office, trevor payne
Categories:office, trevor tip
posted by Trevor Payne @ 8:00 amNo Comments links to this post
Tuesday, November 13th, 2012
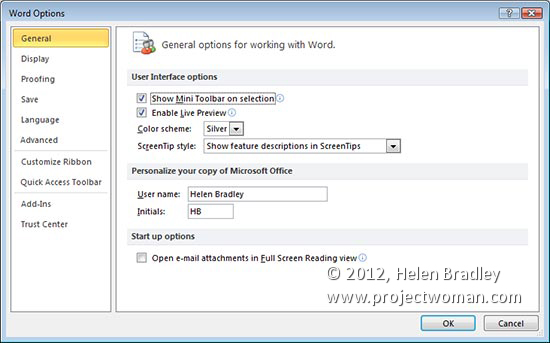
In any Windows program, Office included you can move through dialog boxes quickly without using your mouse if you press the Tab key on your keyboard. Tab moves you from one selectable item to the next. To move in reverse press Shift + Tab. If you press Ctrl + Tab you can move to the next tab in a tabbed dialog and press Ctrl + Shift + Tab to go back one tab.
Helen Bradley
Labels: dialog box, how to, Microsoft Office, navigate dialog, tip, trevor office, trevor payne, Word
Categories:office, trevor tip
posted by Trevor Payne @ 8:00 amNo Comments links to this post
Friday, November 9th, 2012
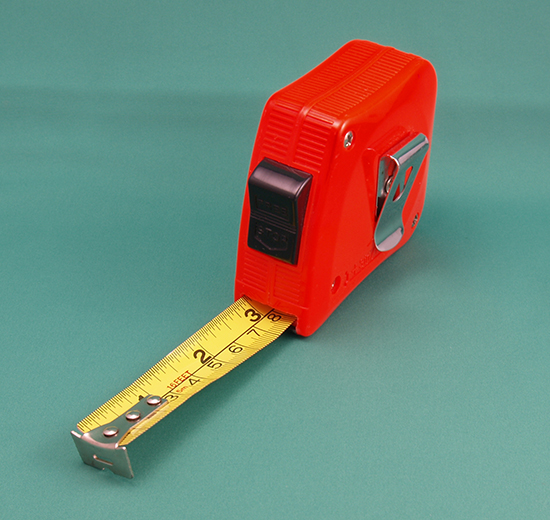 Photo by: John De Boer
To make your Rulers display along the left and top of an image Ctrl + R on a PC or Command + R on a Mac. To make the Rulers disappear, simply press the keystroke shortcut again. Bonus tip – this works in Illustrator too.
Helen Bradley
Labels: Adobe, display rulers, how to, Photoshop, rulers, tip, trevor adobe, trevor payne
Categories:photoshop, trevor tip
posted by Trevor Payne @ 8:00 amNo Comments links to this post


 original Photo By: Gisela Royo


 original photo by: Stacey Bry


 Photo by: John De Boer