

Summer is here and the warm weather brings with it good photographic opportunities. There are plenty of things to shoot and, if you’re lucky, you’ll be traveling to fabulous places, new and old, for your holidays. To ensure that your summer photos are all they promise to be, here are some summer photo shooting tips that will guarantee good photos even in the most challenging of conditions.
1 Warm your images
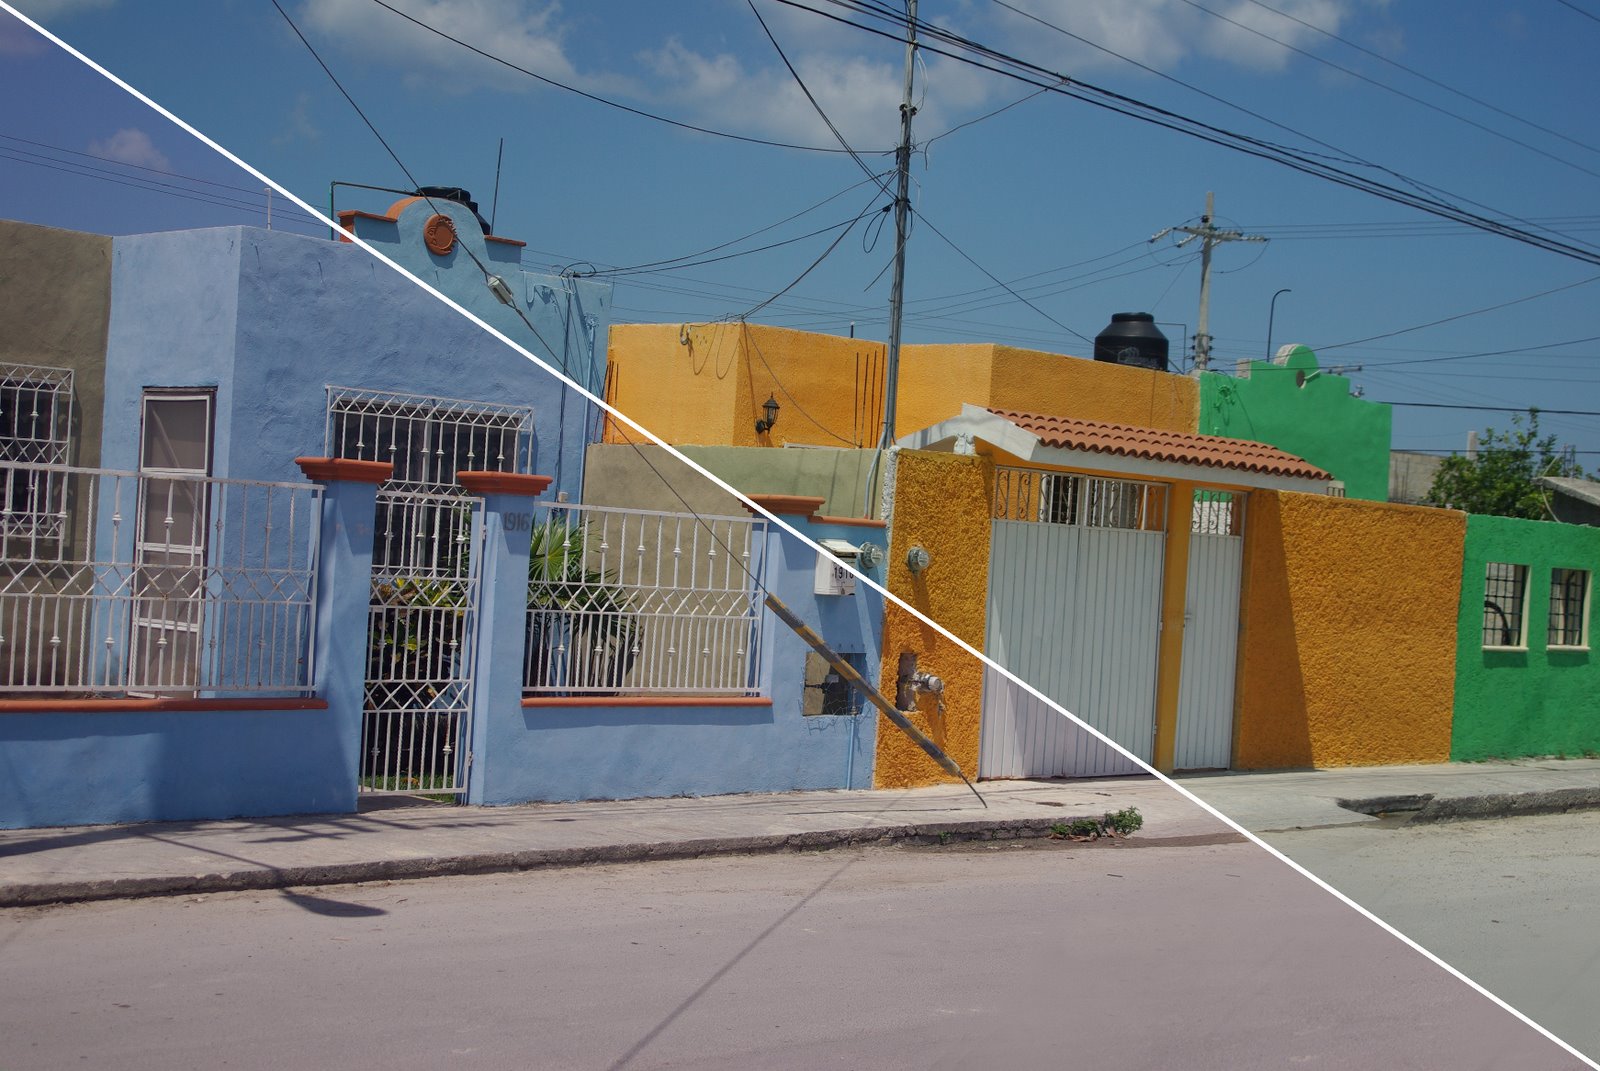
The harsh summer sunlight, particularly in the middle of the day, throws a bluish cast on your images which, in spite of the heat that you’re shooting in, actually makes them look cold.
Luckily, you can easily warm them up and make them more inviting by changing your camera’s settings. This works well for summer portraits and for landscapes too. To do this, set your camera’s white balance setting to Cloudy even though you are shooting in full sun.
The cloudy setting compensates for the blue-green cast of filtered sunlight and gives your images an instant subtle pink/orange cast which is more attractive and inviting.
2 Summertime is flash time

Although it sounds counterintuitive and you would think that in the bright summer sunlight the last thing you need is your camera’s flash, in fact it is the first thing to know how to set properly.
Your camera’s flash will not fire on a bright sunny day if you are shooting something which is lit behind by a strong backlight, for example a person at the beach. Your subject will be thrown into deep shadow unless you use the camera’s flash.
The camera’s flash provides a fill light which lights your subject without affecting the background which is too far away to be affected.
To use the flash to provide fill light for your subject you must set it so it is forced to fire. Use this forced flash too if you’re sitting in a shady position with a light behind your subject such as sitting under an umbrella. Without the flash you’ll get harsh shadows and with the flash you’ll get a much more attractive portrait.
3 Crisp blue skies
When everything is very bright around you, the camera has a lot of trouble capturing the full amount of tonal detail in the scene. Quite often you will find that what was a bright crisp blue sky looks anything but that color when you get the photographs home.
If you are using a digital SLR camera invest in a polarizing filter for shooting in bright sunny conditions. The polarizing filter filters our reflected light so the camera captures only light coming directly into the lens. The result is that your colors will look more saturated and brighter.
The polarizing filter must be adjusted for the best results so, when you look at it, check for a small mark on it indicating its start position. Twist the filter a small distance to the left or right to fine tune the effect of the filter until you get a look that you want.
4 Photographing at the beach
If you’re sunning yourself on the beach this summer you will have plenty of opportunities for capturing great photos. Use your camera’s macro setting to capture small details in the shells washed up along the shoreline.
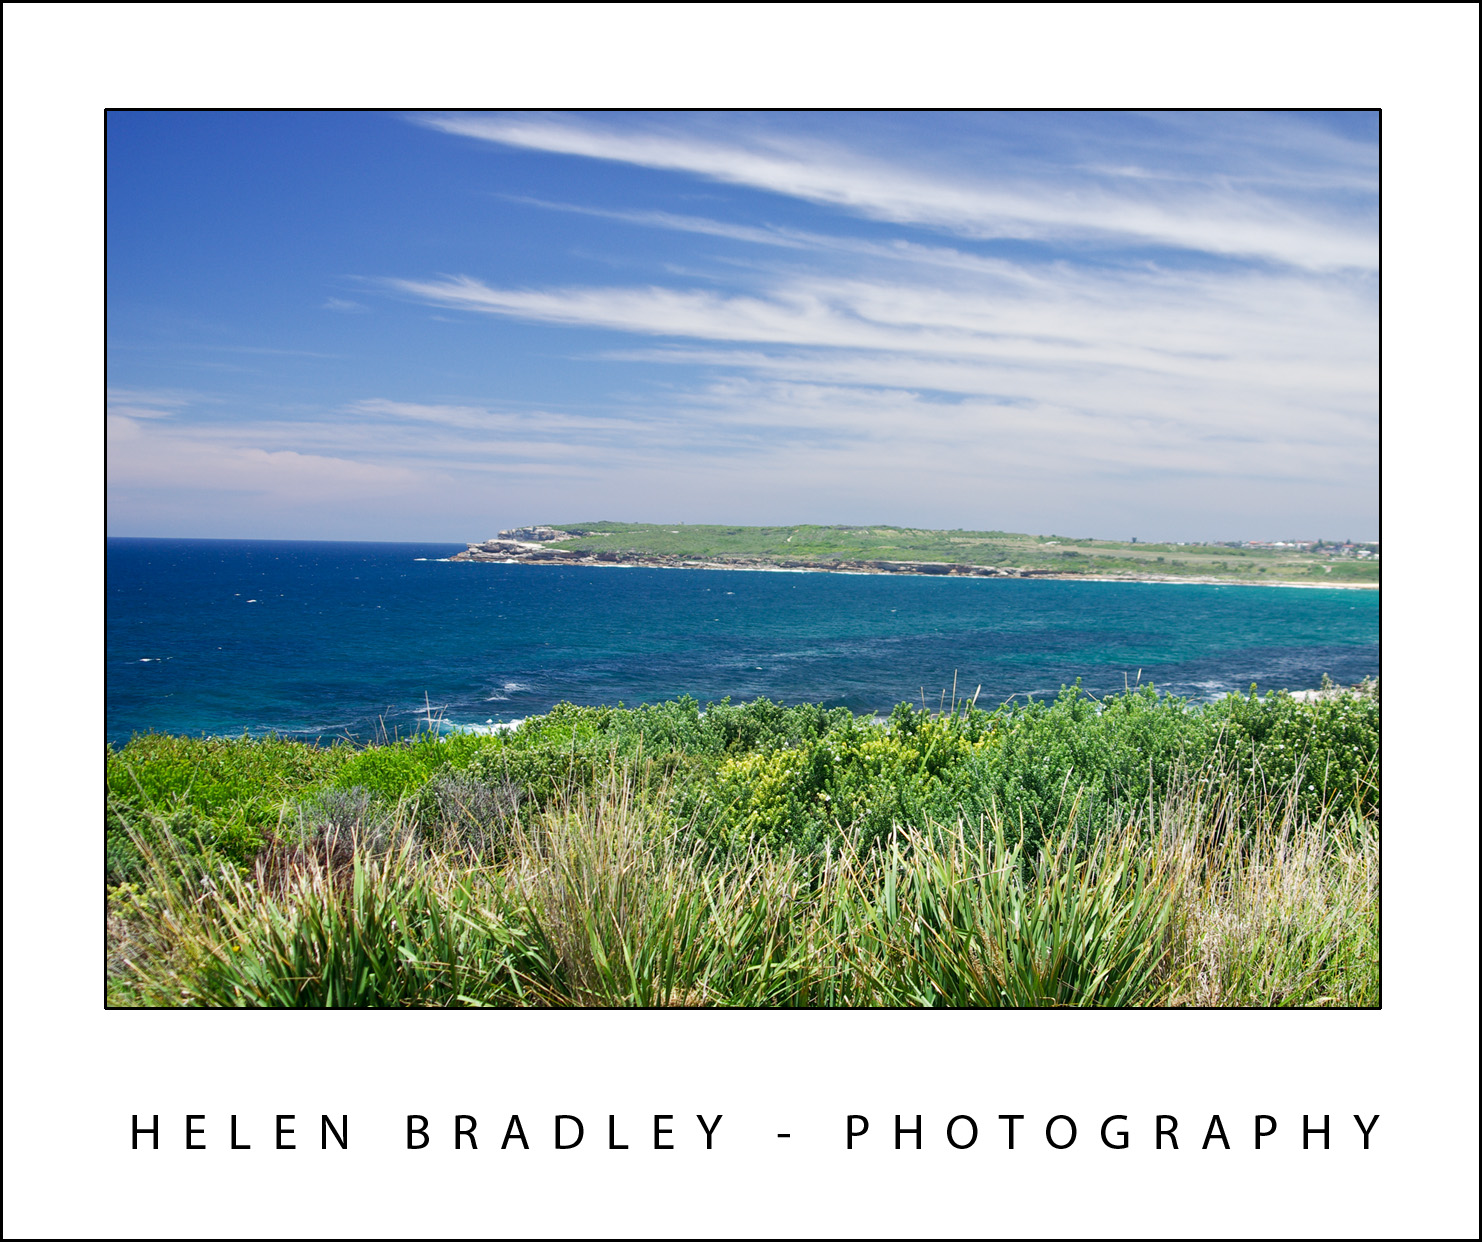
If you are clambering through rock pools a polarizing filter will let you capture the details in the bottom of the rock pool by minimizing the reflections bouncing back off the surface of the water.
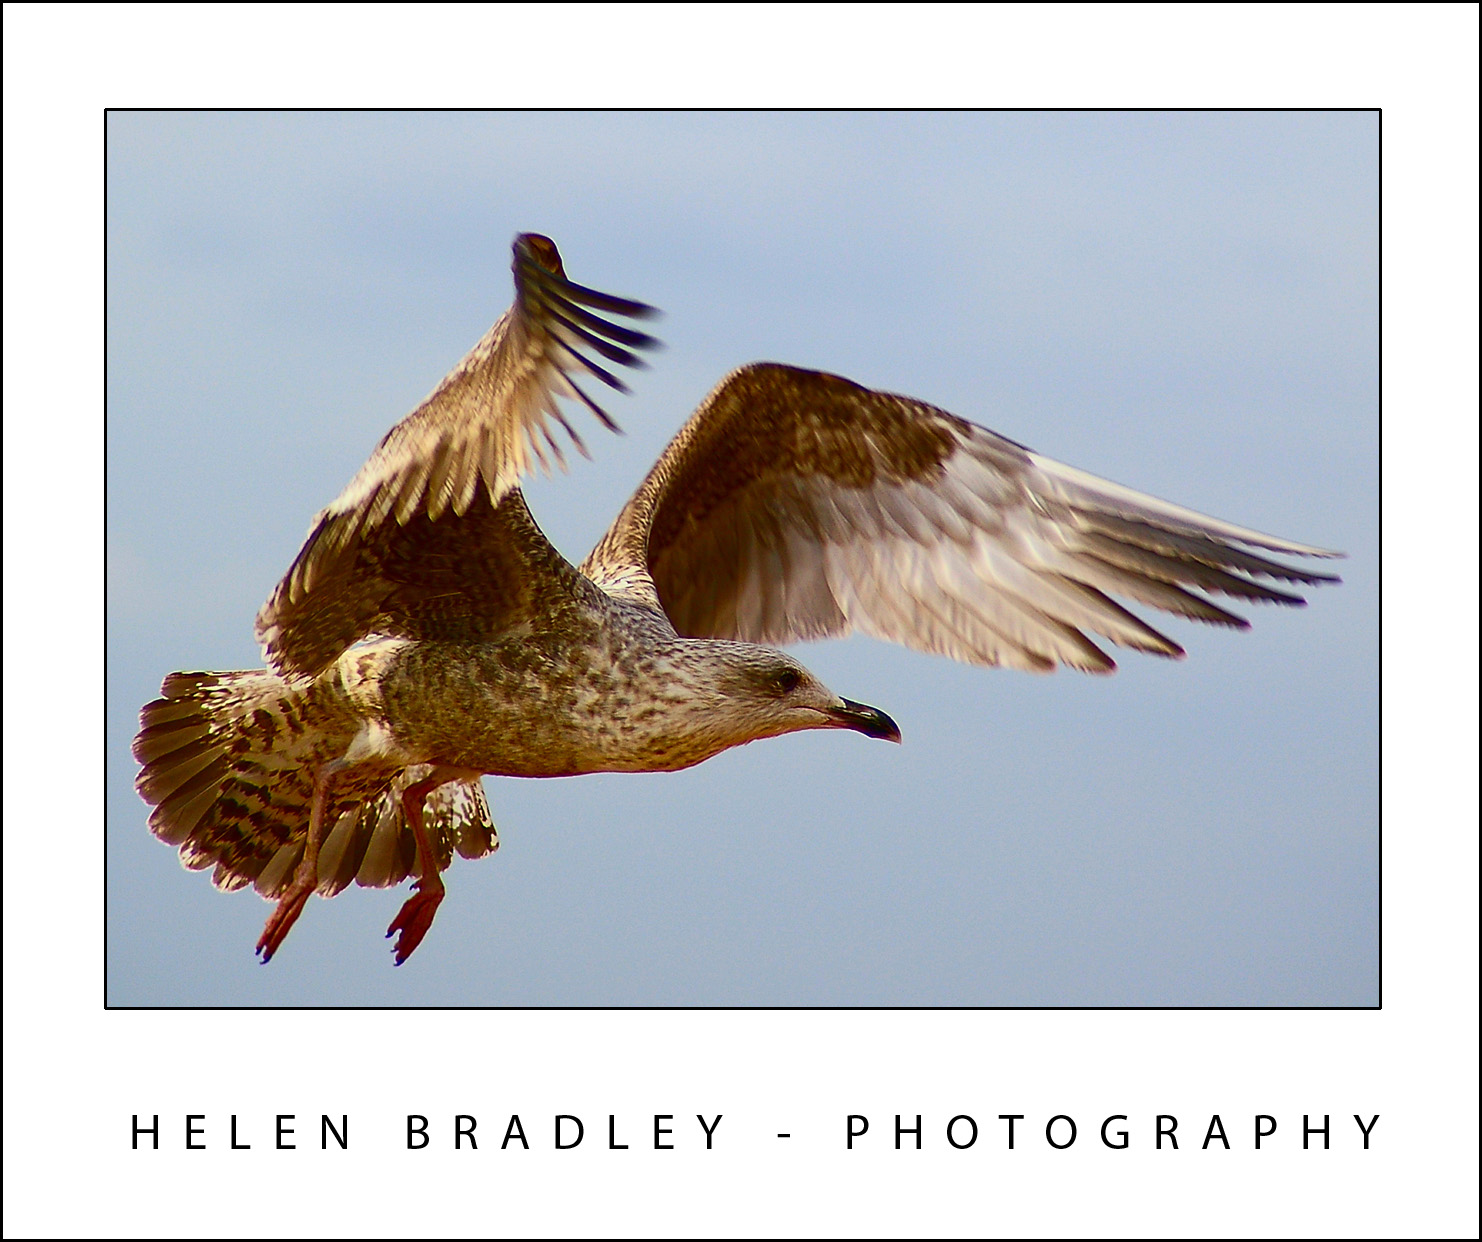
If you are looking for a challenge, feeding gulls will give you practice at capturing images of birds in flight. Set your camera to a fast shutter speed and follow the movement of the bird with the camera to get best results. So the bird does not fly out of the frame, reduce the zoom on the camera so you capture the full bird rather than risk losing a wing tip for example because the bird has moved. You can always crop the image later on to get in closer.
5 Shooting in tourist locations
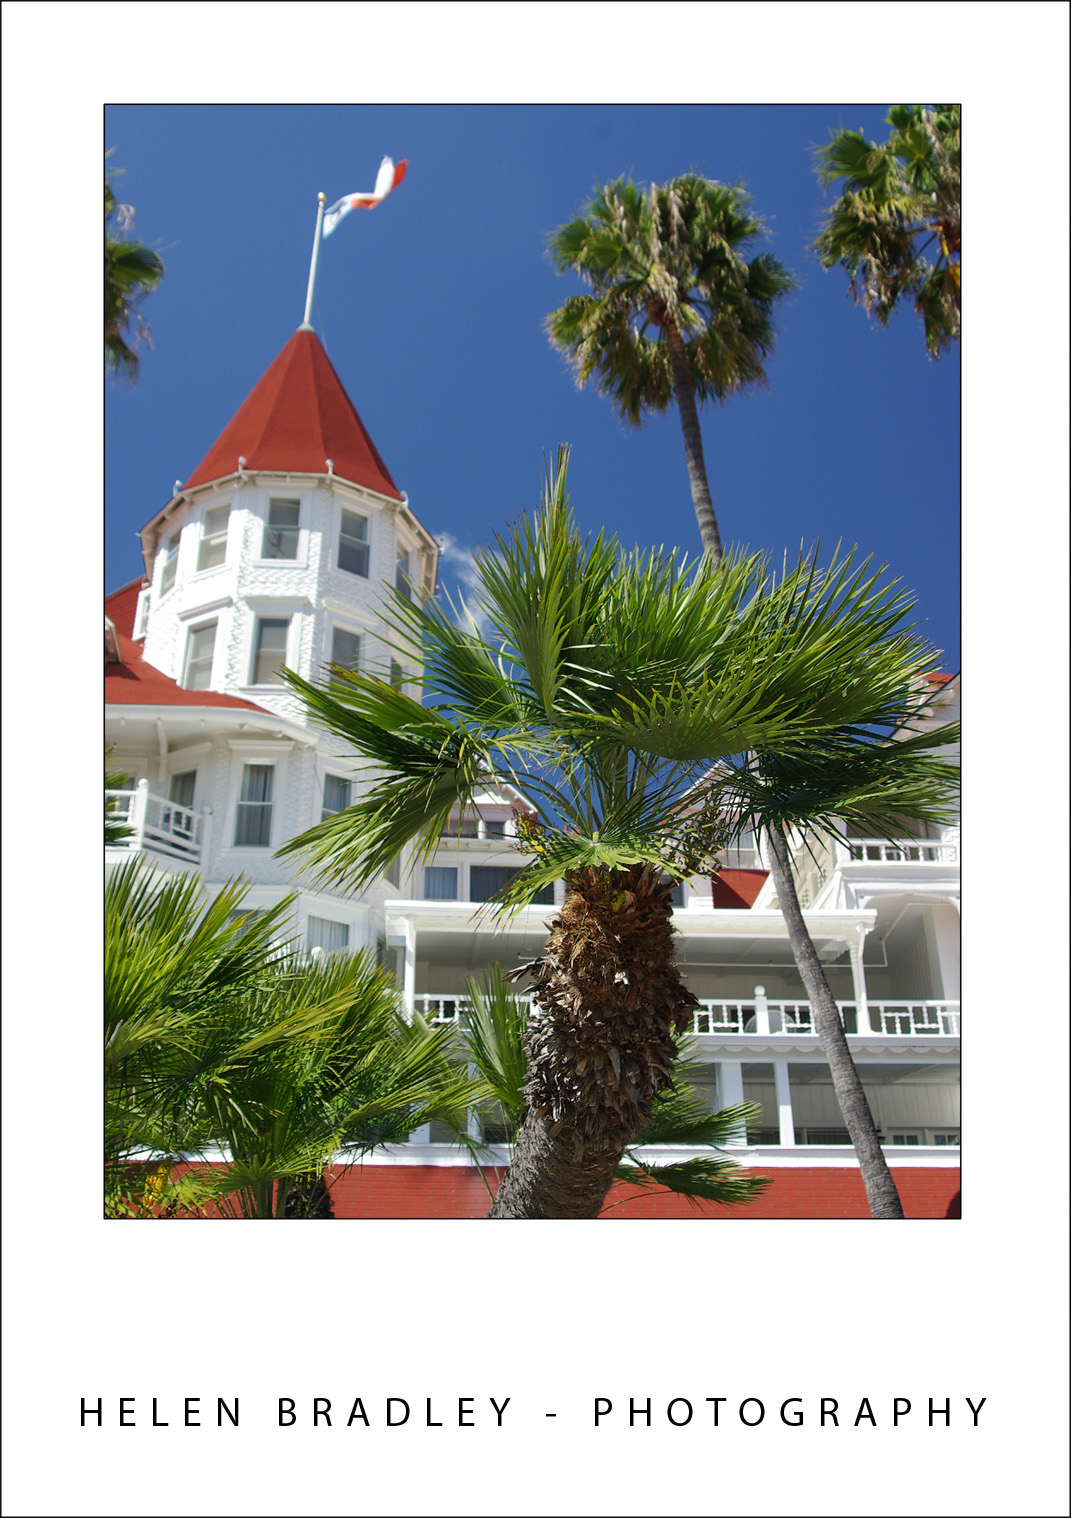
If you’re off to popular tourist destinations for your summer holidays you’ll get plenty of photographic opportunities. You’ll also come up against the problem of capturing both the monument and the person in front of it both in focus.
If you’re using a digital SLR, set the aperture to a value around f16 or f22. This ensures that everything in the image will be in focus. On the other hand if you want the person to be in focus and the monument attractively out of focus, set the aperture to around f2.8 or f3.6. Make sure to focus on the person and use the camera flash to light their face. With a large aperture like this you will get a small depth of field around the subject with everything else in the image thrown out of focus.
Whenever you want to capture a very large object like a monument and a person in front of the monument, you run the risk of capturing the monument at a good size and the person will be so small as to be almost unrecognizable in front of it. There are a couple of ways to avoid this happening. One is to bring the subject very close to the camera so that you get both at good size in the image. The other is to take more than one photo.
Capture the monument at full size and then place your subject closer to the monument in front of an area which has interesting detail in it. Take the second image this time focusing on the portrait aspect and using the monument details as a pleasing background.
Thank you for the helpful tips, as I will be shooting the out side of a old school house. I will take your advise.
When the sun is so bright I can not see my screen to view the photograph This could be a problem.
Thanks again