Thursday, May 26th, 2011

30 Second Photoshop Background

Here’s a quick and easy way to make an interesting background in Photoshop that totally rocks.

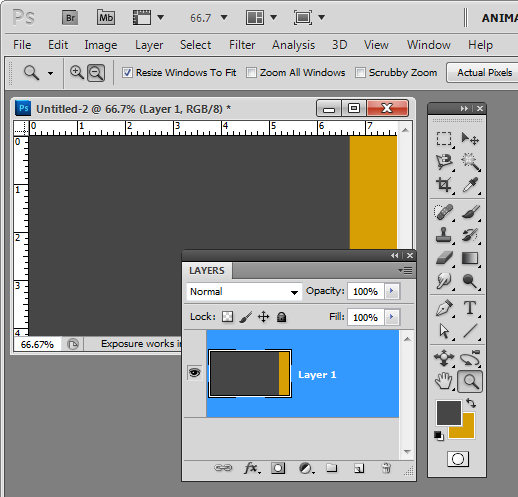
Create a new image the size of your background and fill it with a color. Make a selection on either edge of the image – I made mine on the right – and fill it with your second color.


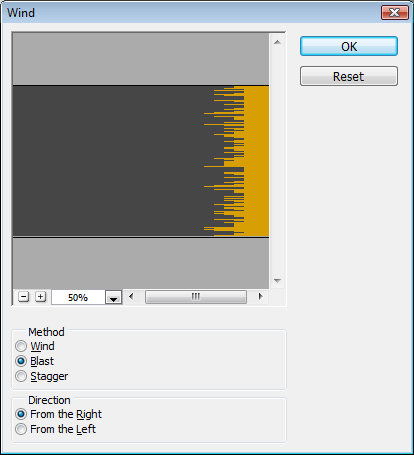
Now choose Filter > Stylize > Wind and select the Blast and the From the Right options and click Ok. When you do the filter will be applied to the image and the edge will begin to fracture.

Continue to apply the filter by pressing Ctrl + F (Command + F on the Mac) – this shortcut repeatedly reapplies the last filter you applied. Stop when you get the effect that you want.

You can stop here or you can go ahead and apply and additional filter to the image.

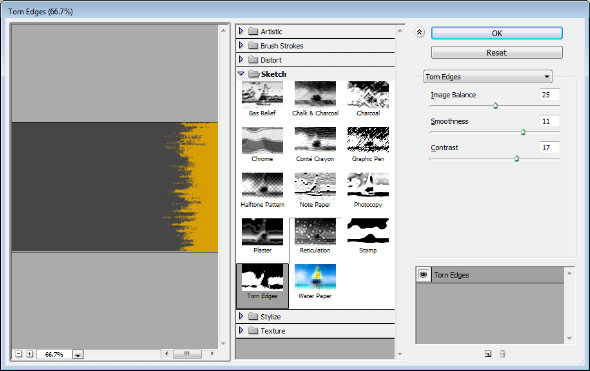
Filters such as Splatter, Patchwork, Glass, Torn Edges, Water Paper and Rough Pastels all give an interesting result.

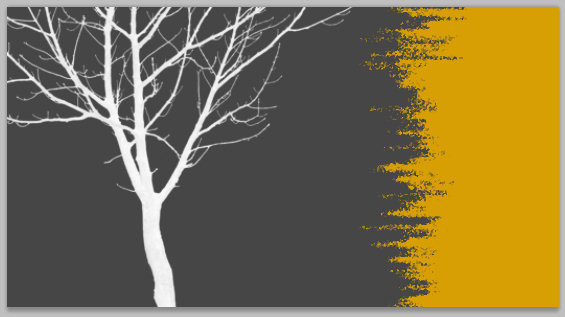
Finally, I’ve been using some cool tree silhouette brushes lately and I’ve finished the design off with a simple tree brush stroke.

Helen Bradley

Wednesday, May 18th, 2011

Converting PDF to JPG

pdf to jpeg jpg online conversion free

If you’re a follower of my blog, you’ll know that I often need to convert a PDF file to some other format. I’ve showed you in the past how to extract data from a PDF file direct to Word but today my problem was that I wanted a well laid out pdf document to retain its look.

Unfortunately, the way it was created I couldn’t edit it to add my signature but I could do this in Word if I could get it there.

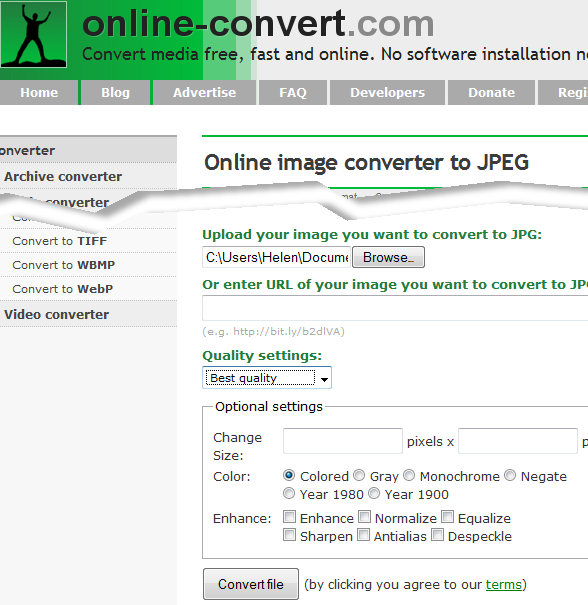
The solution was to convert it online using http://image.online-convert.com/convert-to-jpg. This easy to use site converts from 120 or more formats to JPG which is exactly what I wanted. It even allows you to upload a hefty file – up to 100 MB which means that it’s pretty damn big.

All you need do is to either enter a URL of the file to convert or click Browse and grab a file from your computer. You can set the quality settings – I selected Best Quality, and then optionally set the final image size, color and even apply some enhancements such as sharpening, anti-alias, despeckle and so on.

For a simple PDF to JPEG conversion, I left everything as it was and clicked Convert File. In less than a minute I had a zip file ready for download.

I could also have opted to have it emailed to me. You can, once you’ve downloaded your file, select to delete it or download it up to ten times within a 24-hour period. I opted to delete my file which is a nice option when a file may contain sensitive information,

If you visit the home page at http://image.online-convert.com you’ll have lots more options for converting to and from different formats.

This site is dead easy to use and it does the job – you simply can’t ask for more than that.

Helen Bradley

Thursday, May 12th, 2011

Make a Path Bigger or Smaller in Illustrator

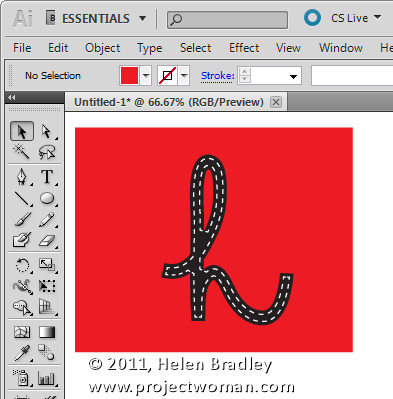
I had a job recently which involved preparing a scanned drawing for a screen printer. One problem was that many of the lines in the image needed to be thicker so they would stand out when printed. The lines had been converted by the tracing application to be filled paths. Essentially I needed to make all black filled paths larger so that the blacks would print more strongly. The job could have taken five minutes or five hours depending on whether or not you know how to expand a path.

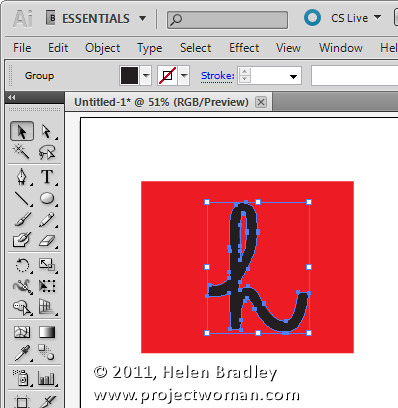
The first thing to do is to select the path or paths to alter. For me that involved selecting one of the black filled paths then choosing Select > Same > Fill Color to select every other path that has the same fill color. If you have only one path to adjust you’ll select just that path.

Make a path larger or smaller in Illustrator

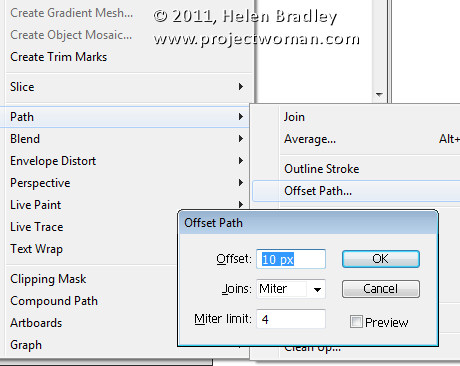
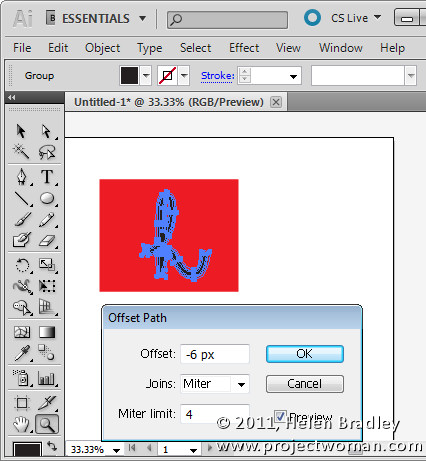
Now choose Object > Path > Offset Path. While offset path doesn’t sound much like it will sort out the problem it is the tool for resizing paths and with it you can grow or shrink a path, making it larger or smaller by a value of your choice.

For my project I used an increase value of 0.5 points but you can type any value into the Offset box – make sure Preview is checked so you see the result. Use a positive value to make the path larger or a negative value to make it smaller – as I did below. To control joins choose Miter, Round or Bevel and set the Miter Limit. Click Ok to confirm the change.

Whenever you need to scale a path in Illustrator to make it larger or smaller the Offset Path tool offers a quick and easy solution.

Helen Bradley

Monday, May 9th, 2011

Set a background for a MadPattern pattern

If you’ve started using the MadPattern templates to create repeating patterns you may have run into some problems when trying to change the background color.

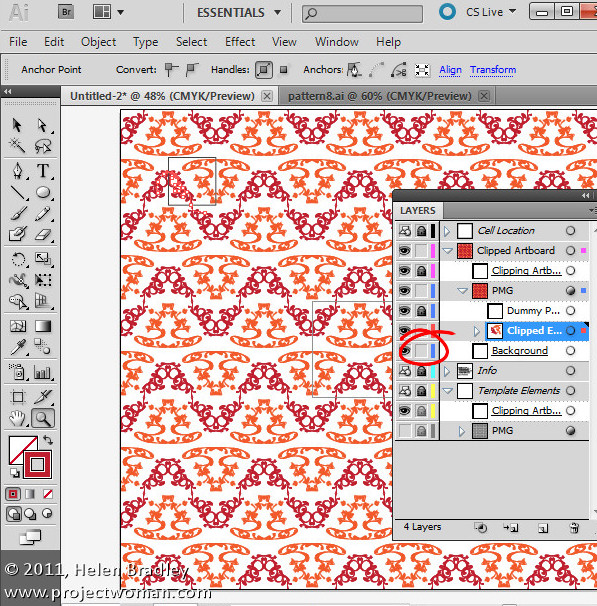
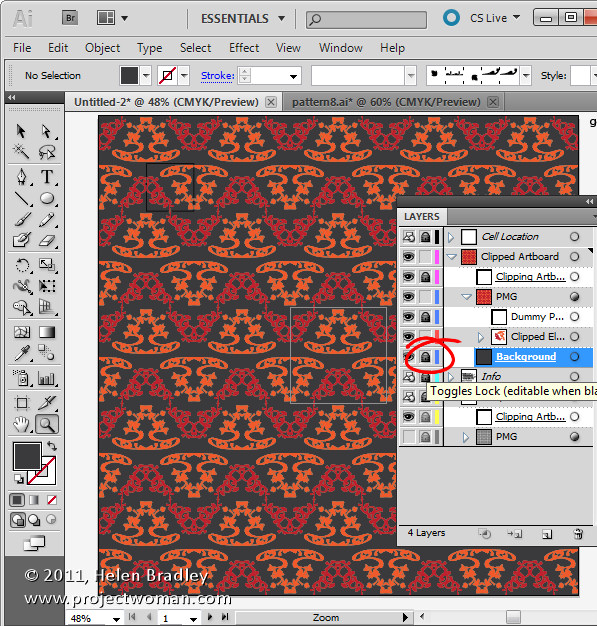
To do this first display the Layers palette using Window > Layers and locate and select the background layer. Click the lock icon for this layer to turn it off – this unlocks the layer making it editable.

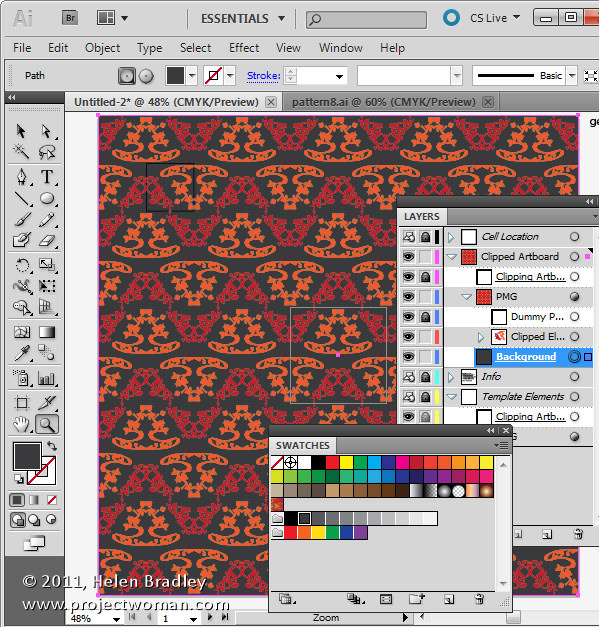
Target the background layer by clicking the circle to its immediate right in the layer palette now select the fill color icon in the Tools palette and select a fill color for the background.

When you’ve done this you can reselect the lock icon in the Layer palette so the background layer is protected.

Click again on the clipped elements path to continue to work with your design.

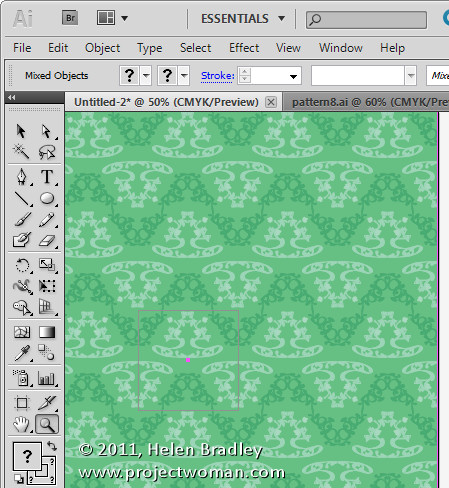
In a future post I’ll show you how to quickly and easily create new color combinations to use to recolor the pattern.

Helen Bradley

Friday, May 6th, 2011

Illustrator – my Direction handles have gone!

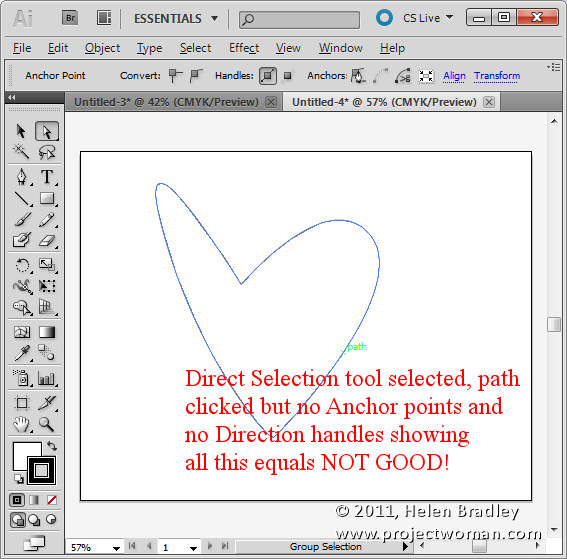
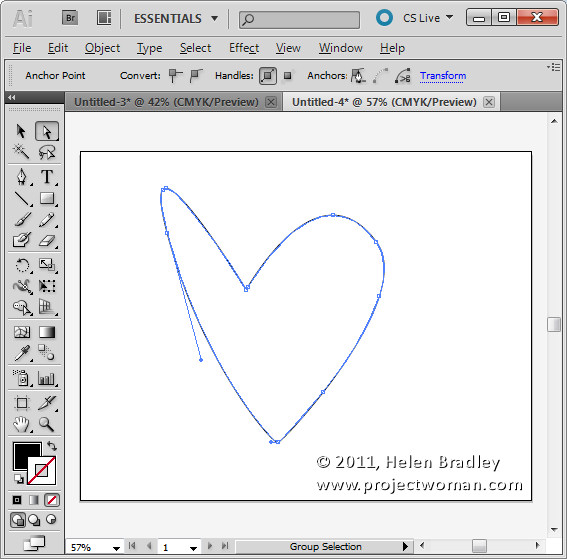
Ok, this has probably happened to you before and it is horribly frustrating. You draw a shape with the Pen tool or you open a file with a shape on it. You click the Direct Selection tool and you click on the shape expecting the anchors and direction handles to appear. But they don’t!

Your direction handles and anchors are gone, vanished, not there – nada – yikes!

The solution is to press Control + H (Command + H on the Mac). Quite simply it’s the shortcut for Hide Edges and that means it’s not exactly obvious that it hides or reveals anchor points and direction lines – like these are edges? Well, I for one don’t call them edges – but, swallow your frustration with the poor terminology and hit the keys – it works.

Now write it down – share it with your friends, someone you know needs this shortcut key – today!

20110924-160039.jpg

Helen Bradley

Tuesday, May 3rd, 2011

Quick and easy pattern making in Illustrator CS4 & CS5

Creating repeating patterns in Illustrator can be a time consuming process but, with MadPattern, it can be simplicity itself.

MadPattern is a series of templates you can use to quickly and easily create repeating patterns in Illustrator CS4 and CS5.

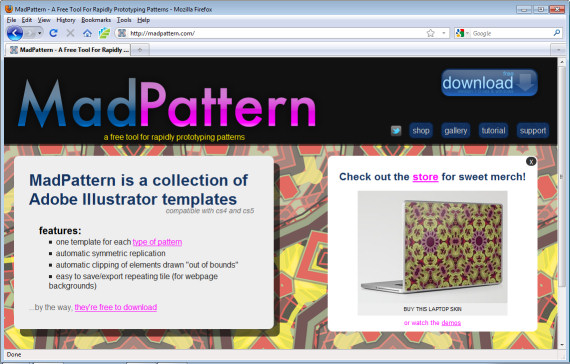
To get started, visit http://madpattern.com and click the download icon to download the zip file. Double click it and extract its contents.
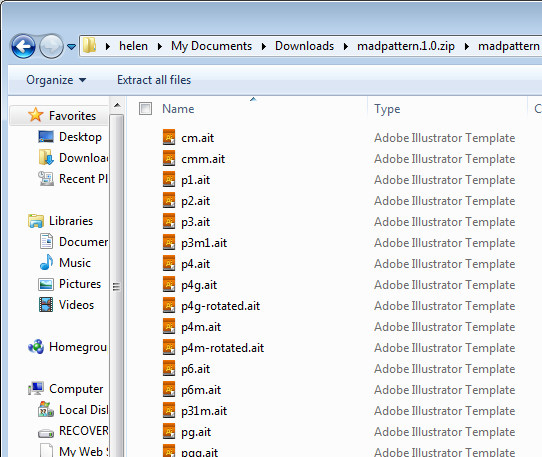
You’ll need to put these files in your Illustrator template folder. The easiest way to do this is to open Illustrator, choose File > New from Template to open the template folder. In Windows, right click and choose New > Folder and add a new folder for these templates. Drag and drop the templates that you just unzipped and extracted – they are all .ait files – into the template folder that you just created.
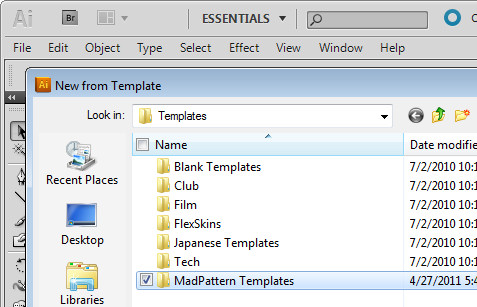
You can now select a template to get started with. I suggest you choose p3m1.ait at this point.

What you’ll see on the screen is a grid with characters and some instructions along the right of the screen.
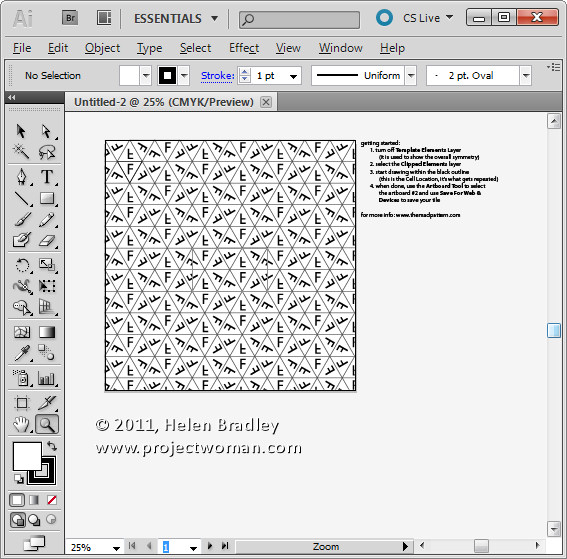
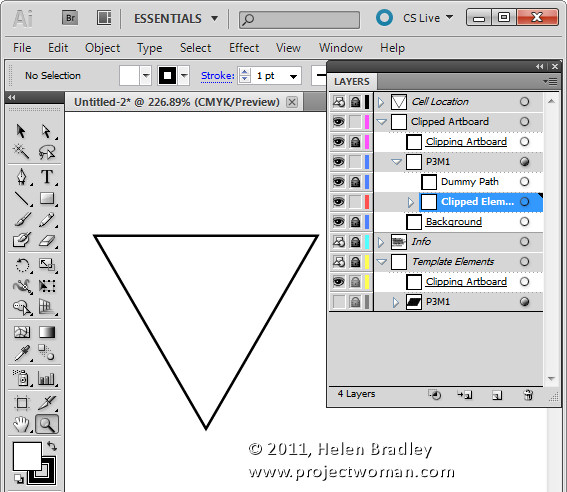
Open the layers palette (Window > Layers) and locate the bottommost layer which will be called p3m1 (the template’s name). Click its visibility icon to make it invisible.

You’ll now see clearly the triangle in the top left corner of the Artboard and a rectangle in the middle of it. Before you leave the layers palette, click the Clipped Elements layer to select it. This is the layer you will work on.

Use the Zoom tool to drag over the topmost triangle to make it larger – this is where you’ll create the image for your pattern.
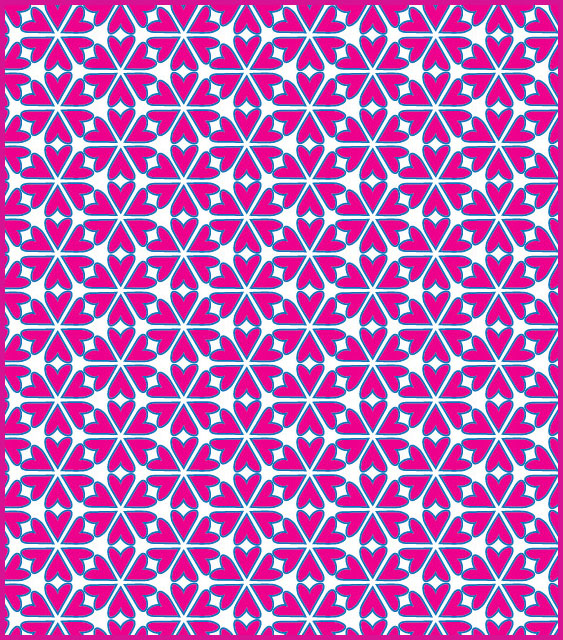
Create a shape within the triangle. For example, you can select the pencil tool and draw a wiggly line or use the pen tool. Here I’ve drawn a rough heart shape using the pen tool – as soon as the shape is created you will see it repeated across the Artboard.
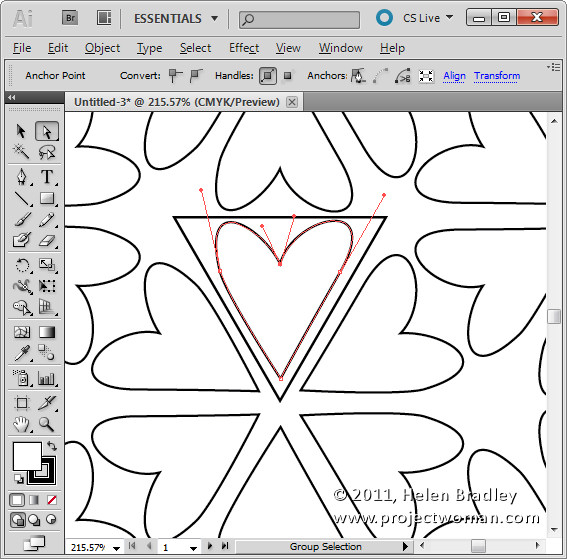
You can now use the Direct Selection or any of your favorite tools in Illustrator to fine tune your shape – for now, keep the shape within the triangle.

Choose a fill and stroke color for your shape.
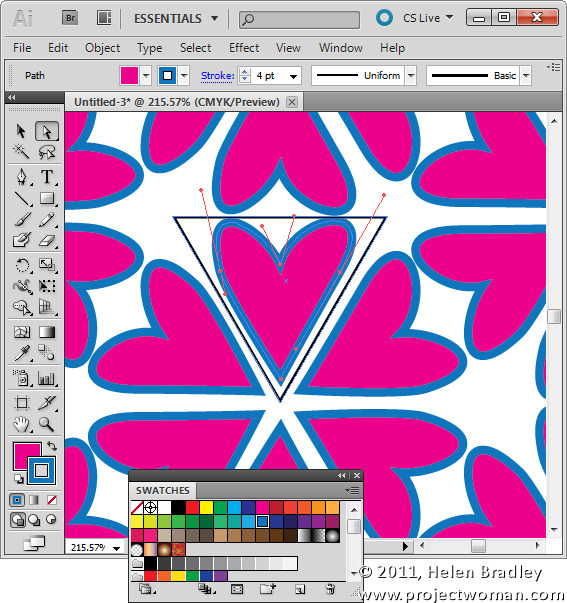
Each of the templates in the MadPattern download contains the same basic elements and works in this same way. You will find a small triangle on the template in which you design your pattern and the remaining elements in the template take care of the rotation and duplication of the shape.
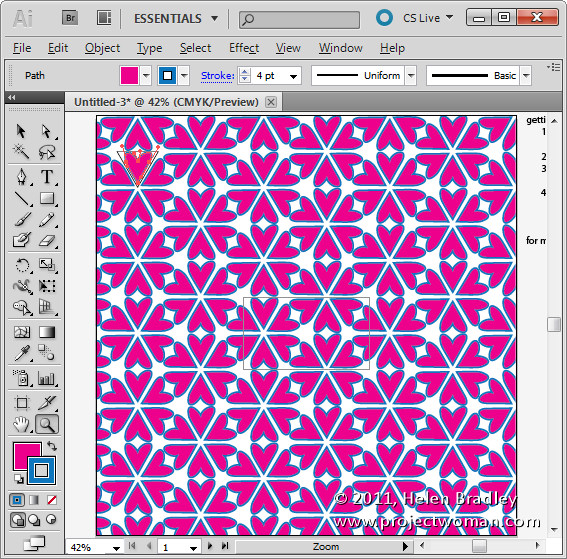
In this tutorial I’ve shown you how to design within the triangle shape but this is only the tip of the iceberg of what you can do – the edges in most templates can be used to create mirror shapes as I’ll show you in a future post.

In the meantime you can learn more about the math behind repeating patterns by visiting http://en.wikipedia.org/wiki/Wallpaper_group. This Wikipedia article includes reference to a 17 groups – click on any of them to learn more about the pattern. You can work backwards from this article by finding a pattern that has the elements that you want to use rotated as you want to see them and then identify which of the MadPattern templates you’ll need to use to create it.

I have also created a page showing thumbnails of all the MadPattern patterns so you can quickly preview them to see which ones you want to use.

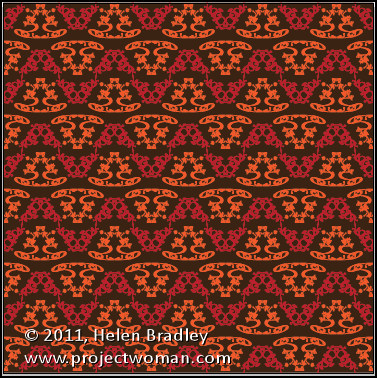
In future blog posts I’ll show you how to change the background color, how to save and reuse your patterns and how to create way more complex patterns with ease.

Helen Bradley