Learn to turn an image into one that looks like it is cut from paper and taped to a page. This effect uses the Quick Selection tool, Stroke Style, a filled layer and commercial brushes.
Transcript:
Hello, I’m Helen Bradley.
Welcome to this video tutorial. In this tutorial I’ll show you how you can create a hand cut image effect in Photoshop. Before we get started with this tutorial let’s have a look and see what it is that we’re aiming for.
I’m going to show you the original image I’m going to be starting with here. And what we’re going to do is isolate the image on its layer. We’re going to add a sort of white border around it so it could be used in various collage projects. And what I’m going to do here is actually show you it on a background here so I’ve got it dragged into a collage project. And so we’re going to see how we can create this sort of white edge look very easily for our images. So first of all let’s tuck this one away. I’m just going to delete those layers before we start and let’s just tuck that away and let’s go back and get our bird image.
Now the first thing that I would do with this particular image is to convert the background layer into a regular layer. So I’m just going to get everything back to what it was. And if this layer here that we’re seeing in front of us were the background layer I would just double click it to convert it into a regular layer. The next thing I’m going to do is to isolate this bird and the pieces that I want. Now I’m using the Quick Select tool because it’s quite a good tool for this and it’s going to make the job go pretty quickly.
So I’m just selecting over the areas of the bird that I want. And if the selection goes too far like it just did there I’m just going to hold the Alt key as I drag over the area that I want to remove from the selection. So I can select over the pieces if I want to add a bit to it. I’m just checking to make sure the bird looks pretty good but this could be edited later on. This effect is actually editable. So if you find that there’s a chunk of the bird missing or there’s a chunk of the background in it that you don’t want to include you can easily get rid of that later on.
So I’m just making a reasonable selection here and then I’m going to add a layer mask to this layer. So I’m just going to click here on the Add Layer Mask icon and that isolates the bird from its background. And you could brush this layer with black or white paint to make the edges smoother or whatever you want to do or you could add more of the bird or subtract it by just painting on this mask. But for now we’re going to assume that the mask is just fine. I’m going to add a new layer by clicking the Add New Layer icon here and I just want to fill it with this blue color.
So with the blue color as the foreground color I’m going to press Alt Backspace, Option Delete. You can see I could do a bit of tidying up in here. I’m going to leave you to do that yourself. With this particular layer selected I’m now going to add a stroke to it. So I’m going to click the Add Layer Style. I’m going to click Stroke. The color stroke I want is white or whatever you were opting as your sort of paper color because we want the idea that this bird has been cut out of a piece of paper.
So you could use an off white if you wanted to. I’m just using plain white. And I’m going to increase the size of this so it looks as if there’s a border edge around the bird and you can make that size whatever you want. It needs to be on the outside. If you put it on the inside you’re just shrinking your bird down and you’re losing detail here. It doesn’t want to be in the center either. You’ll have the same problem. It must be on the outside.
So having done that, I’m just going to click Ok. So essentially that’s my cut out bird and I could just drag and drop him into a collage if I wanted to. But I want to show you quickly how to do that tape effect. I’ve got this installed as a brush and all I did was look for tape as a brush and there are a lot of free commercial brushes that you can use. So here’s my tape brush. I’m just going to use this one. I’m going to make sure that I’m using red because I kind of like using red tape and I’m going to do it on a brand new layer.
So I’m going to size my brush down using the square bracket key and just press three or four times to get that tape effect. Now if I want to use the same piece of tape over and over again I’ve got this brush panel open so I can now rotate the brush so that the tape is where I want it to be. If I just open up the spacing we’ll be able to see what angle it’s going out at and that will allow me to then stick it onto the bird in the angle that I want it to appear at. And I could obviously have of course used a different piece of tape if I wanted to but I’m just doing this very simply and very quickly.
So now that we’ve got our tape let’s go back and get our background, this stripe background that I created, and we’re going to our bird image. I’m going to take the tape layer and the bird layer and just drag and drop them together into my collage. And now I can move it using the Move tool, size it if I want to and it’s now in position on the collage. So that’s how you create a sort of cut out taped on effect in Photoshop very easily using a stroke.
I’m Helen Bradley.
Thank you for joining me for this video tutorial. Look out for more of my tutorials on this YouTube channel. Please consider subscribing to my channel and visit my website at projectwoman.com for more tips, tricks and tutorials on Photoshop, Lightroom, Illustrator and a whole lot more.
Here’s a quick and easy way to make an interesting background in Photoshop that totally rocks.
Create a new image the size of your background and fill it with a color. Make a selection on either edge of the image – I made mine on the right – and fill it with your second color.
Now choose Filter > Stylize > Wind and select the Blast and the From the Right options and click Ok. When you do the filter will be applied to the image and the edge will begin to fracture.
Continue to apply the filter by pressing Ctrl + F (Command + F on the Mac) – this shortcut repeatedly reapplies the last filter you applied. Stop when you get the effect that you want.
You can stop here or you can go ahead and apply and additional filter to the image.
Filters such as Splatter, Patchwork, Glass, Torn Edges, Water Paper and Rough Pastels all give an interesting result.
Finally, I’ve been using some cool tree silhouette brushes lately and I’ve finished the design off with a simple tree brush stroke.
I just made a set of fun Photoshop steampunk brushes. They are made from clock parts and they have a photographic quality to them. The collection includes a range of gears and some funky metal bits too. They are sized upwards of 600 pixels and some are as large as 2400 pixels.
They are free brushes for personal use and an inexpensive commercial license is available.
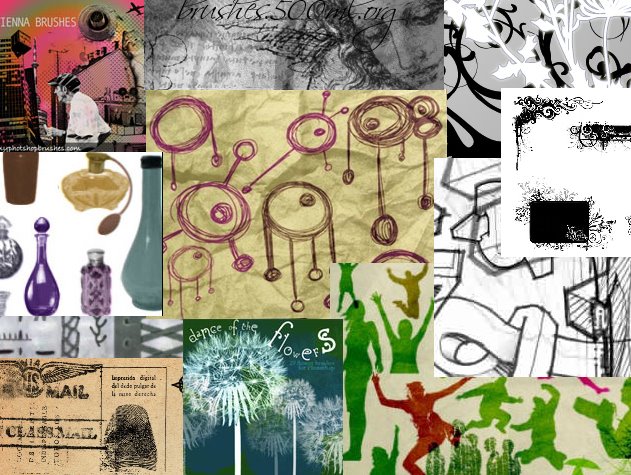
Yup, I am a certified brush junkie and I just love free downloadable Photoshop brushes. However, I’m also a designer so I need to know what I can use for my designs and what I can only use for personal projects.
So.. I created this web page with a list of my favorite brushes. You get to see pictures of the brush sets, you get some detail about the set and the all important licence information. Click any of the links or the images themselves to go direct to the web site to download the brushes you like.
It’s all too easy and, best of all, I’ll be updating the page regularly so you’ll always find something new in the list and I’ll be adding links to my own custom brush sets so you can download them too.
If you have a favorite brush set you think I should include in the list, send me an email to helen(at)helenbradley.com, tell me about the set and give me the download link. If I like it, I’ll add it to the list and credit you for finding it.
You can also get regular updates on my favorite brushes by following me on Twitter. I post a new set nearly every other day.