Tuesday, April 8th, 2014

Create a stepped edge gear shape in Illustrator


Here’s how to easily create a shape with a stepped edge much like a steampunk gear, in Illustrator

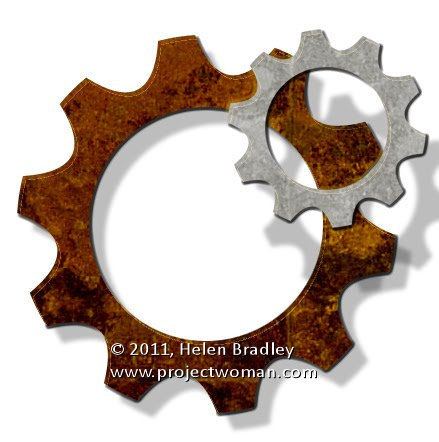
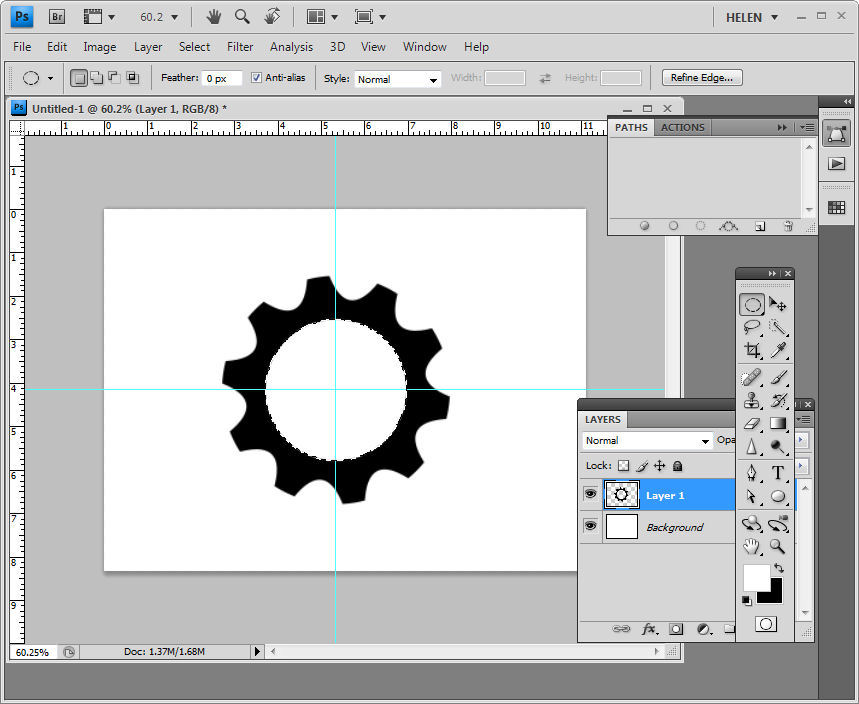
I love steampunk and I’ve even been known to create and give away a set of free steampunk brushes here on Projectwoman.com. Today, however I’m talking about  how to make your own steampunk shapes. A reader approached me and kindly drew out the shape he was interested in achieving and this is what he wanted:

Here’s how to do it easily using the Stroke options in Illustrator.

Draw a circle by clicking the Ellipse tool and holding Shift as you draw out a circle. I filled mine with black and added a thick grey stroke around the circle. You can make your stroke and fill the same, I’ve made them different so you can see what is happening.


Click the underlined word Stroke on the Tool Options bar to open the Stroke panel. Set the Cap to Butt Cap, enable the Dashed line checkbox, set the Dash and Gap values to your preferred values.  A good place to start is to set the Dash and Gap to the same (or nearly the same) value as the point size of your stroke. Then alter the Dash value to change the length of the dashes and the Gap value to change the gap amount. Click away when  you are done.


Now, with the shape still selected choose Object > Expand Appearance, then Object > Expand, leave Fill and Stroke checked and click Ok.


Now, with the shape still selected, in the Pathfinder palette (view it by choosing Window > Pathfinder), click the Unite icon (top row, far left). This creates a single shape with the edges you have described.


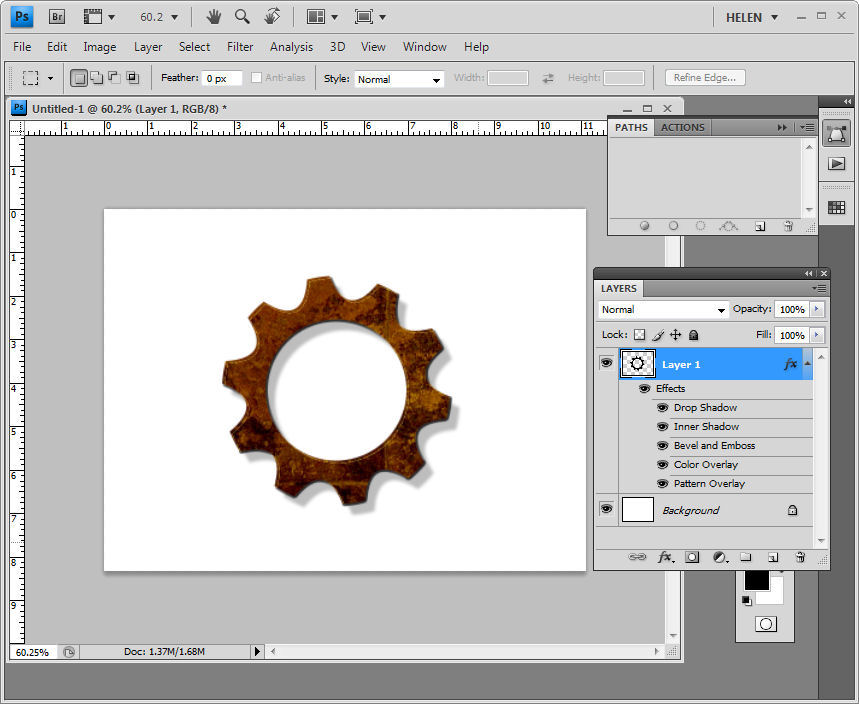
And that does it – there is your circle with a stepped edge and gear-like shape:


Helen Bradley

Wednesday, January 13th, 2010

New free Steampunk brushes


steampunk_brushes_image

I just made a set of fun Photoshop steampunk brushes. They are made from clock parts and they have a photographic quality to them. The collection includes a range of gears and some funky metal bits too. They are sized upwards of 600 pixels and some are as large as 2400 pixels.

They are free brushes for personal use and an inexpensive commercial license is available.

You can download them from projectwoman.com.

Helen Bradley

Wednesday, December 23rd, 2009

Photoshop – Making Steampunk gears

I’m very much into steampunk and creating steampunk gears and brushes. Here’s a simple way to create a gear using a Photoshop shape.
Step 1
Create a new document and add two guides using the rulers by selecting View > Rulers and then drag a horizontal and a vertical guide from the ruler lines into the middle of the image. These guides make it easier to line everything up. Add a new layer and select it so you aren’t working on the background layer.Step 2
Select the polygon tool. Select the down-pointing arrow next to the shape options and set Smooth Corners, Star, Indent Sides by 65% , Smooth Indents and set the Sides value to 10. Make sure at the far right of the tool options bar you have Exclude Overlapping Path Areas selected.
Step 3
Hold the Shift key, click and drag over the intersection of the gridlines and drag outwards to create the star shape. Check the Paths palette to make sure that you have a white shape in the middle of the image. If not, stop and start over again. Step 4
Now with the Subtract From Path Area Option selected on the tool options bar, select the Ellipse shape tool, hold the mouse pointer over the intersection of the gridlines and start drawing. Add the Alt key (Option key on the Mac) to center the circle over the shape.

Drag the shape across the star shape so that it intersects each of the star points. Let go the mouse pointer, then let go the Alt and Shift keys.

Check the paths palette to ensure that you still have a sort of circular white shape in the middle of the image. If not, you will need to undo this last step and start over.
Step 5
Select black as the foreground color and in the bottom of the paths palette, select the Fill Path With Foreground Color option. You should now have a gear shape filled selection.
Step 6
Delete the Working Path by dragging and dropping it on the trashcan icon in the Paths palette.
Step 7
Return to the Layers palette and select the layer that you’re working on. Select the Elliptical Marquee Tool and holding the Shift key, click and drag from the intersection of the gridlines outwards. Before letting go of the mouse button, add the Alt or Option key so that the shape is centered inside the gear shape. Position and size the circle inside the gear as this will be the middle hole. When you have what you want, let go the mouse button and then release the Alt (Option) and Shift keys.Step 8
Press the Delete key to delete the contents of this layer. As you’re working on a separate layer, this will make a hole through the image to reveal the background layer underneath.

Select Ctrl (or Command) + D to remove the marquee and choose View > Clear Guides to remove the guides. Step 9
You now have a shape that you can make a brush from or add layer styles to make it look more like a gear.

Helen Bradley