Wednesday, September 23rd, 2009

Photographing Indoors

Here are some tips for capturing great indoor photographs anytime:

Day time indoors
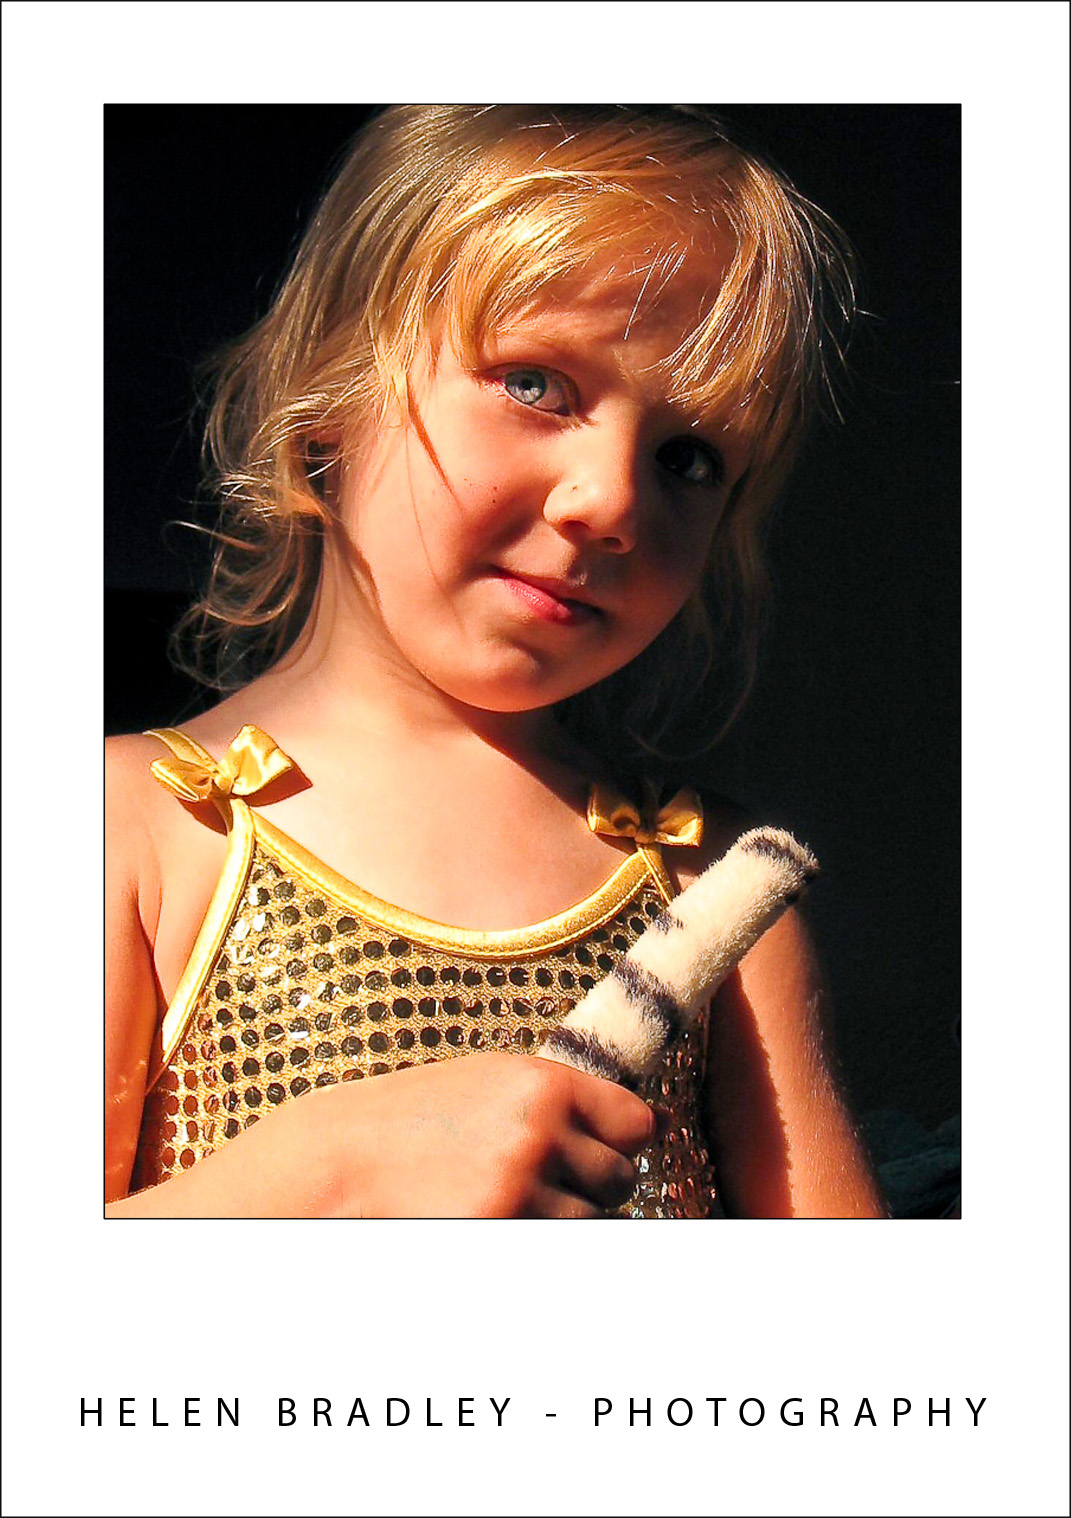
When photographing indoors during the day and when there is some light available, use it to light your subject.

Open the blinds or curtains on the side of the house which has the most light and put your subject where they will be lit by what sun or light there is available.


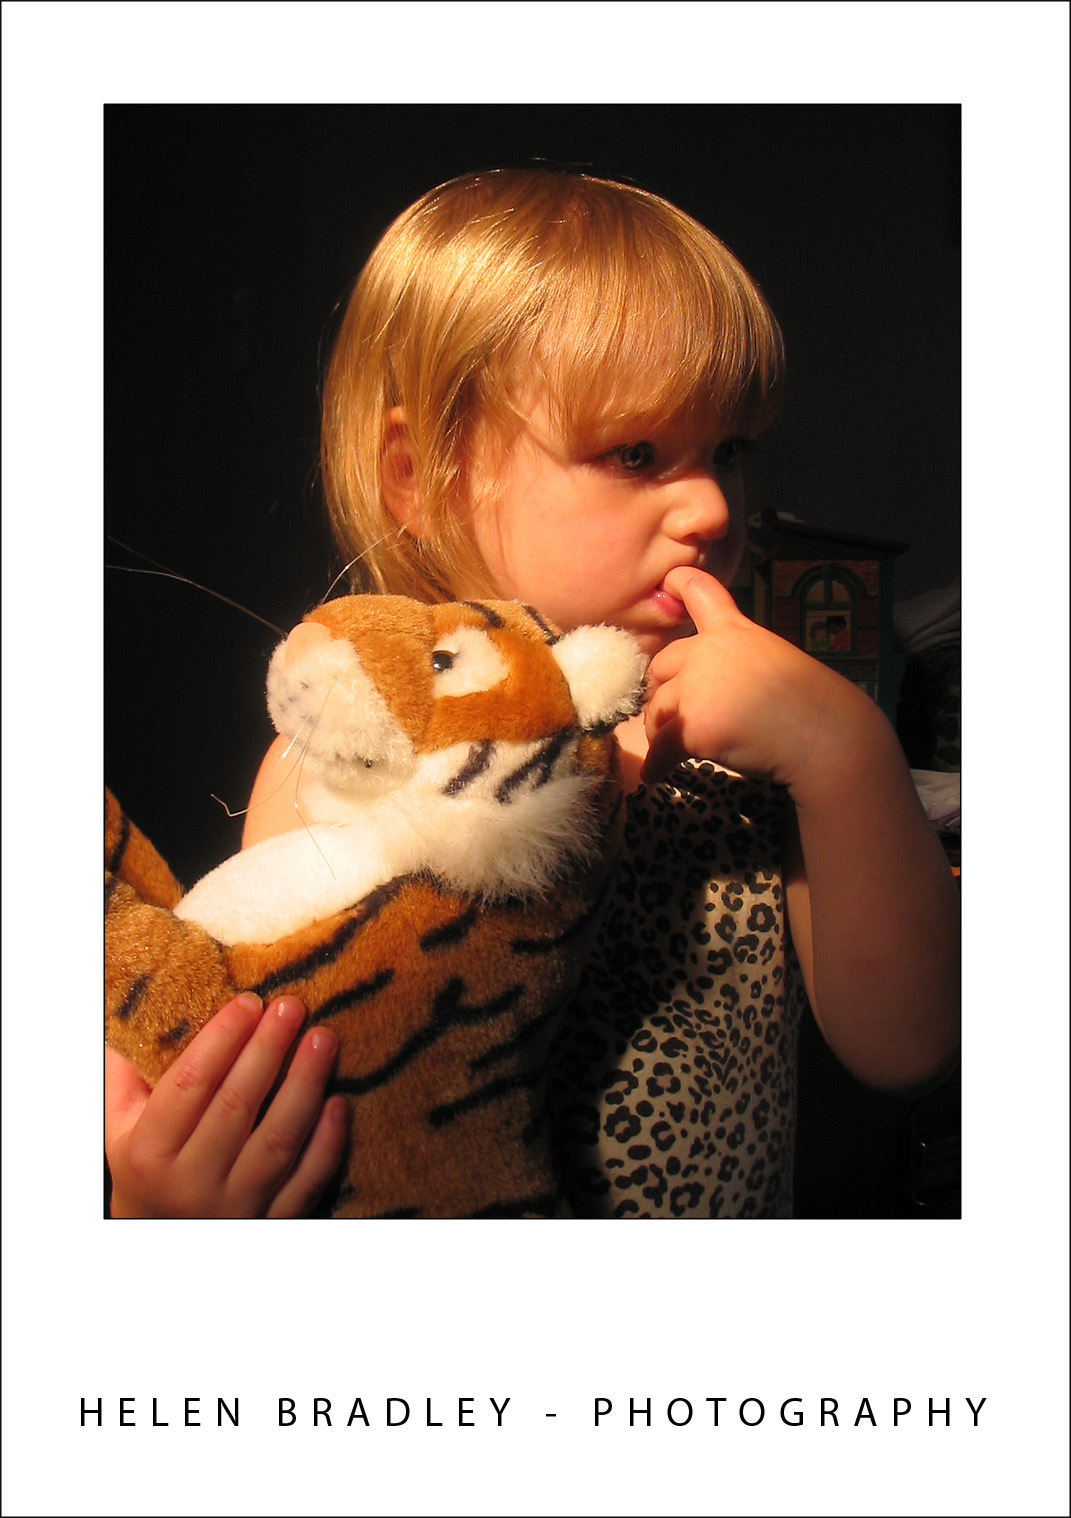
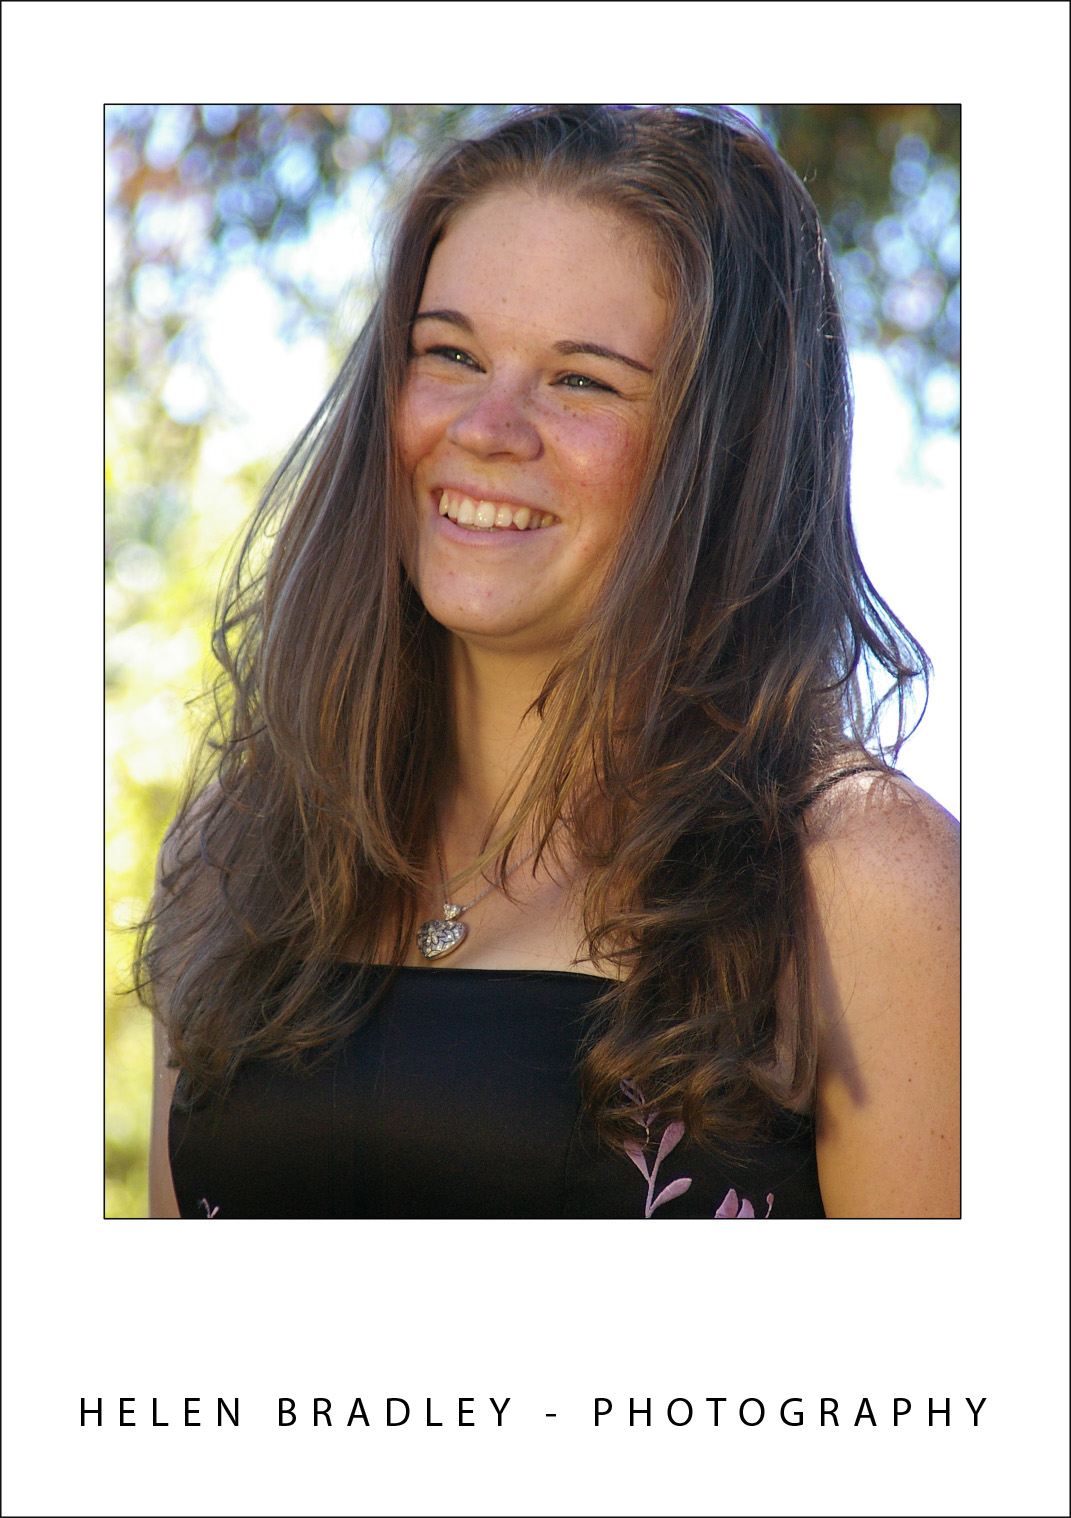
Use the light you have – here a skylight has provided all that was needed for a great daytime indoor photo.

Always check the background for the shot – cleaning up messy backgrounds is a task you can avoid by not capturing them in the first place.


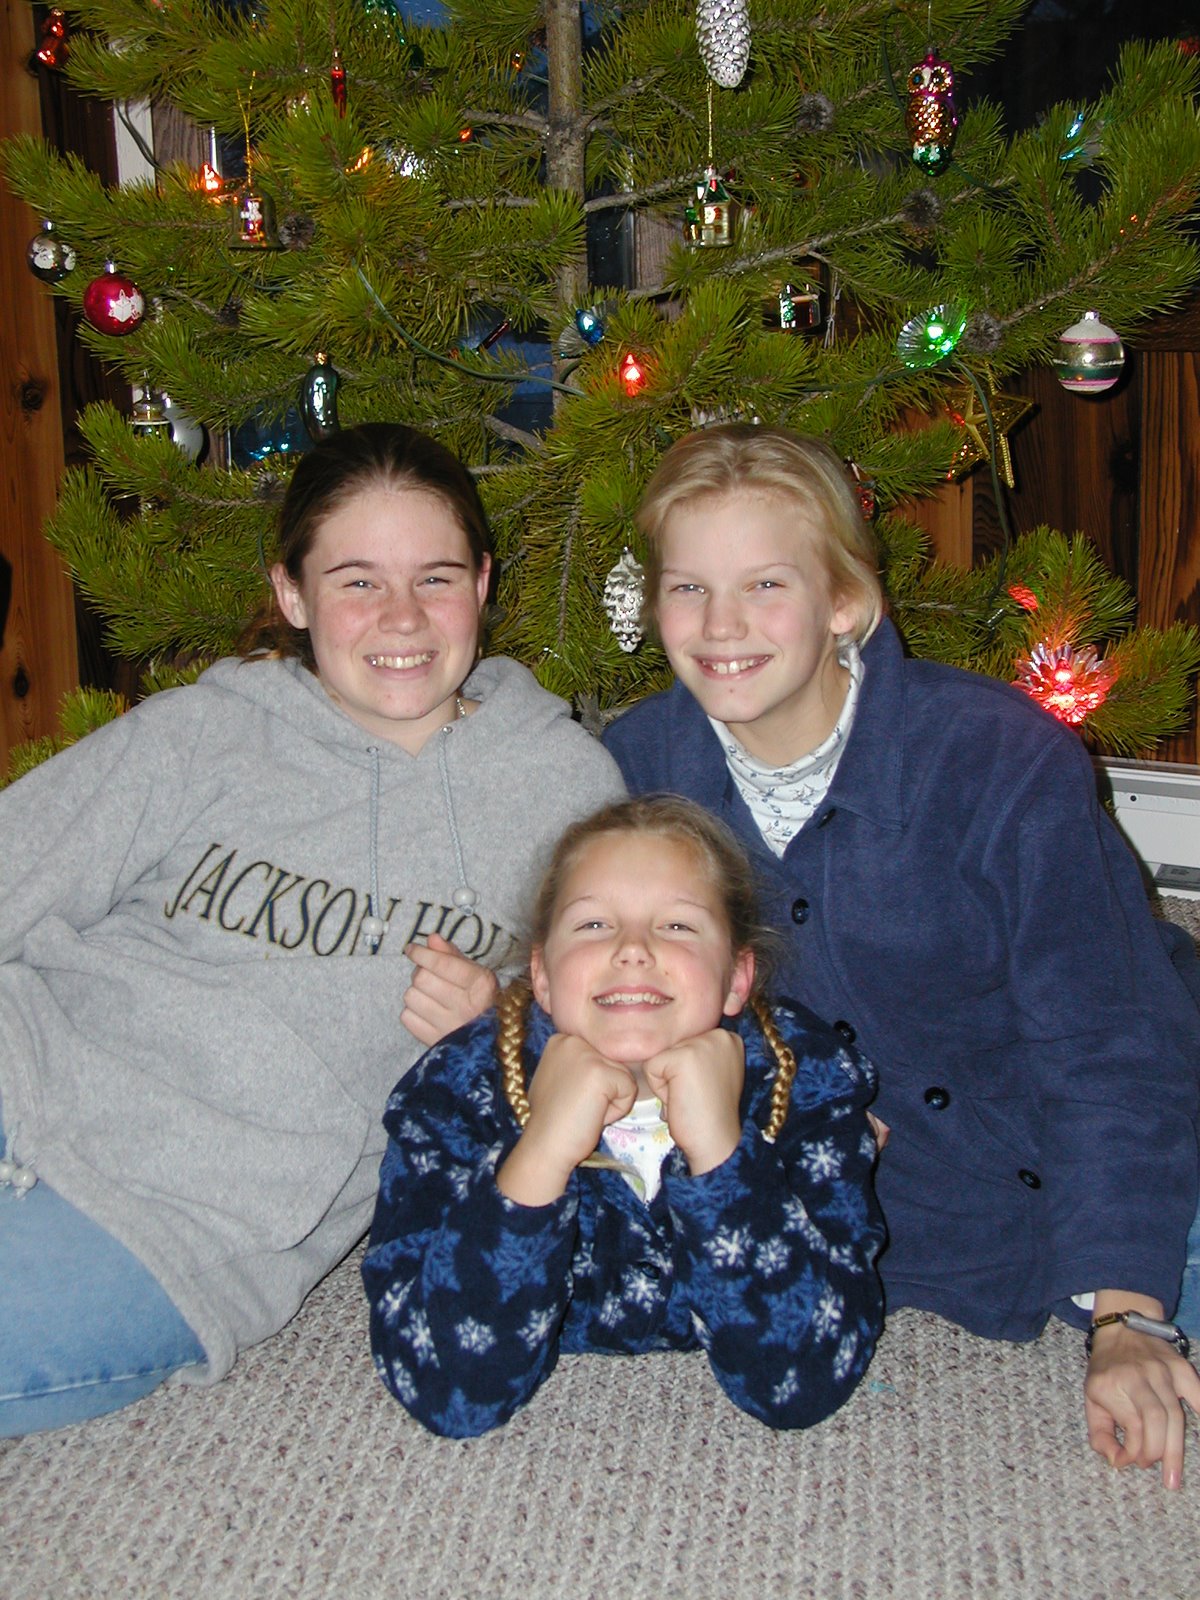
Here the photographer, my friend Brenda, composed the photo in the camera’s viewfinder and used the Christmas tree as an alternative to a more distracting background.

Night time indoors
At night indoors, you need to use what light you have available. You may have already have discovered that your camera’s flash doesn’t always flatter your subject. If you can, use overhead lights and strategically placed lamps to light the scene and give it some warmth.

Place desk lamps and other directional lights outside the camera range and use a table lamp to give the scene a visible light source and to provide a warm glow to the subject’s skin.

You can also use candle light to produce a warm glow in your photos – just take care when you use them.


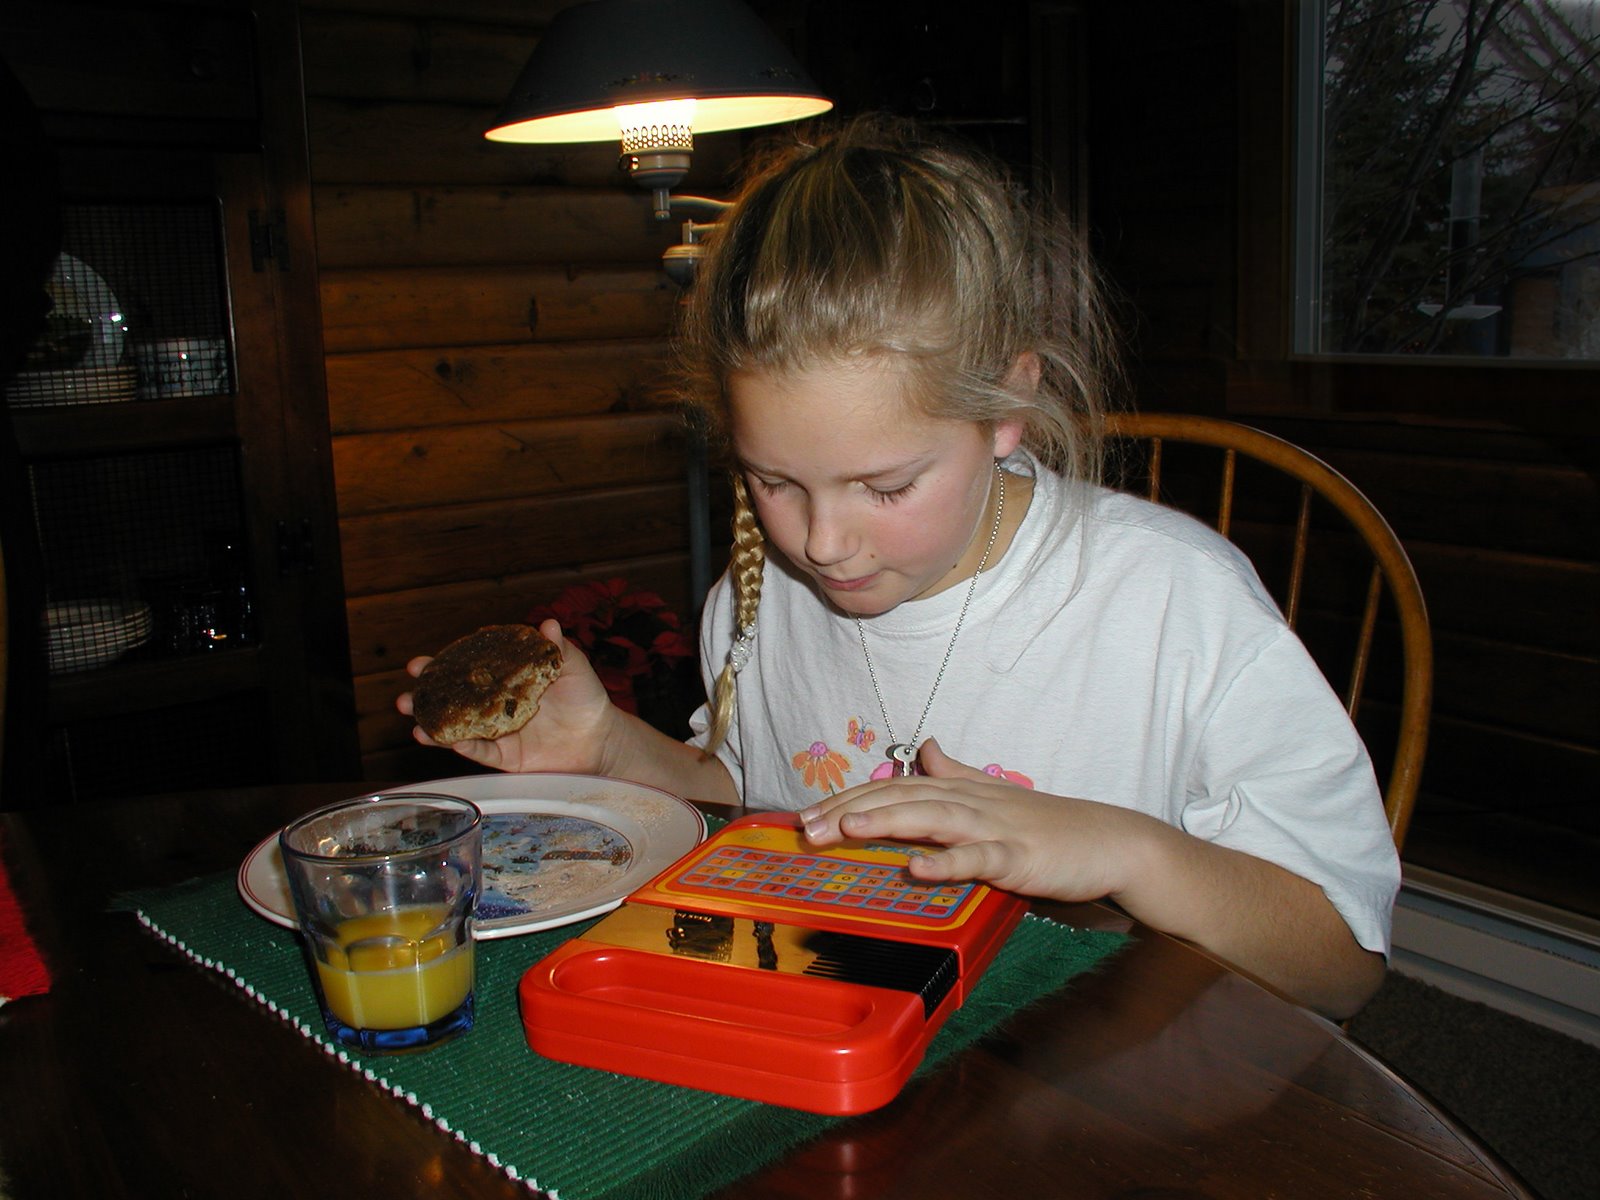
Another shot from my friend Brenda, here the lamplight adds a friendly glow to this image making it look warm and comfortable even though there’s snow outside.

Camera settings
When you shoot in low light you may find your point and shoot camera keeps the shutter open for a longer than the usual period of time to capture the scene. Often this is too long for you to hold the camera still.

Place the camera on a tripod to steady this, this helps you take longer exposure images and reduces the chance of the camera moving. If you don’t have a tripod, place the camera on table or bookshelf to steady it.

When you are taking images using a longer exposure, ensure that the person being photographed understands this so they stay still long enough for you to capture the shot.


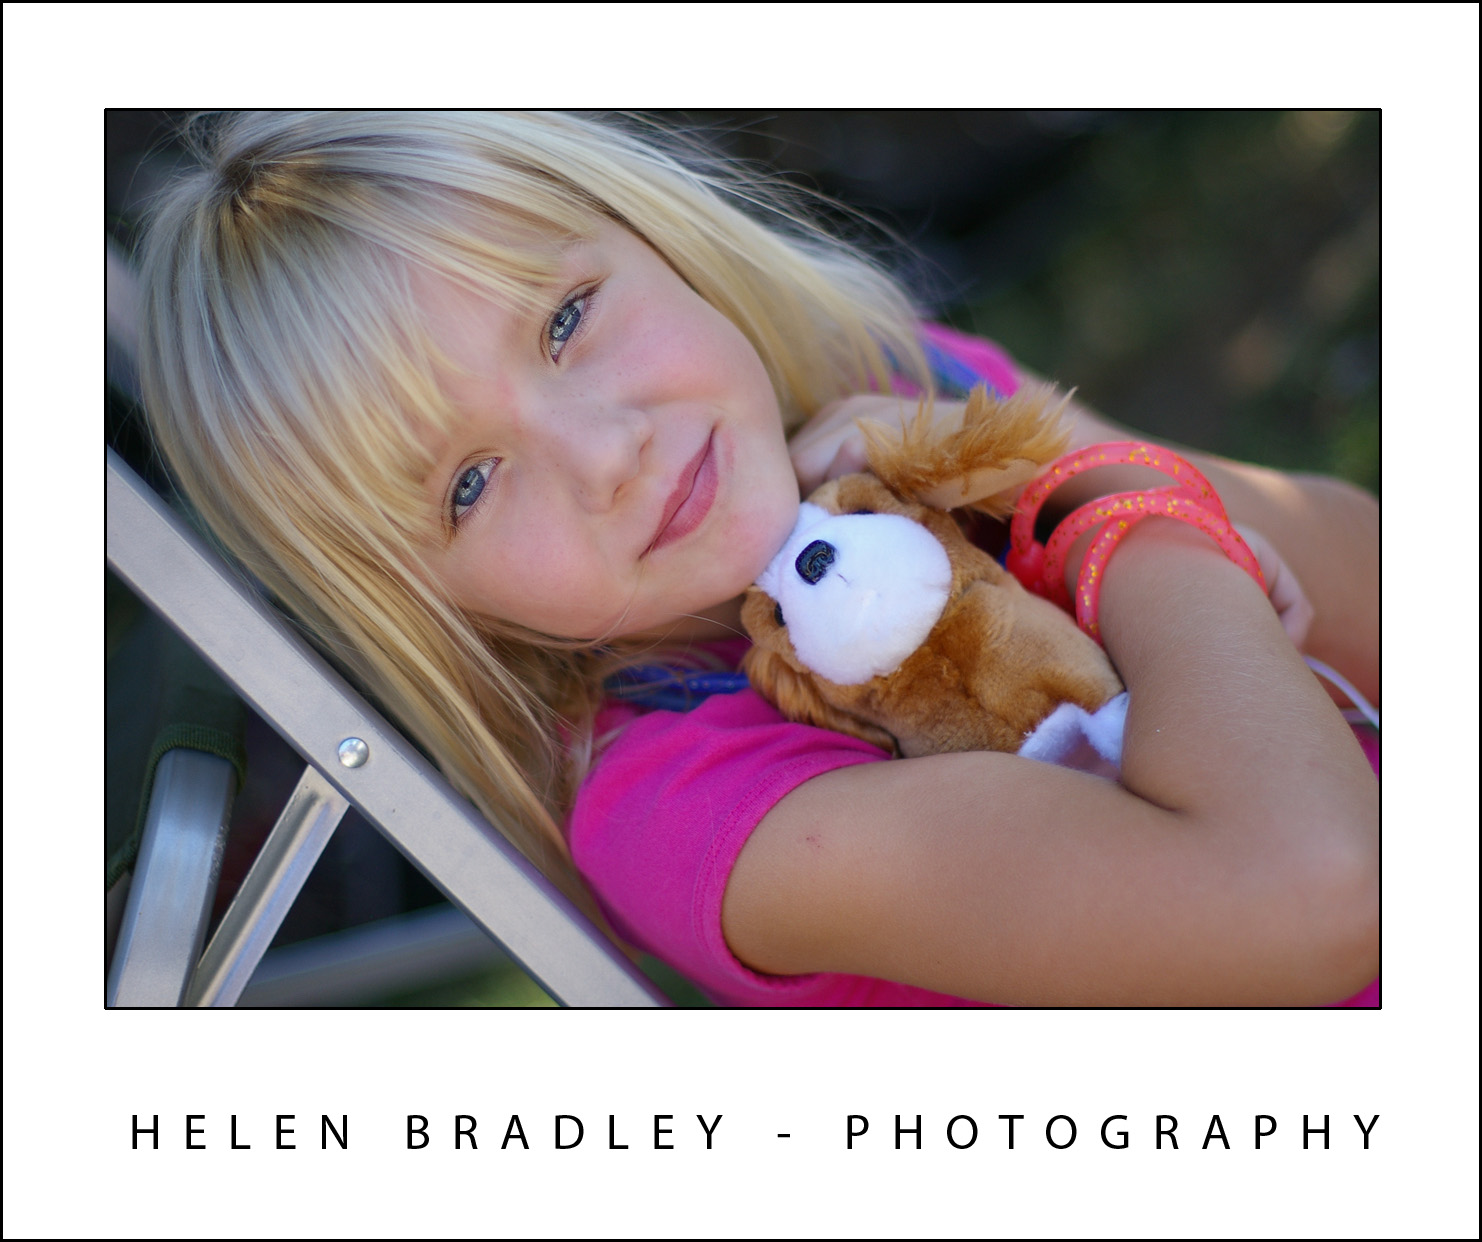
Flash light isn’t a bad light all the time – here it compliments this subject and produces a great night time portrait.

Helen Bradley

Thursday, June 25th, 2009

When to use your camera’s flash and when not to

Depending on how you use it, your camera’s flash might be your best tool for lighting a shot or the fastest way to ruin one. It’s all in how you use it, and when.

In this post I’ll show you how to tame your camera’s flash to ensure it works for you and not against you.

Configure the flash
The first step for using the flash on your camera is to knowing how to configure it so you can, in an instant, turn it on or off as required. If you’re unsure, check your camera’s manual to see the flash options you have, how to identify what the current flash setting is and how to change it.

This is vital even if you only ever shoot out of doors in full sun – that is, surprising as it might seem – one time you should use your flash and it’s one time your camera won’t default to using it. So, you need to know how to force the flash to fire.

When you are checking for flash options you’re sure to find that your camera has a redeye reduction flash option. This makes the flash fire twice, one low strength flash and one full strength flash. The first flash shrinks the pupil size of your subject so that you’re less likely to get a redeye effect in your photo.


The image on the right was shot with a fill flash to light the young girl’s face – it is a better photo than the one on the left.

Unfortunately your subject often misinterprets the purpose of the first flash and thinks the photo has been taken so they move away and you lose the shot.

It is often a better solution to disable the redeye reduction flash and use your photo editing software to remove redeye later on. You can reduce the redeye effect other ways too, one easy option is to increase the room lighting – the lighter the surrounds are, the less likely you are to get a redeye effect.

Some cameras also have a flash intensity setting so you can set the fill flash to flash but not at full power so you don’t blow out your subject’s skin but you still get a nice light.

How far can you flash?
If you’ve tried using a flash at a night time sporting event or concert you’ll know it is pretty ineffectual. The range of your camera’s flash is around 3 yards/metres so unless you’re very close to your subject it will be of no use at all.

In this situation, turn off the flash and set the camera to night mode. Brace the camera using a tripod or on something steady and take the photo – without the flash. It might take a second to capture the shot but the result will be much better.


Using the flash too close to this small baby has washed out her face, turning the flash off gives a better result.

Should you use your flash on a sunny day – YES!
When you first start taking photos you’ll think that the last place you need to use a flash is in full sun. Long time photographers, however, know that full sun is misleading and someone standing in full sun in front of a landscape, streetscape or beach won’t be correctly lit unless you stand close enough to them and use the flash to light their features. The flash won’t have any effect on the background but it will improve how your subject looks – one hundred percent.

Check your camera’s manual – some cameras have a special daytime fill flash which you should use for this situation and, if not, just use the regular flash.

Too much flash
With many point and shoot cameras the flash has a tendency to be too strong and it will wash out your subject. You have a couple of choices in this situation, either move further away from your subject so the flash has lost some of its power by the time it reaches them or diffuse the flash.

To diffuse the light, place something in front of the flash to reduce the light – a small piece of wax paper taped over the flash is one option or you can hold a small piece of shiny white cardboard underneath the flash angled upwards to bounce the light upwards – this will create a more diffused lighting effect.


This little girl was photographed in a shady place with no harsh shadows and she was relaxed cuddling a favourite toy.

Knowing when to use the flash, how to work when you can’t use it and when it’s best turned off will help you take your photography skills up a notch. You’ll be able to take great beach shots, you’ll get photos of your favourite bands at their concerts and your friends across the dinner table.

Helen Bradley