

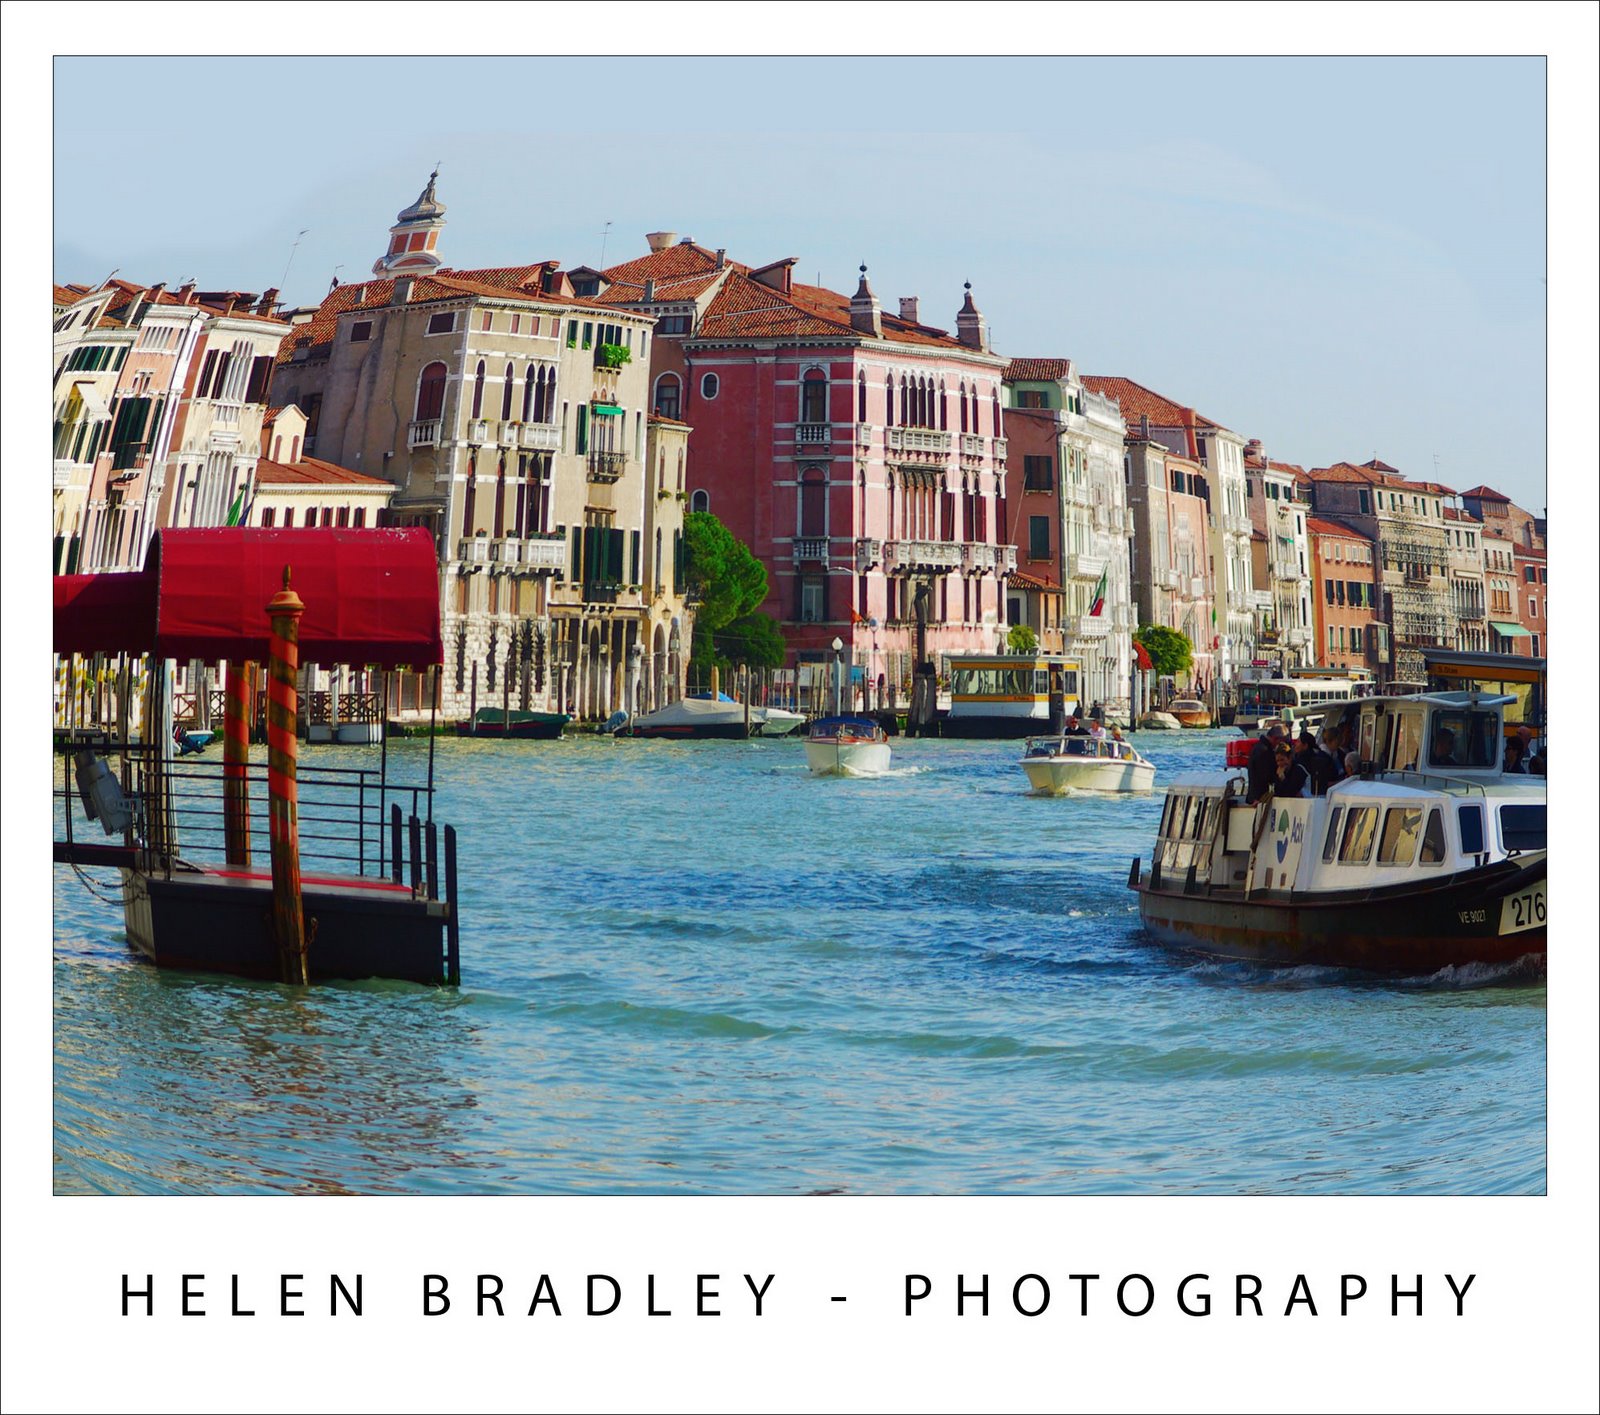
A fisheye lens is a wide angle lens which captures a lot of detail both in front of you and to the side – often as much as a 180 degree radius. While other wide angle lenses capture rectangular photos, a fisheye captures images which are distorted and which bulge in the middle and curve in at the edges.
While there is no real replacement for capturing an image using a fish eye lens on your camera because the field of vision is hard to duplicate you can still create a realistic faux fisheye effect in Photoshop.
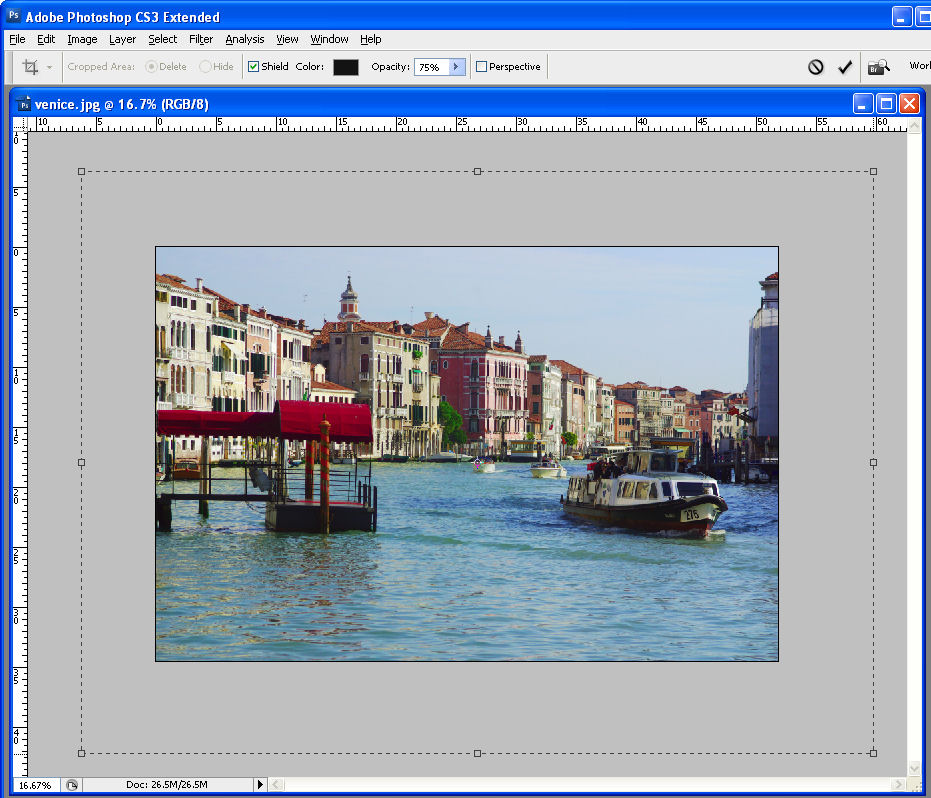
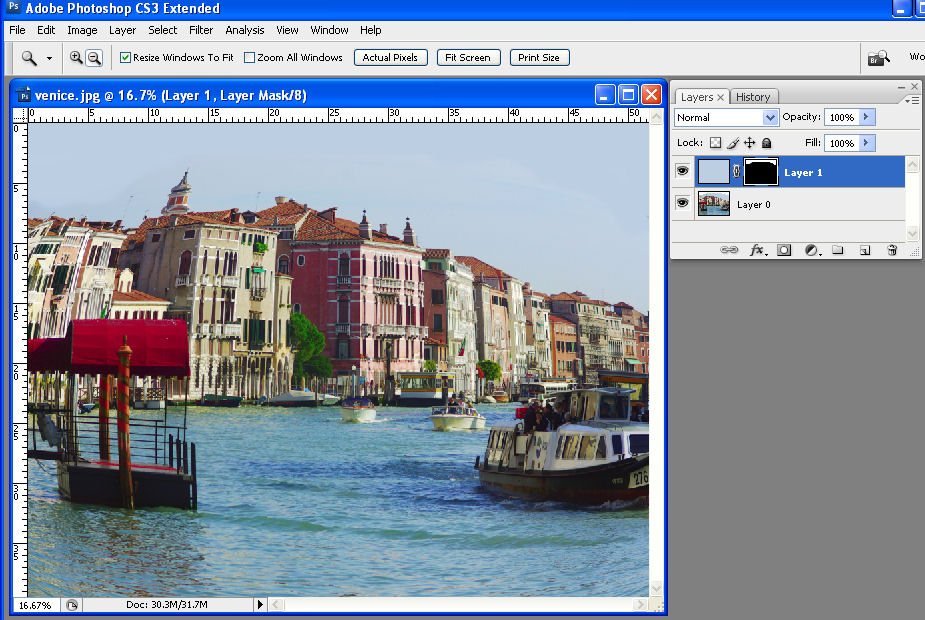
Open the image in Photoshop and enlarge the canvas. To do this, drag the edges of the window containing the image so you can see plenty of the grey space around the image and click the Crop tool. Drag over the entire image to select it and let go the mouse button. Now drag outwards on the crop rectangle handles to select an enlarged area all the way around the image. You want a good amount of extra canvas. When you have done this double click to add the extra area to the image. It doesn’t matter what colour this is as you’re going to discard it later.
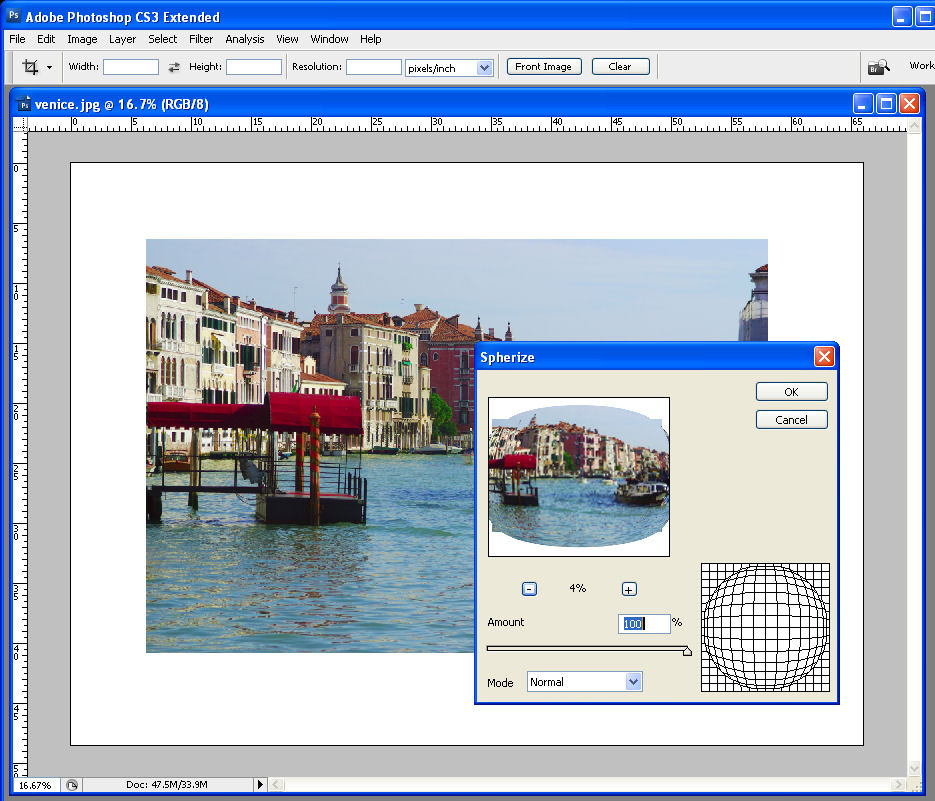
Choose Filter > Distort > Spherize to display the Spherize dialog. Set the Mode to Normal and set the Size to 100 percent and click Ok. This distorts the image by blowing up the middle of it to give a typical fisheye type effect.
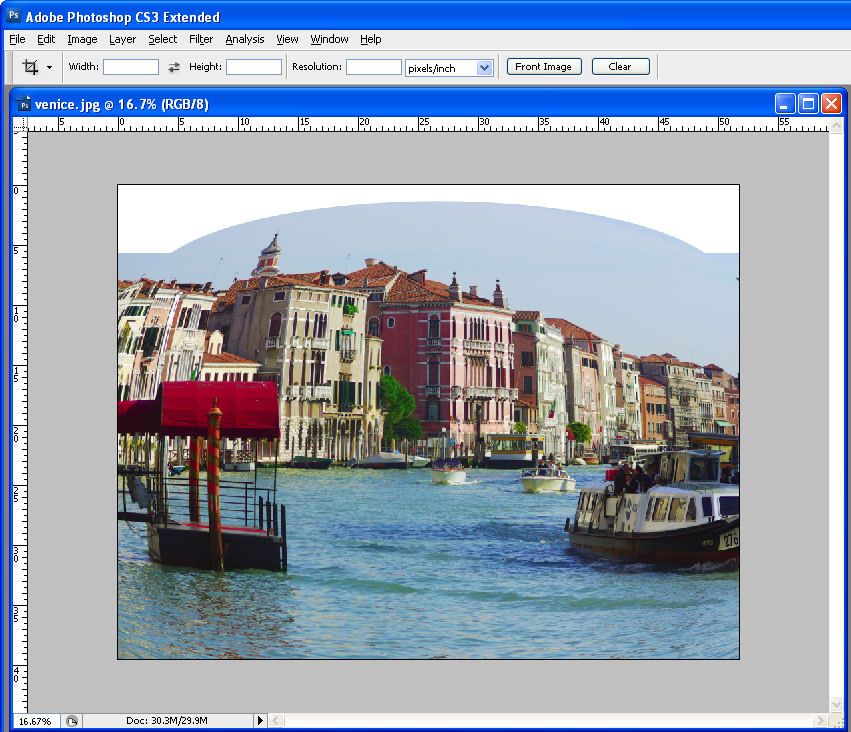
Click the Crop tool, drag over an area of the image to retain and double click to crop to this size.
If necessary, clone areas of sky or other elements to fill the photo frame. Here I cropped the image so it would be nice and tall and knowing there was a little bit of work required to fill the missing areas of the sky.
Alternately, for a circular result, drag a circular selection across the image, choose Select > Inverse and choose Edit > Crop to Selection. You will now have a photograph which looks like it was captured using a fisheye lens.
Before you shoot (if you can!)
If you know you want to create a faux fisheye effect with the images you are capturing, then plan ahead and capture a 2 row by 3 column grid of images from a stationary point using a tripod and the widest angle that your lens can shoot at – in other words, don’t zoom in at all. Overlap the images around 25% on the edges so you can assemble them into a panorama later on.
Back in Photoshop or your software, assemble the images into a panorama. You may need to do this in three steps first assembling each row into a panorama and then assembling the two rows into a single image. This will give you more image data than you would typically have and will make the final result more believable.