

I needed something cute for a magazine sample the other day so I decided to create an organic shape. I needed three edges to be straight and one rounded.
Here’s how it’s done, it makes use of nodes and Bezier curves, fairly simple to do when you know how.
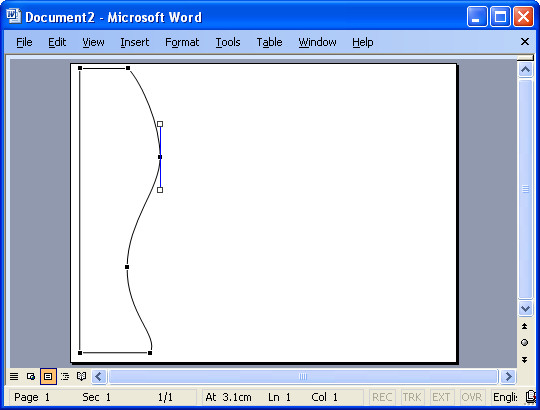
Start with a new Word document. Display the Drawing toolbar and choose AutoShapes > Lines > Freeform. Start in one corner and click once to begin. Click at each point around the shape so you’ll have a polygon shape. If you hold Shift as you click you’ll make a straight line and, if desired, it will be perpendicular to the previous one too. It’s important you get straight sides and square angles when you want your shape to butt up against a page edge.

Click the shape to select it, right click and choose Edit Points. Control + Click on a point to delete it if you don’t need it. Right click on a point that you want to be rounded and choose Smooth Point and then drag on the handles to shape it nicely.
When you’re done, click outside the shape to deselect it. click it again and right click, choose Format AutoShape. Choose Line Color > No Line and choose your Fill Color. Hold Control as you click and drag on the shape to duplicate it and set the Fill Color of this one a different color. Repeat if desired.
To arrange the shapes, click one to select it, right click and choose Order > Send to Back to send it below the others. Choose Order > Send Behind Text to send it below the text. The second command is used to move the shape to the bottom layer of the document below the text. Use the first command to change the layer order of the shapes so they are stacked as you want them to be.
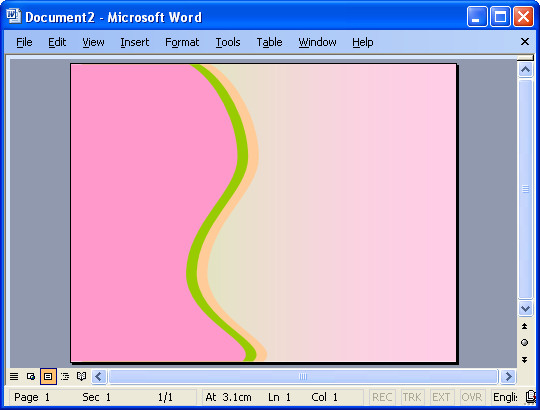
When you’re done you should have a page that looks something like this, I sized the shape to fill the page and moved it to the edge of the page. I also added a gradient filled rectangle under everything just to finish it all off.
Post a Comment
Please feel free to add your comment here. Thank you!