One of the most popular searches involving Photoshop on the web is, perhaps not unsurprisingly, for free Photoshop brushes. Photoshop brushes can be used for a range of editing and creative tasks and while it’s fun to find and download great looking brushes it’s also possible to create them yourself and to do this very easily.
Here’s how to create your own Photoshop brushes from your photos:
Step 1
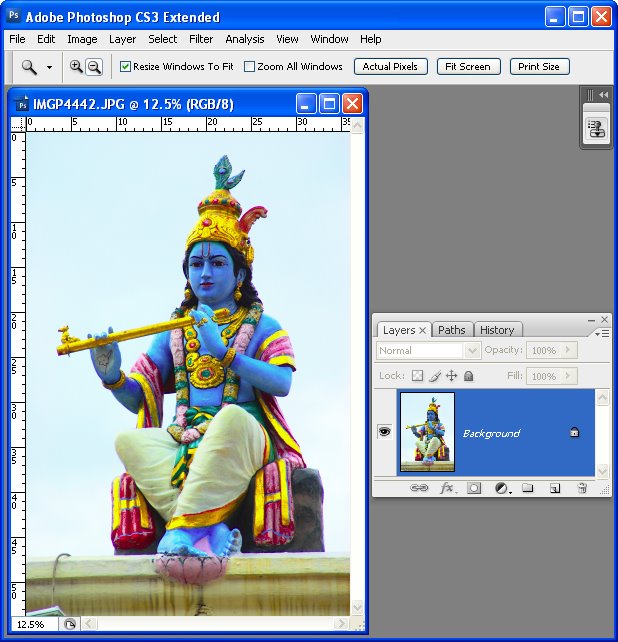
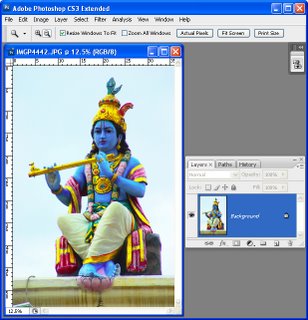
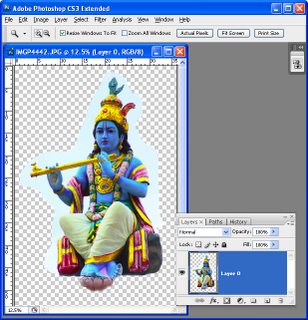
Open an image that contains something that you want to create as a brush. It can be something as simple as a coffee stain on a piece of paper or a photograph that you’ve taken of a texture, statue, graffiti or other shape. The best brushes are made using high quality images so plan your brush to be around 1,000 to 1,500 pixels in width and height. The maximum allowable size is 2500 x 2500 pixels.
Step 2
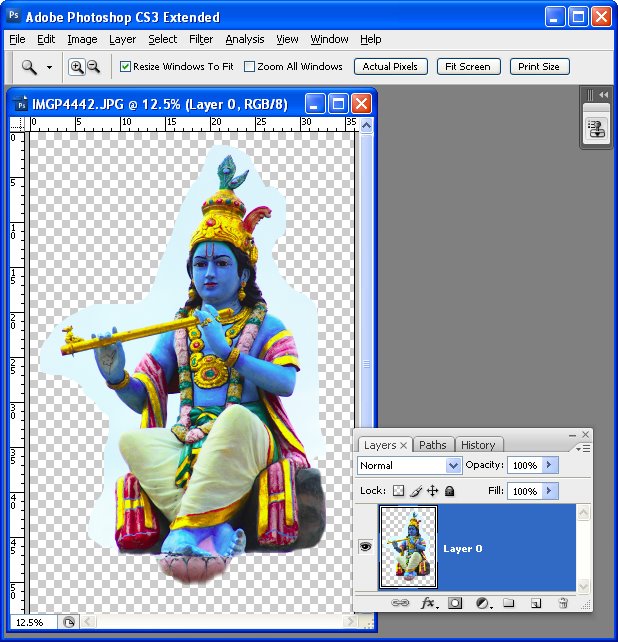
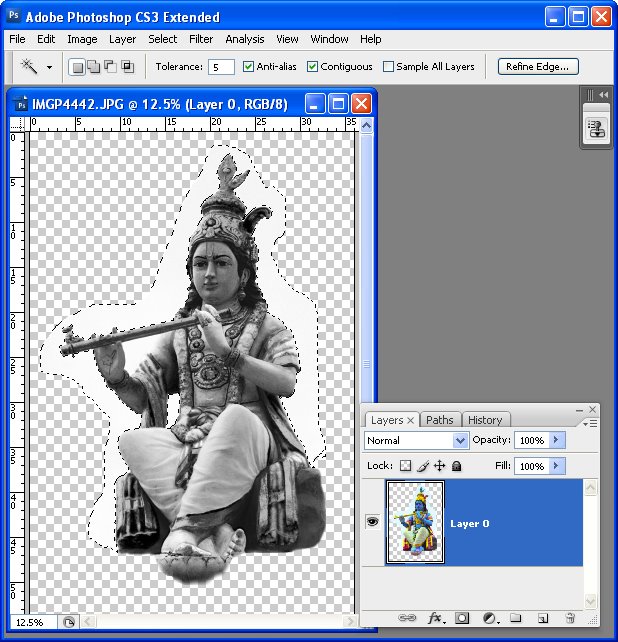
To make your brush you’ll need to isolate the area that you want to turn into the brush. So start by double clicking the background layer and click Ok to turn it into a regular layer. Make a selection around the area to make a brush from, choose Select > Inverse and press Delete.
Step 3
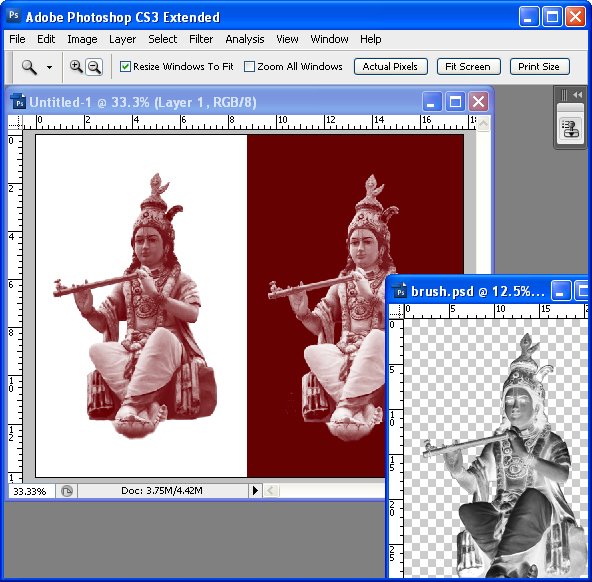
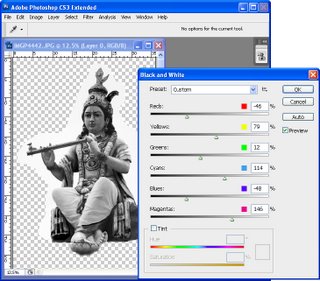
Brushes are grayscale images so you can control the contrast and the look of the brush by converting the image into black and white using your preferred method of doing so.
Here I have selected Image > Adjustments > Black & White. This adjustment lets you tweak the black and white result to get the desired amount of contrast in the brush and to determine which colors are taken towards black and which are taken to towards white.
Step 4
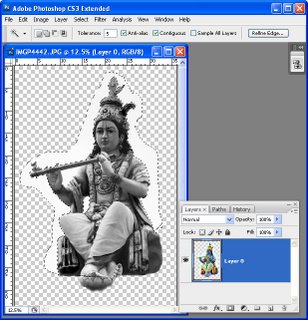
Select any light areas around the image that aren’t to be included in the brush and remove them. If you don’t do this, anything that isn’t white will actually pick up paint when you use the brush later on. I selected these areas using the Magic Wand tool with a Tolerance of 5 to get everything which was white or nearly white.
Step 5
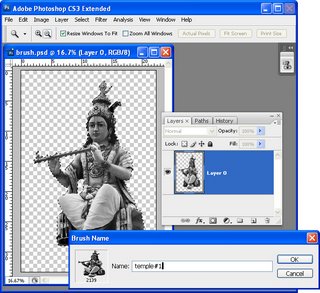
Select the area to include in the brush. If you have removed from the image everything except what you want to include in the brush Control + click (Command + Click on the Mac) on the layer to select the image.
Choose Edit > Define Brush Preset, type a name for the brush and click Ok. If the option doesn’t appear in the menu, your proposed brush is too big so size the image a little smaller and try again.
Step 6
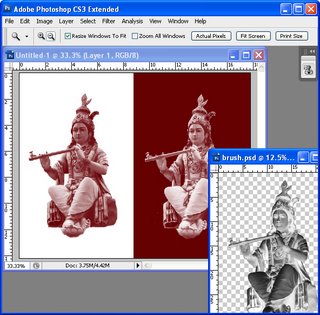
Create a new image and test your brush. It is the last entry at the foot of the brushes palette. It’s a good idea to test it at 100% Opacity using black or dark “paint” on a white background and “white” paint on a black or dark background. If it needs fixing, return to the brush image, make your changes and select and create the brush again. You will need to reselect the new brush in the Brushes palette – it is always the last one in the list. Even if you name the two versions the same name the second one doesn’t overwrite the first.
For brushes like this which has a photographic quality, select the image layer, press Control + I (Command + I on the Mac) to invert the image, select it and make a second brush that you can use to paint with white.
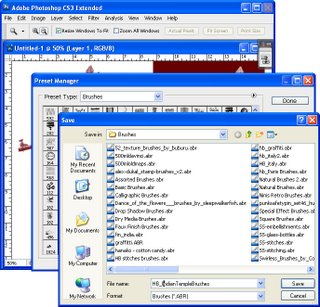
Step 7
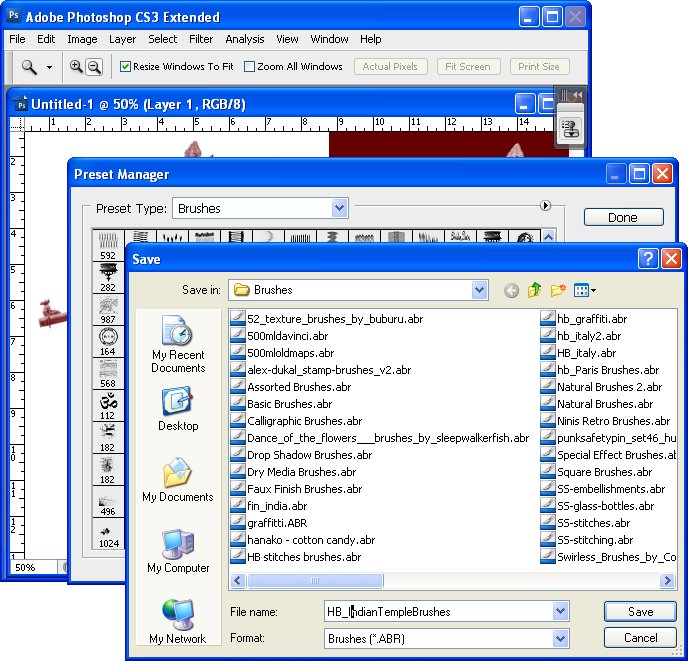
When your brushes are complete, save them to a file so you have them on disk. If you don’t do this, you will lose them if you replace your brushes. Choose Edit > Preset Manager and select Brushes in the Preset Type list. Select the brushes to save, choose Save Set and type a name for the set.
Helen Bradley