

Excel offers some cool options for printing worksheets. Here are six of my favorite techniques:
1 Printing grid lines (or not)
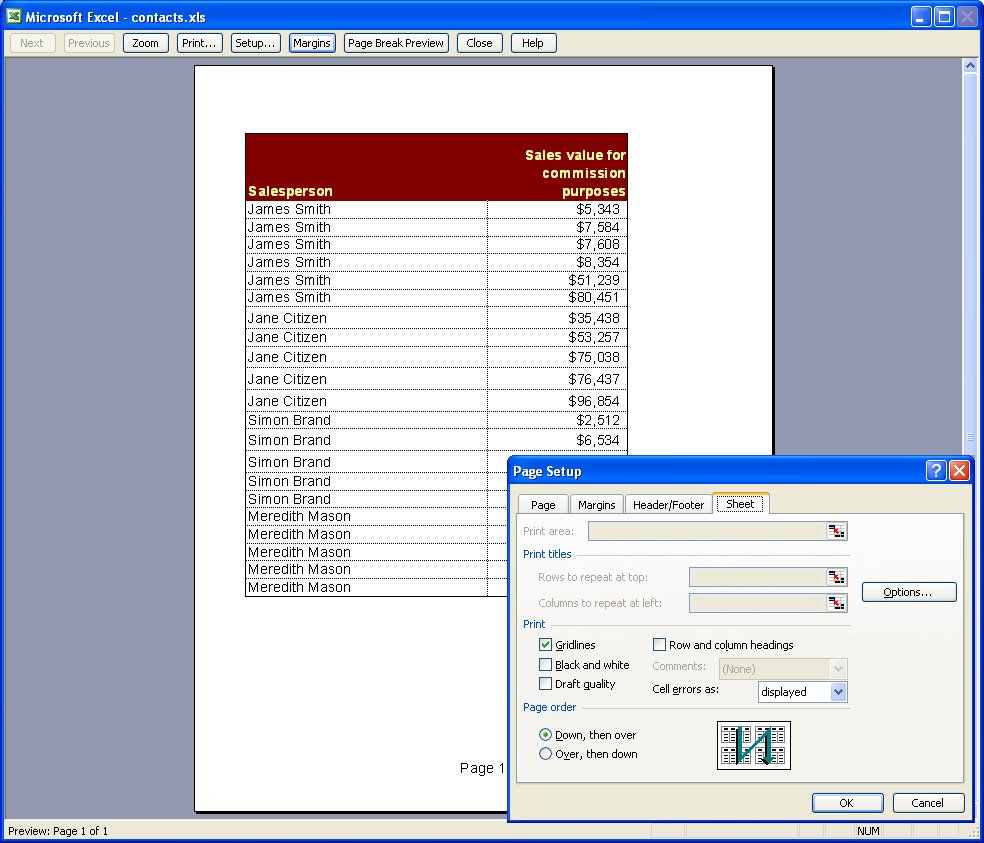
To print grid lines on your final printout, choose File, Page Setup, Sheet tab and enable the Gridlines checkbox. This prints horizontal and vertical lines much like you see on the screen in editing view.
2 Printing row and column headings
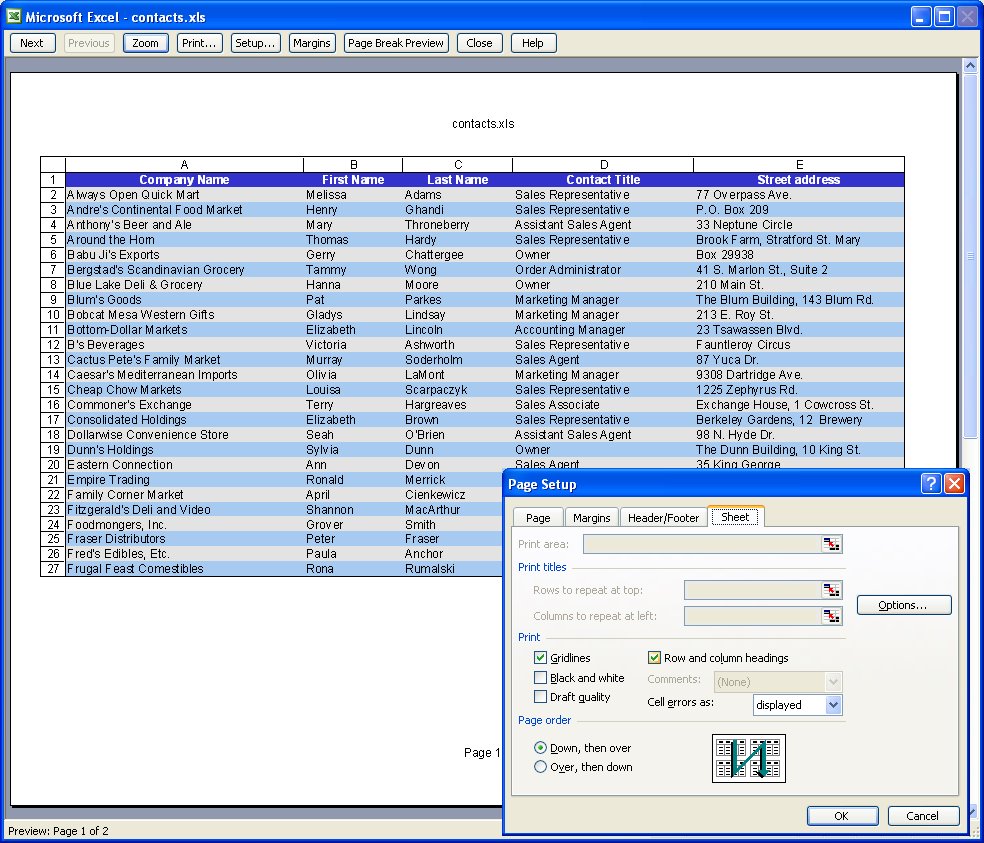
To print the letters A, B, C etc above the columns on your worksheet and the row numbers choose File, Page Setup, Sheet tab and enable the Row and column headings checkbox. This works particularly well when combined with printing Gridlines but can be used without gridlines too.
3 Setting your own page margins
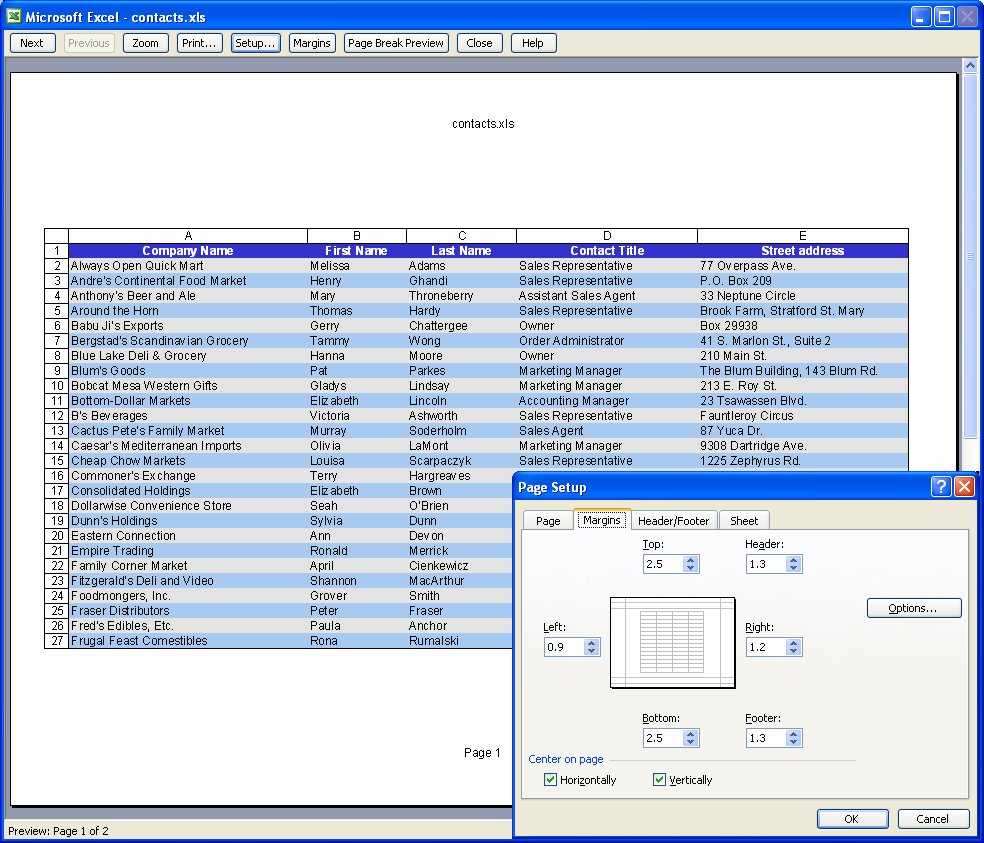
You can configure the margins around the page by choosing File, Page Setup, Margins tab. Set the margin values and use the Horizontal and/or Vertical checkboxes to centre a small worksheet on a larger page.
4 Drag a margin into place
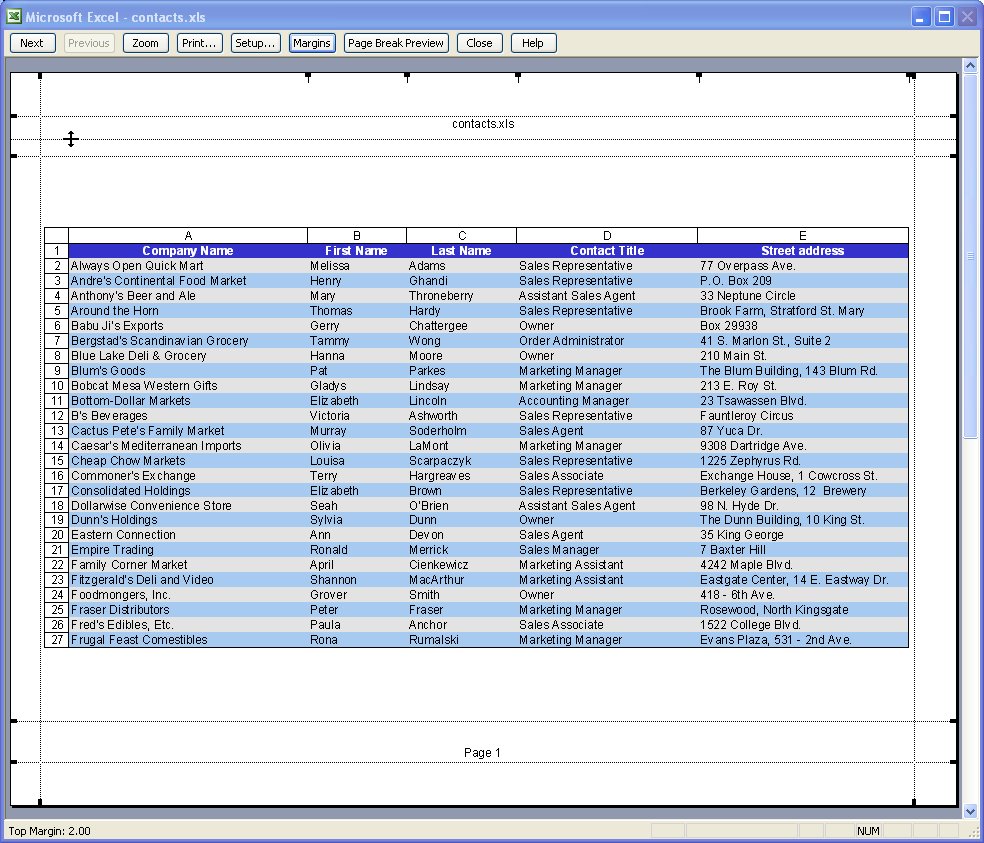
You can also control margins from the Print Preview screen. Click Margins to turn the margin indicators on. You can now move these into new positions by simply dragging on them.
5 Select an area to print
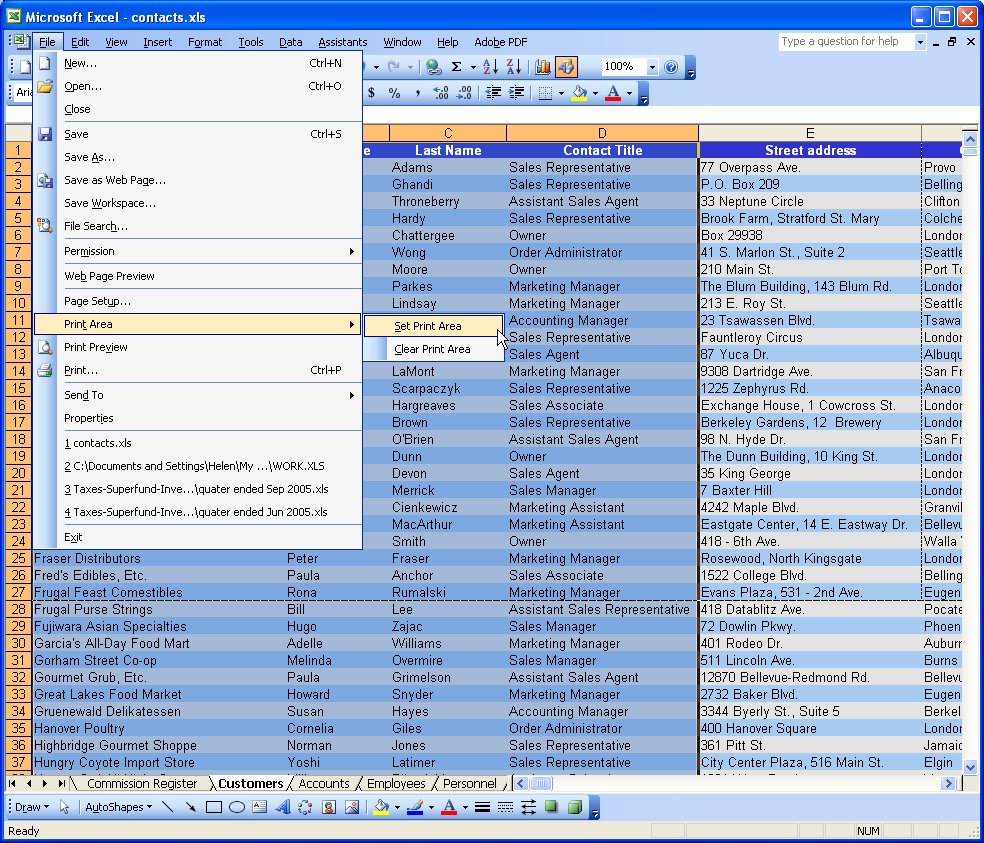
When a print area is set, this will print by default regardless of how big the worksheet is. Drag over the area to use and choose File, Print Area, Set Print Area to configure it. To clear the print area, so you can print the entire worksheet, choose File, Print Area, Clear Print Area.
6 Print a chart
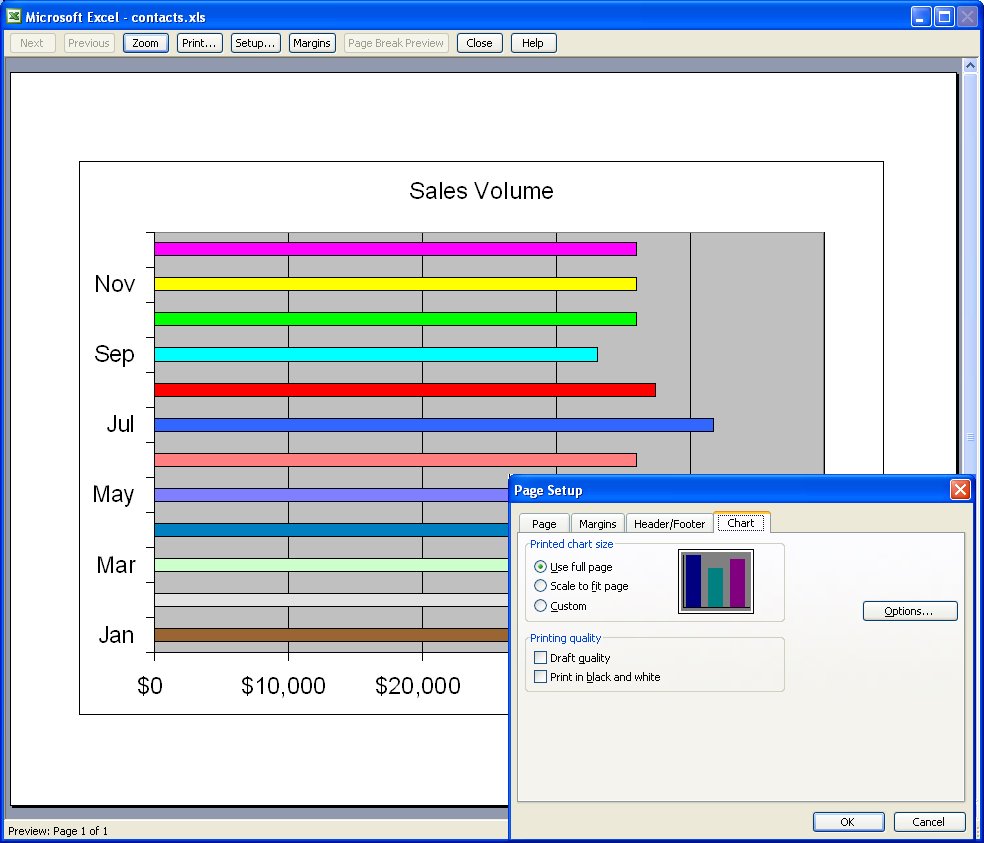
When you click a chart on a worksheet to select it and choose File, Page Setup, the page setup dialog shows no longer contains the Sheet tab and, instead, contains a Chart tab. This shows options for sizing and printing charts. When you click Print, only the chart will print.
my canon m500 printer is printing hoeeerizontally rather than vertically. how do I get it back to priting vertically?
How do you print an Excel file (duplex printing) with multiple worksheets? Thanks!
HAVE JUST DEVELOPED A PROBLEM PRINTING FROM MY EXCEL – AM USING WIN XP PRO.
HAVE SEVERAL INVOICING TEMPLATES OF MY OWN DESIGN – ALL ARE FITTED WITH “TEXT INSERTS ” FOR COMPLETING. SUDDENLY – THE INVOICES ARE ONLY PRINTING JUST THE EMPTY TEMPLATE – IGNORING THE DATA BOTH IN THE “TEXT BOXES INSERTONS” AS WELL AS IN THE OTHER NUMERICAL CELLS . HAVE TRIED TO EMAIL ATTACHMENTS ASKING FRIENDS TO PRINT – BUT STILL NO SUCCESS ! VERY STRANGELY WHEN I CLICK THE “PRINT PREVIEW ” IT IS ALL NICE AND COMPLETE !!!!! PLEASE PLEASE PLEASE HELP URGENTLY !!1
JOHN
Email me one to check to: helen at helenbradley.com
I’ll see if I can see what the problem is.