

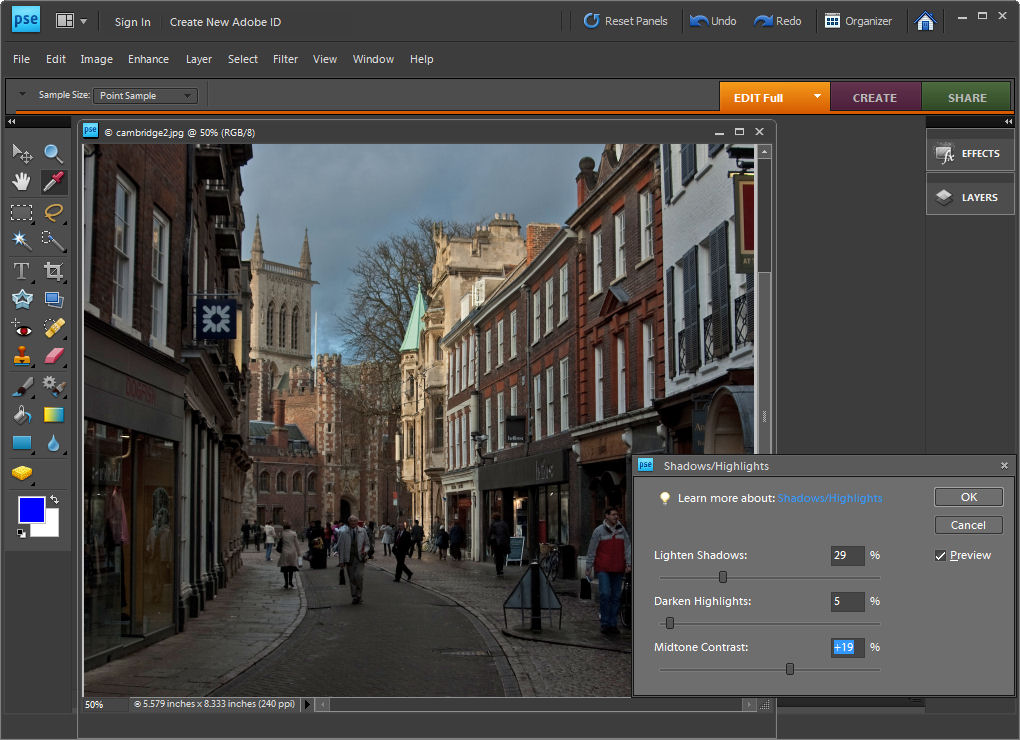
If you have an image which is under exposed or over exposed you can recover some of the detail in the light and dark areas using the Shadow/Highlight adjustment.
In Photoshop Elements choose Enhance > Adjust Lighting > Shadows/Highlights. The default setting lightens the shadows but leaves the highlights untouched but you can adjust each of these areas using the sliders to bring back into the shadow and highlight areas.
Adjust the Midtone Contrast slider if necessary to get the desired result.
Post a Comment
Please feel free to add your comment here. Thank you!