How to start a new path at the exact same place as another path starts or ends
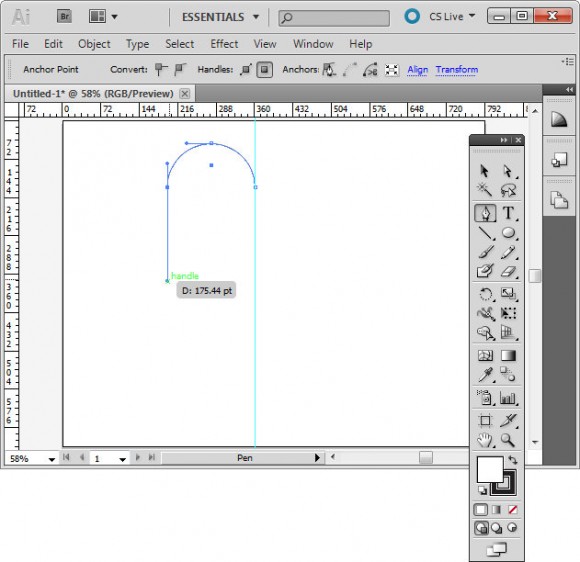
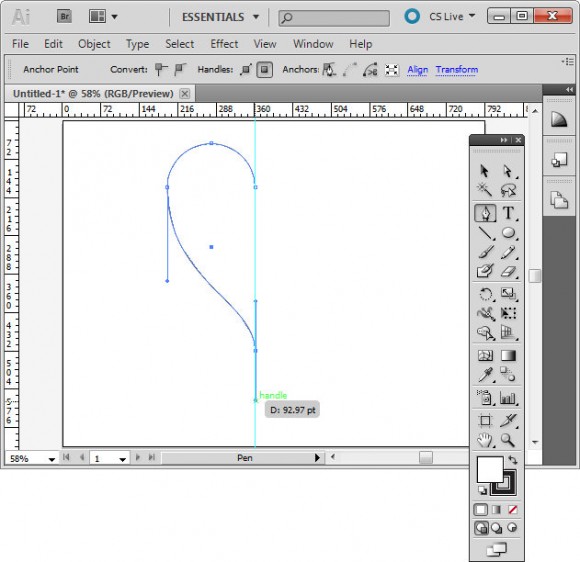
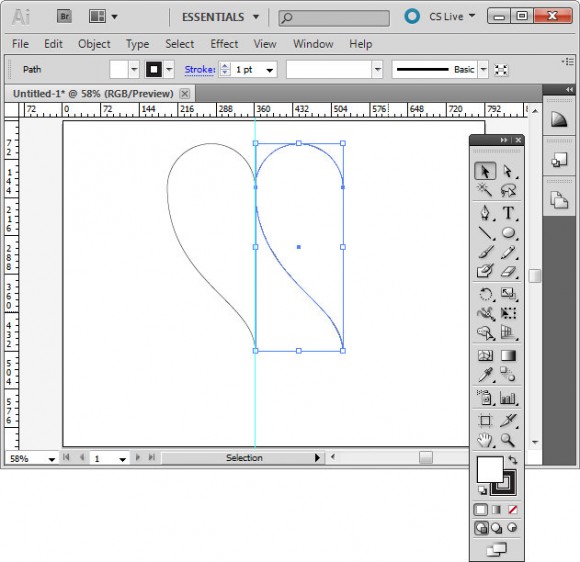
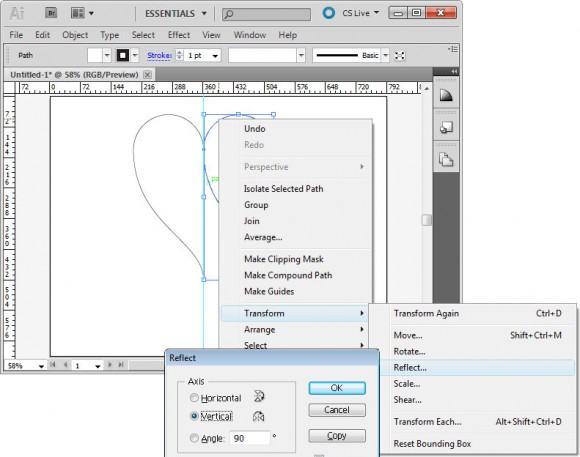
In Illustrator, when you go to start a new path on the exact place that there is another path Illustrator wants to join them together – if you click on the start or end anchor. Or it wants to delete the anchor if you are over an anchor elsewhere on the path. If you’re just hovering over the path it tries to add an anchor point. Sucks doesn’t it? It seems impossible to make a totally new path and leave the existing one exactly where it is, untouched.
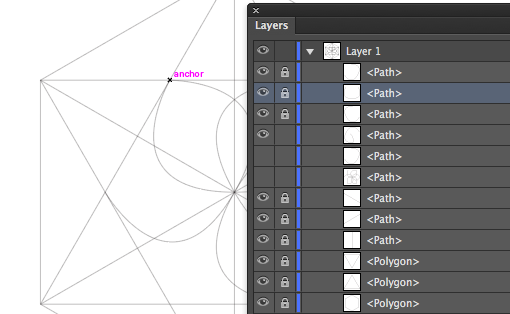
So, here’s the solution. First of all there is no key you can press to change this behaviour so you didn’t miss the memo on how to do this. You have to execute a workaround. So, you have two choices. Firstly you can go to the Layers palette and lock down the path that you want to draw on top of. When it is locked you can’t alter it so you can go ahead and start your new path anywhere on it. The second option is a little tricky but works a treat. Start your new line away from the path you don’t want to effect – you can be close but not close enough to effect the line. Then, while you have the mouse still pressed on the start point, hold the SpaceBar and move the starting point to where it needs to be. Then let go the SpaceBar and continue drawing.
It’s not a pretty solution but it does work. So there you have it – how to draw a path in Illustrator on top of an existing path without the auto merge / auto join behaviour. Oh! and if you need it, the shortcut key to lock the currently selected object is Command (Control) + 2.


