


The light of an oncoming storm has tinted this image and its moodiness complements the subject of the photo.
Without some form of lighting it is impossible to take a photo – a photo is, after all, a representation of the light that enters the camera and which is captured by the film or camera’s sensors. There are, however, different types of light and, when you understand something about the light that surrounds you, it will help you capture better photographs.
Perhaps the most important thing to understand about light is that it has a colour. While the light cast by the midday sun is the purest light and devoid of a colorcast, the same is not the case for early morning light or the light in shadows. Early morning sunlight throws a warm glow over a scene and the same happens in the evening as the sun sets.

This sunrise shot of gondolas on the Grand Canal in Venice has captured the unique early morning light.
This pink coloured glow is called warm light because of its warm pink orange tone and it not only gives you wonderful early morning and sunset photos but the same warm tones are extremely flattering when photographing people. In fact it is possible to buy what are called warming filters that attach to your camera and which filter the light coming into the camera to give a flattering pink cast to the image.
You can mimic this effect in most photo editing software by applying a slight orange pink colorcast to the image or, in programs such as Photoshop, using the built in photo filter tool to do this. You simply select the type of Warming Filter to apply to the image.
Not all outdoor light is warm or neutral, the light in a shaded area on a sunny day will generally be more blue so your photos might show a blue cast. However if you’re photographing in an area shaded by foliage, the colour cast will be more green because the light is being filtered through the green of the plant leaves. The unfortunate side effect of this is that photos taken in a garden setting may result in the subject showing a slightly green tone to their skin.
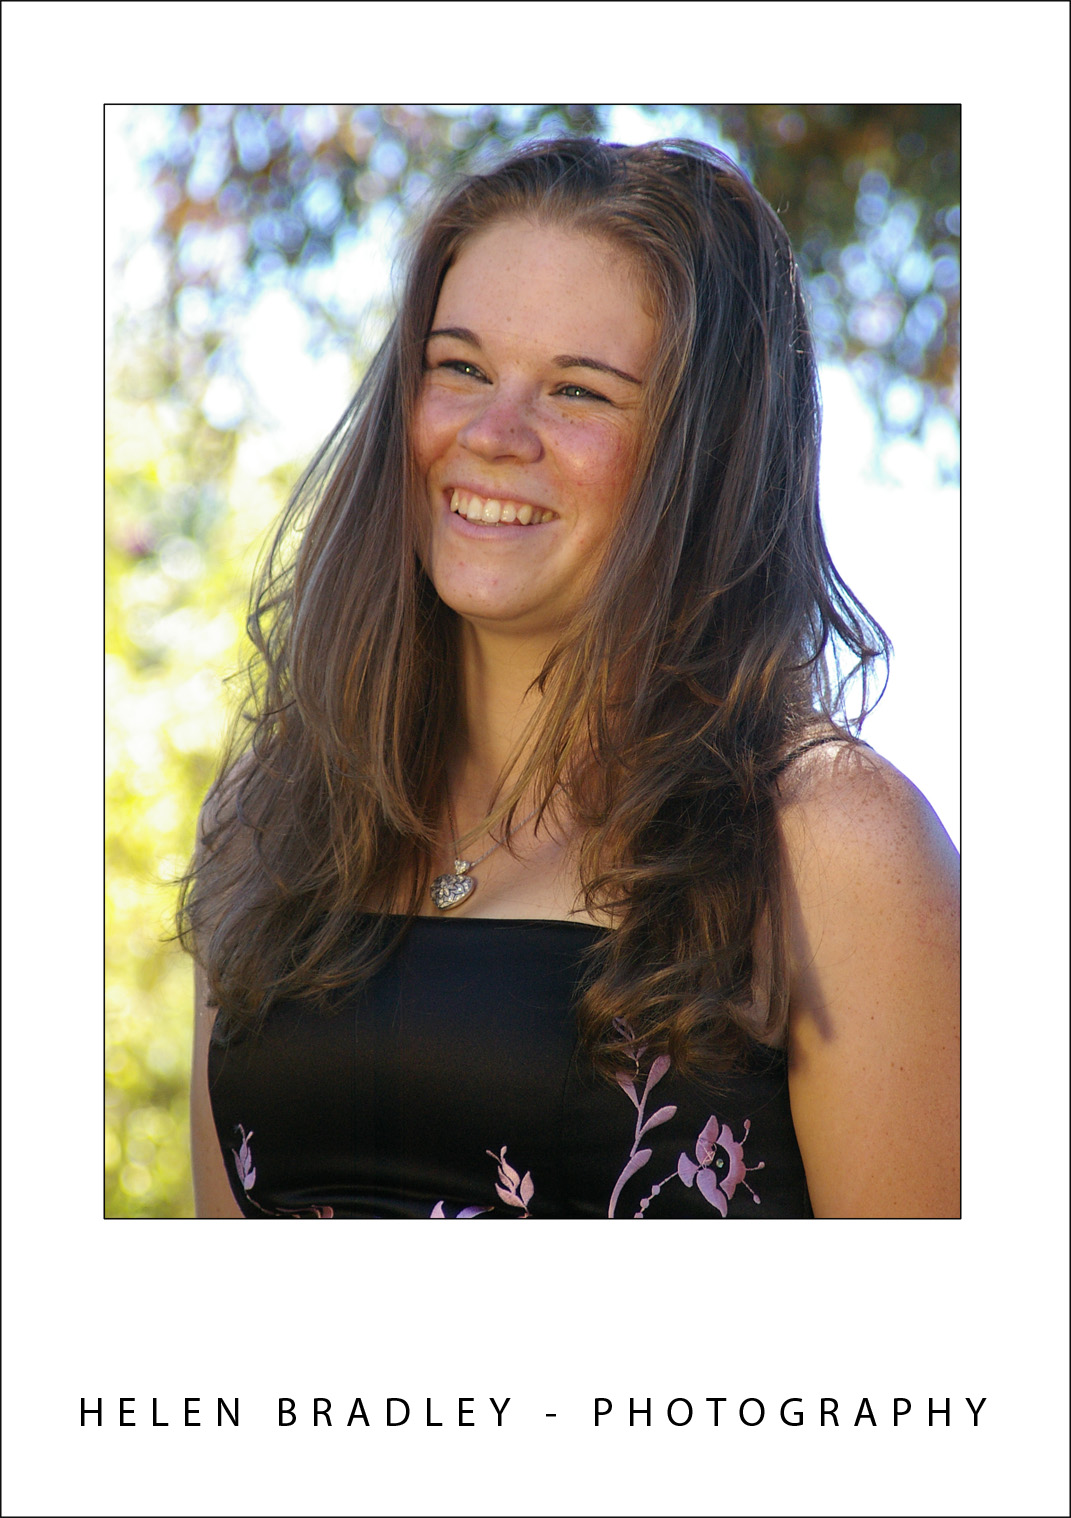
To help counter the lack of light in the shadows additional light has been bounced onto the subject’s face using a reflector.
Light indoors is different again. A standard light globe will throw a pink yellow light whereas fluorescent tubes throw a blue green light. Photographs of people taken in fluorescent lighting can show their skin as being washed out and unattractive because of the light’s colour. To help you balance the light that is coming into your camera it has a tool called white balance. Using this white balance tool you select the type of light that is in the location (such as tungsten or shade) and the camera will adjust the resulting image to show a more neutral tone. So, if you’re photographing in fluorescent light the camera will neutralize the blue green light to give you a more neutral result. If you’re shooting in Camera RAW the adjustment won’t be made to the final image – you can, however, make it yourself using your camera raw pre-processing software.
When photographing a sunset, because you want to capture the gold, red and pink colours of the sunset, it is best to select a daylight sunny setting for your white balance so that the camera does not make any adjustments to the colour. In this situation the camera will record what it sees and you’ll get your sunset not a neutralized version of it!

When capturing sunsets make sure not to use a white balance adjustment or you will lose the colors.
Another creative use for White Balance is to warm an image. If you’re shooting a photo in full sun and you want it to have a warmer look, use the shade setting on your camera when you do so. This applies a slight warming colour to the image much as you might get by adding a warming filter to a lens.
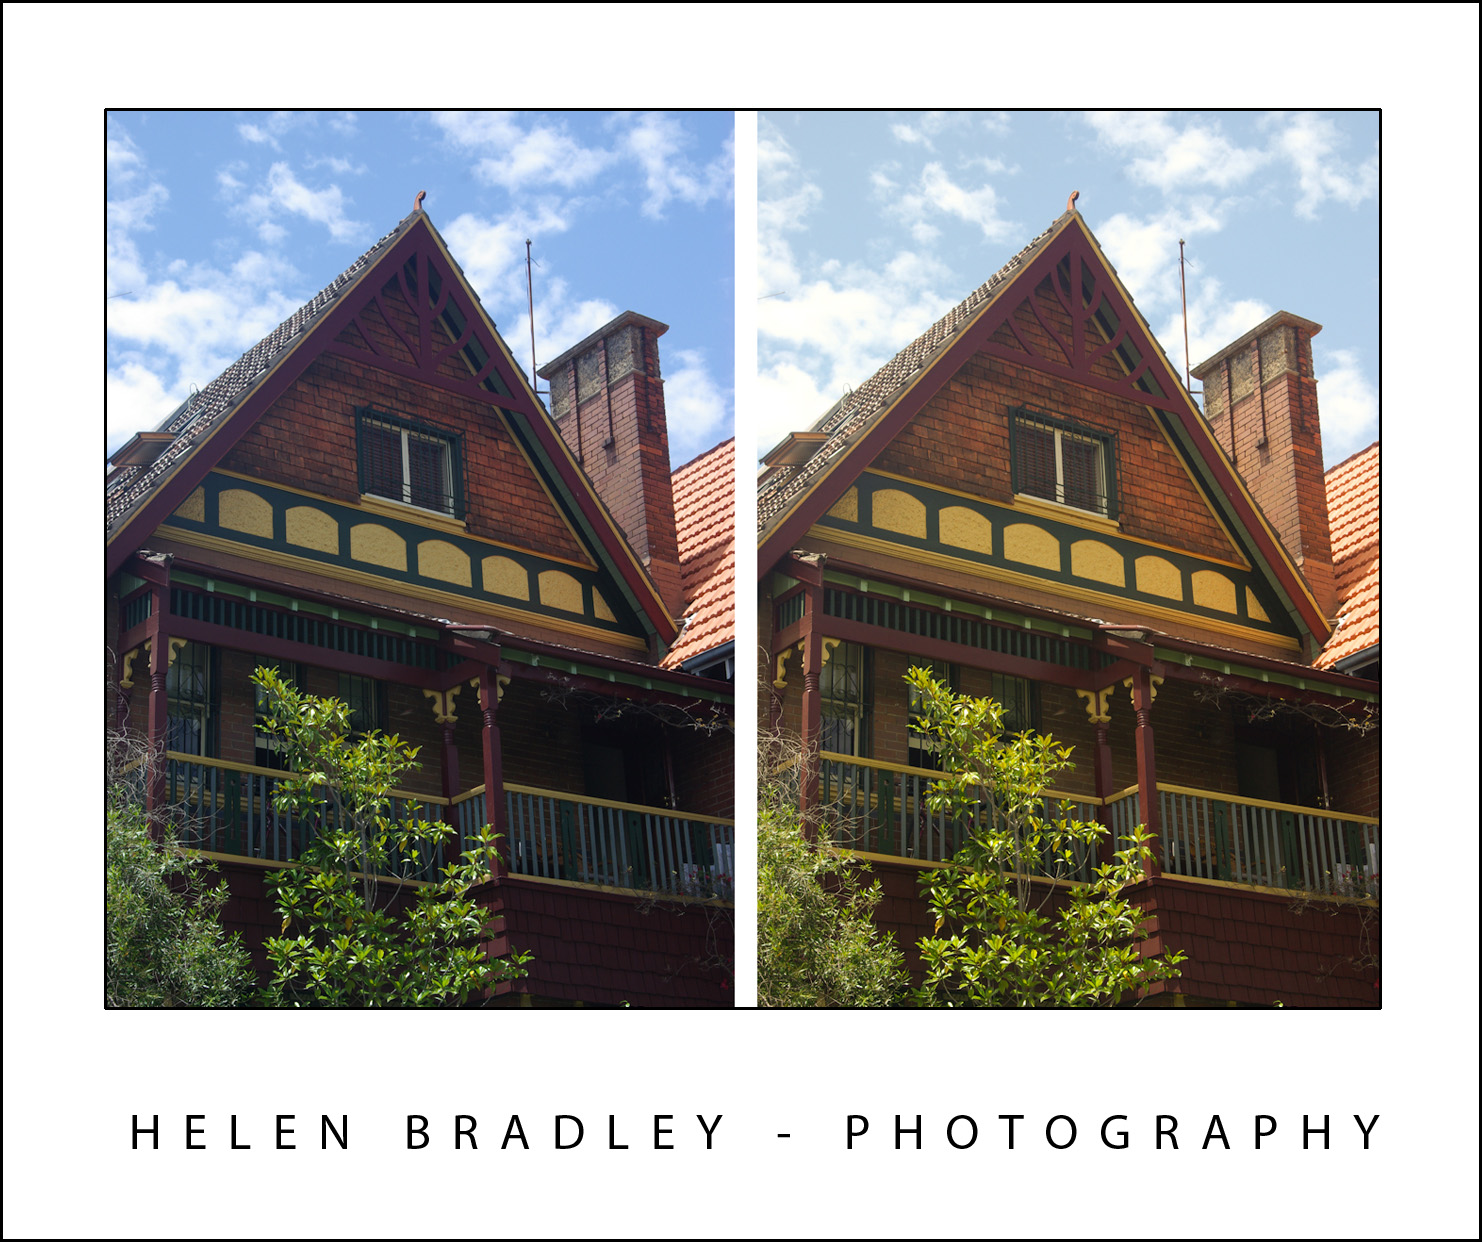
Using a different camera setting you can alter the warmth of an image, the version on the left is cold, the one on the right is warm.
As you become more aware of the quality of the light that you’re photographing in, you will be able to make it work for you and the result will be better and more artistic photographs.
If you’re interested in learning more about white balance, visit this recent post on Understanding the Need to White Balance: http://www.projectwoman.com/2009/09/understanding-need-to-white-balance.html