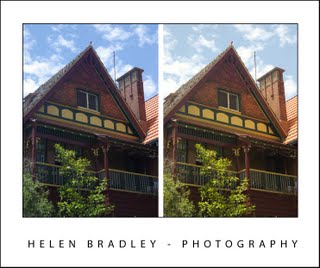
It’s summer time and if you’re a creative photographer you might be wondering just what to shoot. Look no further, here are some cool ideas for topics for summer photography:
1 Perfect Sunsets
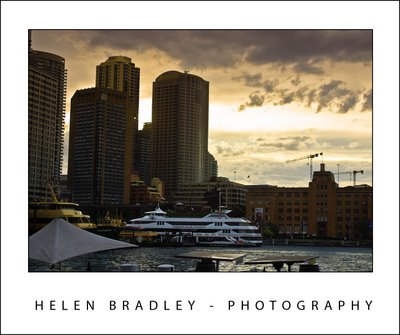
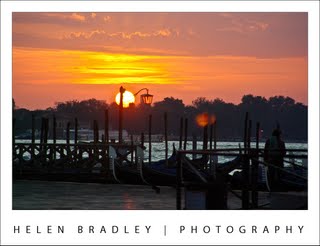
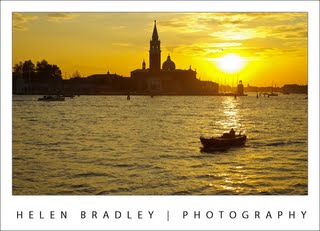
The optimal shooting time in summer is in the early morning and the early evening at sunrise and sunset. At these times of the day the light is much softer and it has a pleasant color cast to it which will warm the image.
To take advantage of these light conditions set your camera’s white balance setting to full sun – do not allow it to sit on Auto White Balance or the camera will remove the beauty of the color of sunset when it attempts to neutralize the color cast in the image. Setting the camera to full sun which doesn’t have a color cast means the camera won’t adjust the image so you’ll get great sunsets and sunrises.
2 Water reflections
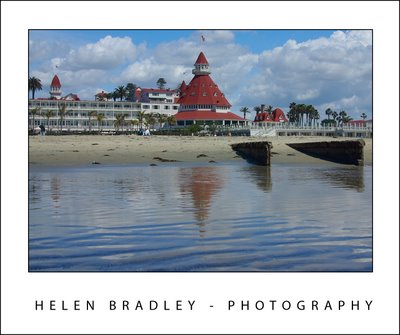
Some of the best summer photos can be captured by looking down rather than across a scene. The reflection in the water as it washes over sand can give spectacular and unexpected results. Even objects set well back from the water can be caught reflecting in it.
If it is safe to do so, position yourself where the waves break over the sand facing back up the beach – make sure you have a good stretch of wet sand in front of you and check to see what reflections you can capture.
3 Capture running water
When you are shooting running water such as a fountain or a waterfall you have a couple of options for capturing the water. If you use a fast shutter speed you can freeze the action. You do this by adjusting the manual settings on your camera using the shutter priority setting (indicated by a T or TV setting). Set the shutter speed to a fast setting such as 1/250 or 1/500 of a second to freeze the action. When you do, you will see water drops in the fountain or waterfall.
On the other hand if you use a slow shutter speed – for example, 1/10 of a second or less you will get a silky even flow in the water. The slower the shutter speed the more silky the effect will be as the camera will capture the movement rather than freezing the action.
Experiment with different shutter speeds to get different results. Be aware that slow shutter speeds will require you to use a tripod to steady the camera. As a rule of thumb, the slowest speed you should handhold a camera at is 1/focal length of your lens so, for a 200mm lens anything slower than 1/200 second should be captured with a tripod.
4 Fairground fun
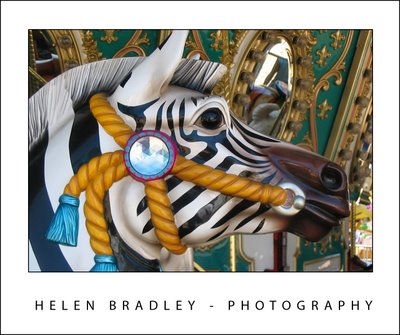
Summer is a great time for county and state fairs. Even if you’re not someone who rides the rides you can still capture all the color and fun of the fair. Look for creative opportunities such as capturing the Ferris wheel at night using a small aperture such as f8 and a long exposure will let you pick up the light trails in the Ferris wheel as it turns.
The carousel is also a good place to capture some stunning close up images. If the kids are riding fast rides use your motion capture skills and a fast shutter speed and move the camera with the movement of the ride to capture the kids clearly and blur the background attractively.
5 Fireworks
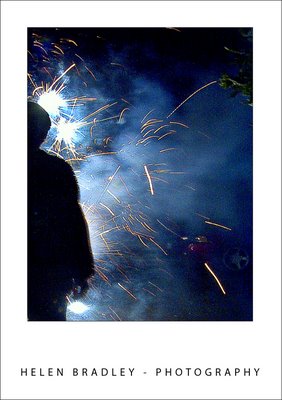
Summer and July the 4th are synonymous with firework displays. To capture fireworks you will need to turn off the camera’s flash and set it to a long exposure. Set the camera on a tripod and out of the way of bright local lights which will ruin the effect because they will provide light at the expense of the fireworks themselves. Set the aperture to a value of f8 or f16 and experiment with different exposure times to find something that gives you a sky full of fireworks color.
6 Nighttime lights
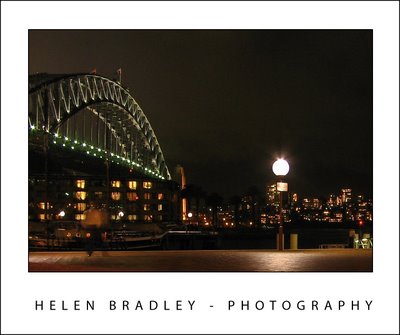
Good weather is a good excuse for getting out in the evenings and carrying your camera is a must do. With the light lasting until quite late in the evening you have good opportunities for capturing a mix of nighttime lights and activity. Set the camera on a tripod and use the flash curtain settings and a long exposure to capture the background night lights with the flash lighting the subject close to the camera.
Most cameras let you set the flash curtain so it either goes off when the shutter opens or just before it closes. Depending on the effect you want to create, you can place a subject close to the camera and light them with the flash. Because the shutter remains open, you will then capture the detail in the lighted scene behind them which would otherwise be black. This way you can capture two different types of images at the one time.
7 Window seat

When you’re flying across country and if you have a choice of seats make sure to get a window seat on the side of the plane that is not looking directly into the sun. This way you can capture images from the airplane window. Avoid using the polarizing filter on your camera in these circumstances or you’ll get funny rainbow colored reflections on your images. Everything from a summer thunderstorm to patterns in the landscape make for wonderful photo opportunities.
8 Build your sky portfolio
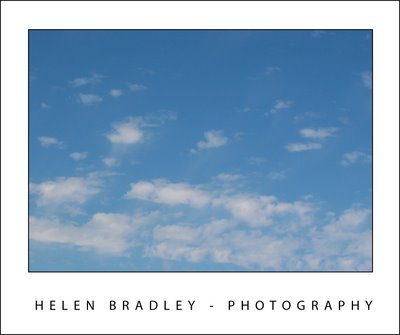
The photos you shot in fall, winter and in inclement weather typically lack the crisp blue skies you see in summer. Summer, therefore is a great time to capture great skies to add to your skies portfolio. Then they’ll be ready for you to use later in the year to replace the poorer skies in your other photos.
To build your skies collection, take time every time you’re shooting to look up at the sky. When you see an interesting sky whether it be a crisp blue sky or one peppered with clouds, photograph it and store these images in a special skies folder. Later in the year when the skies are lackluster use these skies as replacements so you can produce photos with wonderful skies all year round.
9 Capture silhouettes
Summer is a great time to capture silhouettes because of the very bright light and long twilights. The essence of a silhouette is placing your subject in front of a bright sky or a sunset or sunrise. You’ll want your subject to be in deep shadow with the rest of the image properly exposed. This is one time you’ll turn your camera’s flash off so it does not fire.
With the subject between the light source and the camera, take the shot and check to see if you’ve got a good silhouette or if the subject is still too well lit. If the subject is too light, use the camera’s exposure compensation to underexpose the shot by setting it to a negative value. Reducing it to even as little as -0.5 will be sufficient to get a darker silhouette and still have the sky nicely exposed. Good subjects for silhouettes include palm trees in front of sunsets, striking elements such as a person’s profile in silhouette and even masses of electric light wires can make for an interesting image.
10 Capturing harsh light
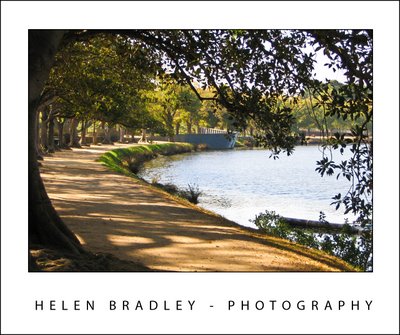
One of the downsides of shooting in summer is the harshness of the light. Because the sun is in the same hemisphere and overhead the light is very crisp and very bright. Shooting at midday is fraught with difficulties because you’ll get areas which are very bright and some which are in deep shadow.
On the flipside, this is a good opportunity to capture images which make the most of the mix of light and shadow. Instead of looking at the scene itself, look for the play of light and shadow and for interesting shapes and patterns in the shadows cast by objects such as trees. It’s a great time of the year to capture creative images which showcase the harshness of the light.
Helen Bradley
