Friday, June 26th, 2009

Wrap text over an image in Publisher


Wrapping text around and over an image works differently in Microsoft Publisher to the way it works in Microsoft Word, and confusingly so. It is not possible to wrap text around an image in Publisher in such a way as to have your text actually overlap the image. You can do it in Word but not in Publisher – Go figure!

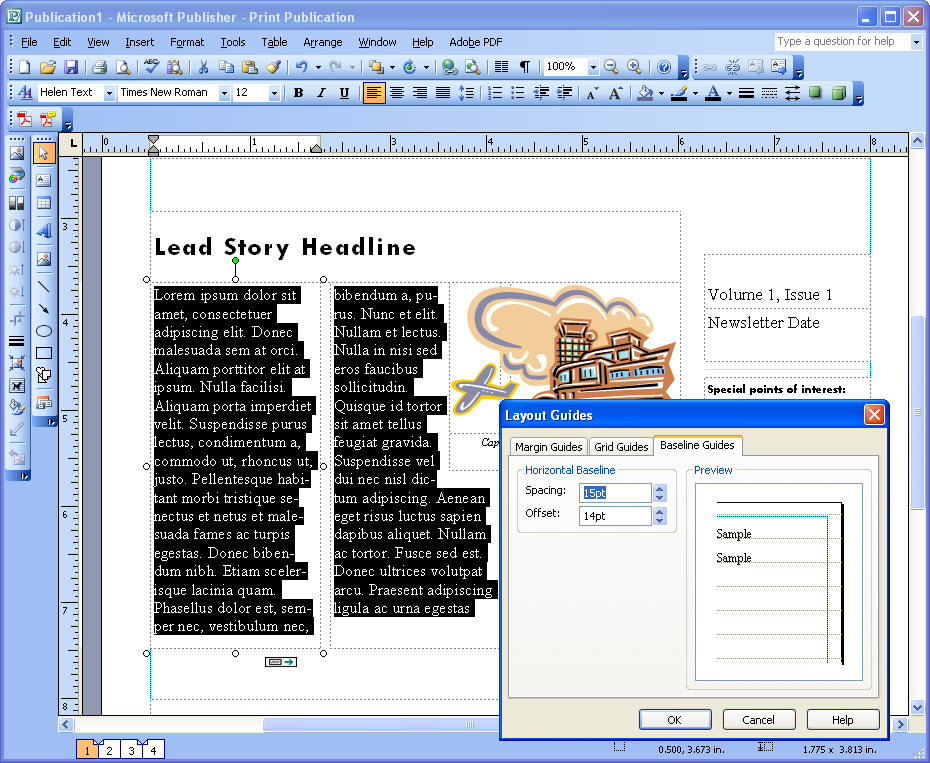
In Microsoft Word you can use the edit wrap points feature on an image to wrap text over an image so the text appears over the image. If you try to make Publisher work like Word and try to wrap text using the Edit Wrap Points feature, portions of the image will be cropped away when you move the wrap points inside the image. Frankly the process is stupid and it really shouldn’t work this way, particularly in a DTP program.

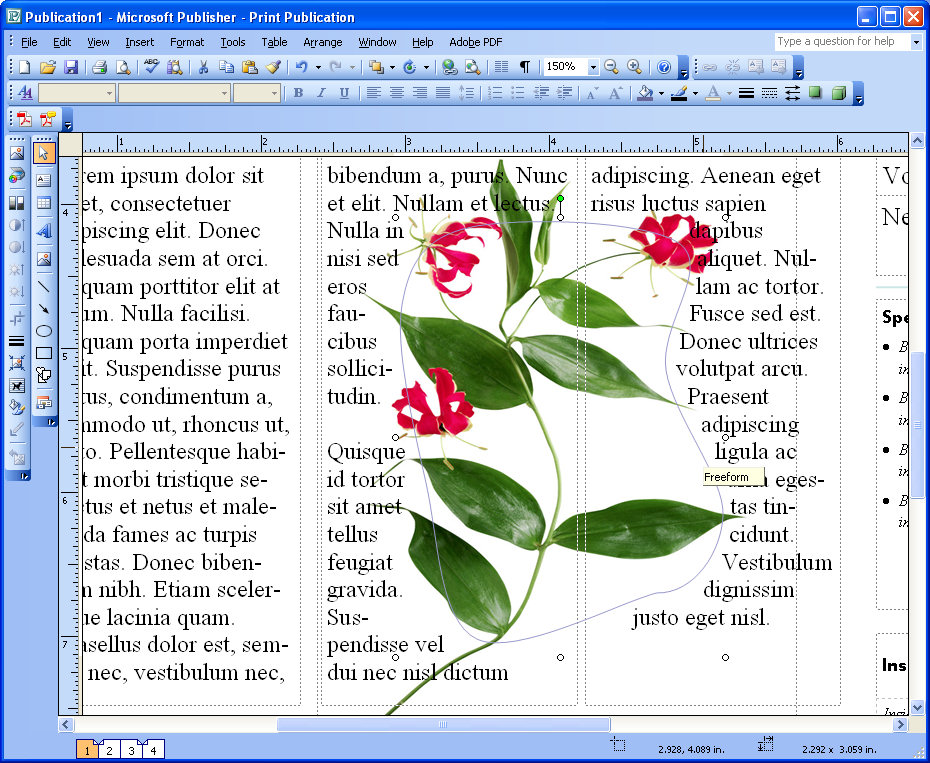
There is, however, a workaround for this limitation in Microsoft Publisher. So, if you need to wrap text across an image, insert your image into your publication and insert a freeform shape over the top of it. This shape should be the shape that you want the text to wrap along.

Then configure the shape’s wrapping option so that the text wraps tightly around it. Configure the image so that text doesn’t wrap it at all – so use an option like None. Then position the image so it appears under the text, set the fill for the text box to No Fill so you can see through it to the image underneath. Set the Fill and Line Color for the freeform shape to No Fill and No Line.

Note that text wrapping can be controlled this way in print publications but it does not work with web publications because of the limitations of HTML code.

Helen Bradley

Wednesday, June 24th, 2009

Publisher: Keep lines neat


If you look at just about any magazine you’ll see that the lines of text line up along the bottom of the page. Even if there are images in some columns and not in others, everything lines up very neatly along the bottom of the page.

Publisher 2003 included a new feature which has been carried forward into Publisher 2007 and which lets you create baseline guides so you too can get professional looking results with your text.

In Publisher, these baselines let you position text so that the baseline of the text in one column of text lines up with the baseline of the text in the columns adjacent to it.

To configure the baseline guides for a series of columns, choose Arrange > Layout Guides > Baseline Guides and set the spacing and offset for your baseline. While you can create both horizontal and vertical baselines, horizontal baselines are those you’re most likely to use.

To get the best results, the Spacing setting which controls the spacing between lines of text aligned to the guides should be the same or larger than the line spacing between your lines of text. So, for example, if you are using 12 point text set the baseline to 14 points or more (typically line spacing is set to 2 points more than font point size).

Then, when you have created your text, select it and choose Format > Paragraph > Indents and Spacing tab and, under the Line Spacing options, select the Align text to baseline guides checkbox. This will re-align the selected text so that it lines up with the baseline guides throughout your paragraph.

Helen Bradley