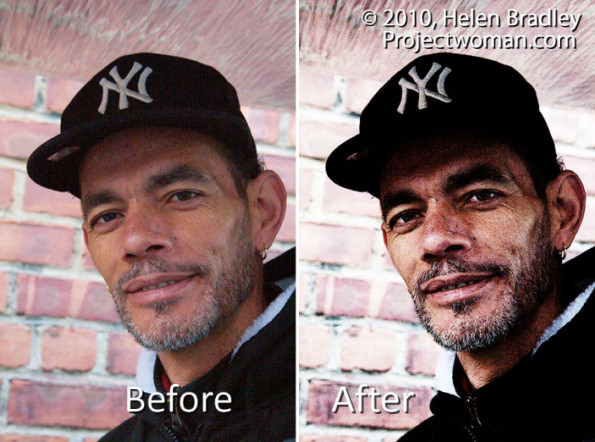
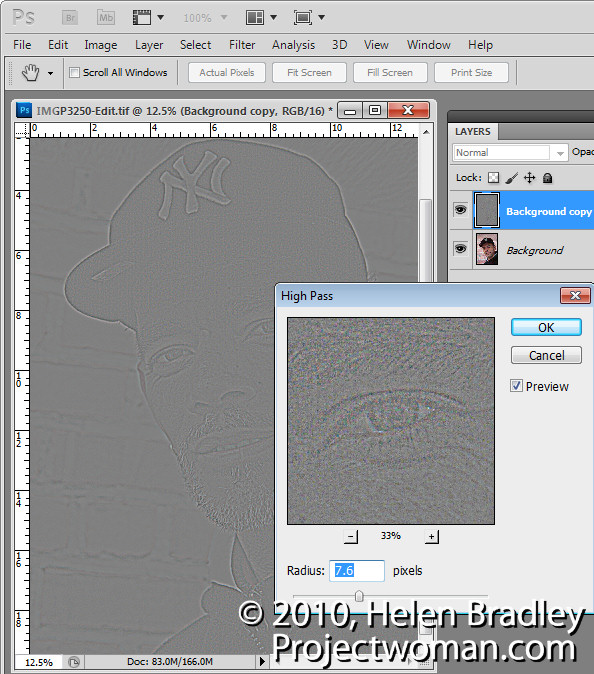
 To create a high contrast grunge portrait effect, first duplicate the image background layer, then choose Filter > Other > High Pass, select a Radius that shows lines on the image but not a lot of colour – typically a value of around 5 is sufficient – and click Ok. Set this layer’s Blend Mode to Overlay.
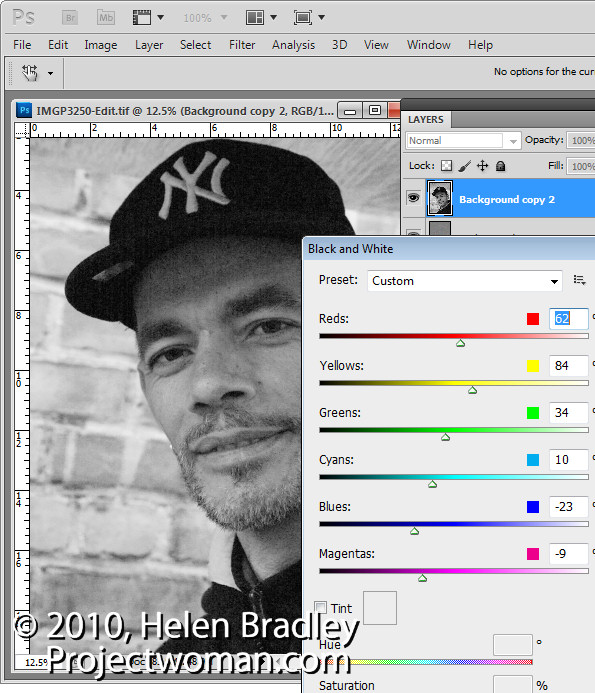
Duplicate the background layer again, moving the duplicate to the top of the layer stack and convert the layer to black and white by choosing Image > Adjustments > Black & White. Adjust the sliders to create an interesting black and white image – dragging the red slider to the left often to darken the reds often works well. Set the blend mode of the layer to Hard Light.
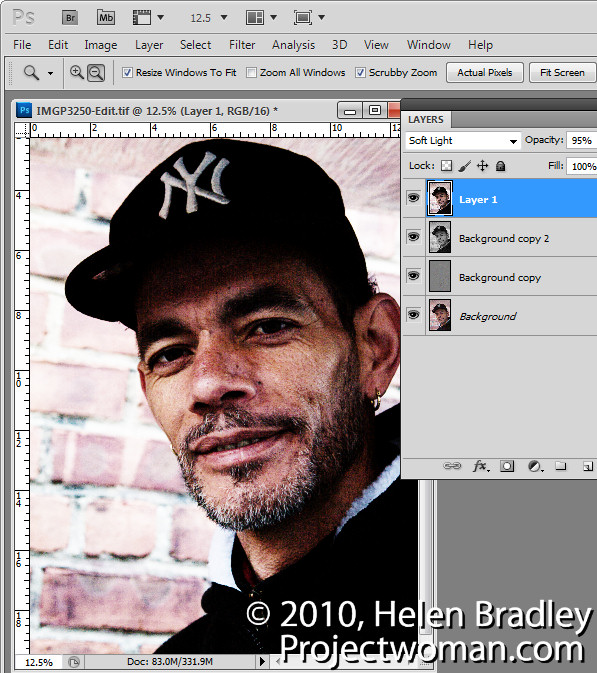
Select the top layer and press Ctrl + Alt + Shift + E to create a flattened version of the image and set this layer’s blend mode to Overlay, Soft Light or Hard Light as desired. Adjust the opacity to suit.
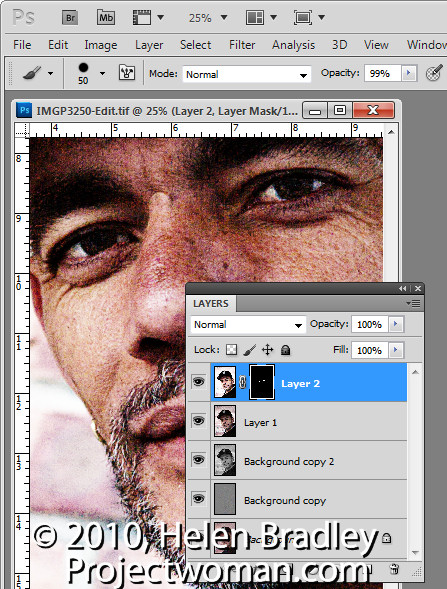
Make a new flattened layer by pressing Ctrl + Alt + Shift + E and use the same process as before to fix the eyes. Choose Image > Adjustments > Curves and adjust to brighten the eyes only. Add a black filled layer mask by pressing Alt as you click on the Add Layer Mask icon. Paint with white on the layer mask to bring details back in the eyes and adjust the opacity of the layer to suit.


Thank you for this tutorial. I would like to
be able to achieve this affect. Can this
be done using PSE 9?
Yes Karolyn, you can do this in Photoshop Elements. The High Pass Filter is on the Filters menu. You will need to work around the black and white conversion and curves using the PSE tools for these conversion – they aren’t the same as in Photoshop but they are similar in how the work and their results.
Helen