When you have a lot of similar images from a shoot, you can organizing them using the Lightroom Stacks feature. This allows you to stack images together so that only one image representing the stack appears in the Grid, Filmstrip and Loupe. This can clean up the screen reducing the number of images you see.
Get started with Stacks in Lightroom
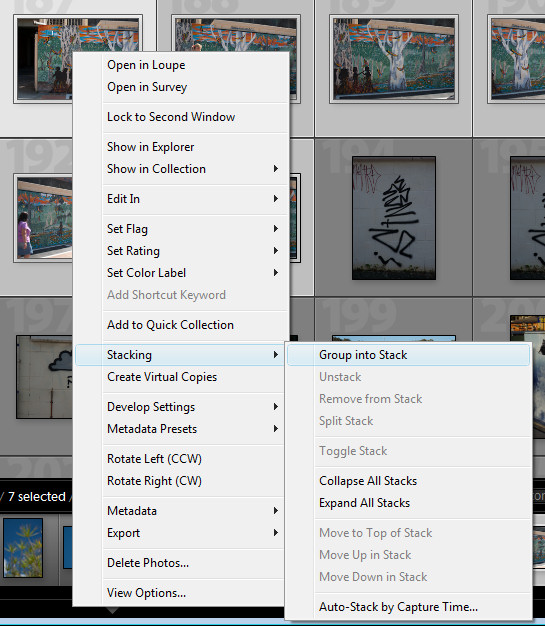
To stack images, in the Library module, select the images to stack, right click and choose Stacking > Group Into Stack. This stacks the images on top of each other.
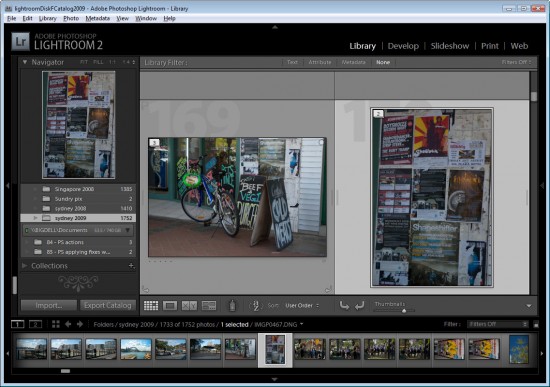
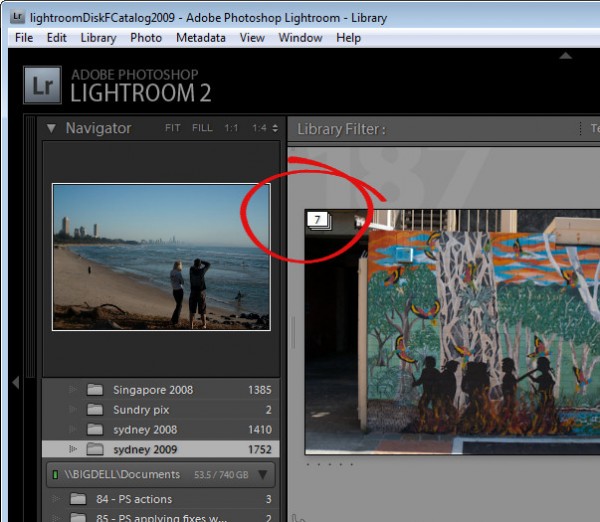
In Grid view you will see a small number in the top corner of the image at the top of the stack showing the number of images in the stack.
You can add an image to a stack by dragging and dropping it on top of a stack.
Expand a Stack
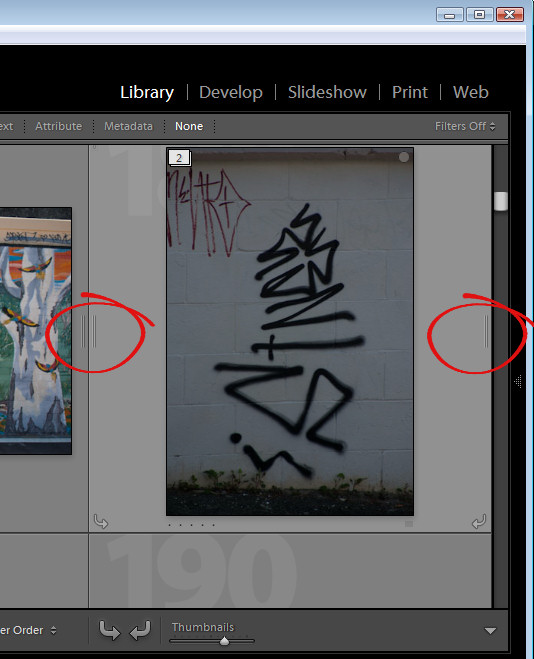
To expand a stack, right click on the number showing the number of images in the stack and choose Expand Stack from the Stacking shortcut menu or click the double line marker either side of the stack. Click the double line marker again to collapse the stack or right click an image in the stack and choose Stacking > Collapse Stack.
When you expand a stack, the images from the stack have a darker color underneath them indicating that this is an expanded stack.
There is some important terminology to know about stacks. You collapse and expand a stack to view or hide the images in the stack. If you unstack a stack you permanently remove the stack – you do not remove the images just the stack. There is no restack command so, when you unstack a stack, your only option for getting it back is to reselect the images and stack them again. You also cannot create a stack in a collection – you may only stack images in a folder.
Change the visible image
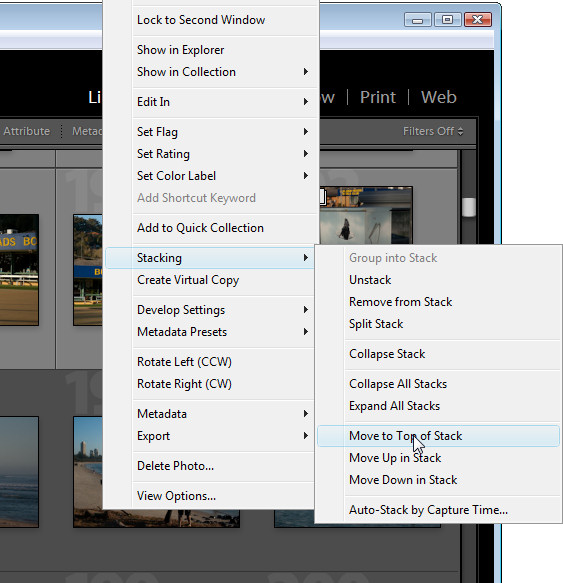
To change the image at the top of the stack, expand the stack, click the image to use as the top image and choose Stacking > Move to Top of Stack. The topmost image is the one that is visible when you collapse the stack again.
Remove an image from a Stack
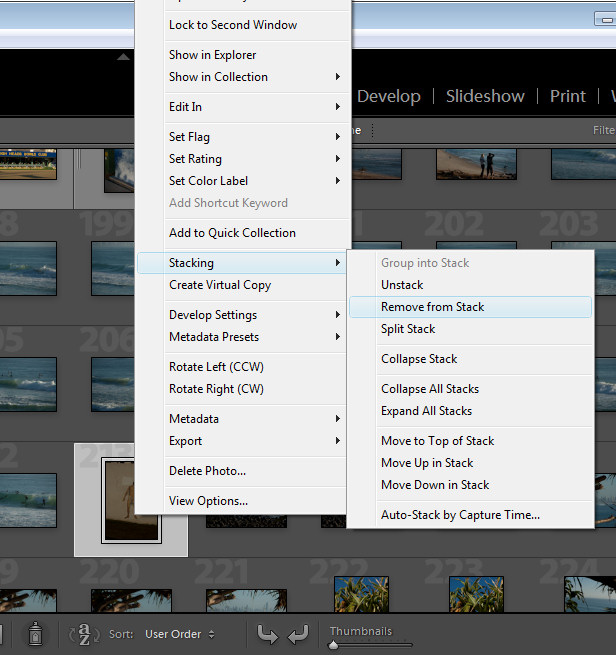
You can remove an image from a stack by expanding the stack, right click the image to remove and choose Stacking > Remove from Stack.
Stack for HDR
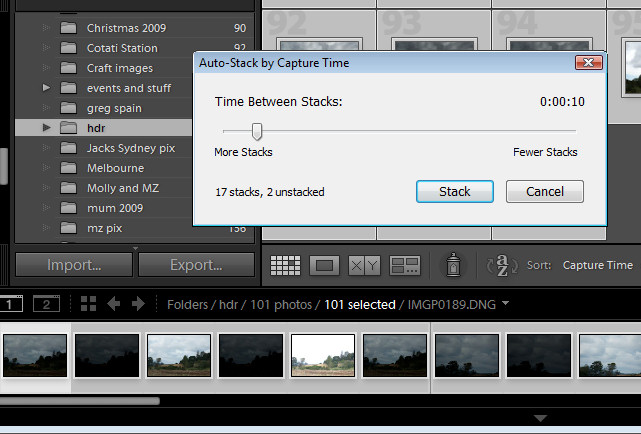
There is another stacking option you can use, for example, where you have captured a series of images to use for a panorama or where you have captured a series of bracketed exposures for HDR processing. Because these images will have been captured within a short period of time, you can stack them based on capture time. To do this, select all the images, right click and choose Stacking > Auto-Stack by Capture Time. Set the time between stacks value – as you do you will see an indicator telling you how many stacks this will give you and how many images will remain unstacked. Use this as a guide to the optimal value to use. Click Stack to have Lightroom create your stacks for you.
Once this is done, right click and choose Stacking > Collapse Stacks to view the stacks that you have made. This is a quick way to group images that are most likely to be part of the same sequence of images and if one or more stacks aren’t correctly formed, you can either unstuck them or split a stack in two by right clicking the image at the point that the split should be made and choose Stacking > Split Stack.
Stacks are a useful way to restore order to a large folder of images containing a lot of similar images. By stacking images you’re not altering the images in any way, simply organizing them a little more neatly.


Another tip:
To keep a photo in a stack (e.g. for panorama) and also as an individual photo, you can make a virtual copy and remove that one from the stack.