Learn how to create a simple animation in PowerPoint. You will add a shape which, when clicked will trigger an image to be displayed. It is a smart animation with lots of potential uses which, once you see how it is done, will be simple to adapt to your own needs.
Transcript:
Hello, I’m Helen Bradley.
Welcome to this video tutorial. In this tutorial I’m going to show you how you can create an animation where you click a button to show an image. Before we get started with this tutorial let’s have a look and see what it is that we’re going to achieve.
I have an image here and a shape and when we play the presentation this is what we’re going to see. We’re going to see a slide without the picture and when I click on this shape I’ll see the image displayed. And we’re going to create this animation where we click on a shape and an image appears.
So back in PowerPoint let’s go to a new slide and I’ve already inserted my image. I just chose Insert and then Online Pictures. I searched for an elephant and I’ve just inserted it on the slide. So there’s nothing special about what I’ve done to date. Now I’m going to choose Insert and then Shapes and I’m going to choose my rounded rectangle shape.
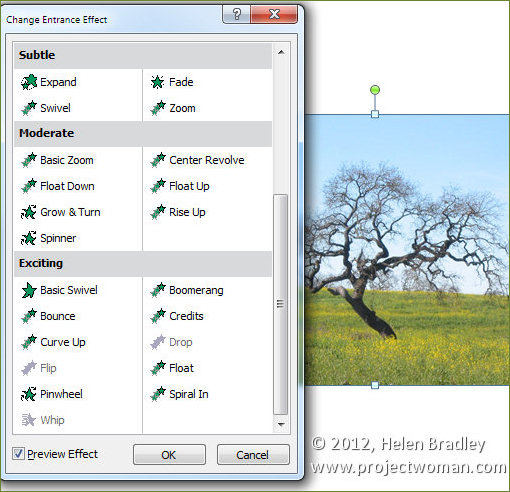
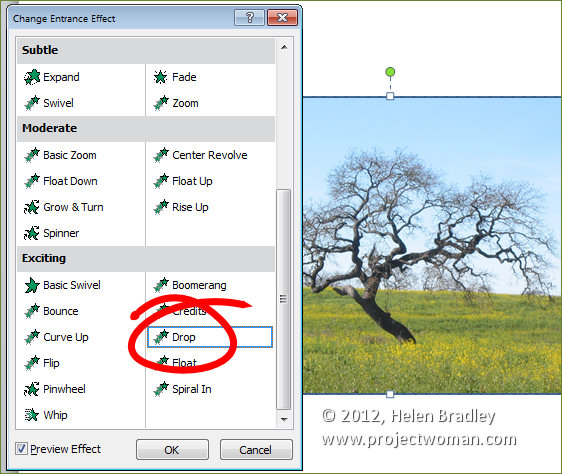
And I’m going to add it to my slide and I’m going to add some text to it. And I’m just going to click away from the shape. Now that we have our shape and our image we’re ready to create the animation. To do this I’m going to click the Animations tab on the Ribbon. And I want to animate the elephant so I’m going to click on the elephant image and I’m going to choose an animation for it.
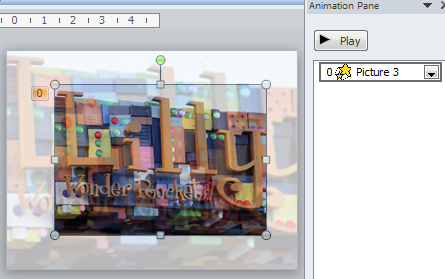
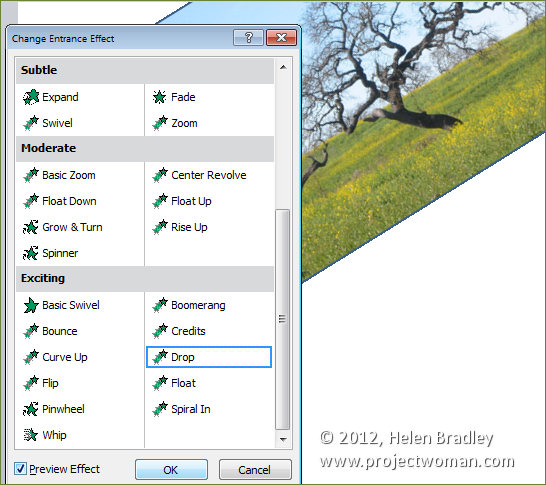
So I could choose an animation such as fade so it will fade in. And then I’m going to open the Animation task pane over here by clicking on Animation Pane because I want the elephant to be animated but I don’t want him to appear on a click and I don’t want him to appear after the slide is opened. I want him to appear when you click this particular shape.
And that’s a different animation. This is the elephant animation so I’m going to right click it and choose Effect Options because that allows me to control how this effect is going to play. And I’m going to click the Timing tab.
And I want this to be triggered by the clicking of this shape so I’m selecting to Start Effect on Click of and I’m going to select Rounded Rectangle and just click Ok. And now this image is going to animate when we click this shape. Let’s close down the task pane and let’s go and test it.
I’ll click the Slide Show. You have to do that because you have to test this slide as it would appear inside a working slide show. And you can see here we have our slide on the screen and just our filled rectangle. I’m gray. I have a trunk. Click to see what I am. The elephant image is not visible yet. However when I click the shape the elephant appears and we would then progress through the slide show.
So this is a simple animation effect that you can create so that you can click a shape and something happens. The animation is all added. All the effects are added to the image itself. You’re going to animate it with some sort of an entrance effect and then adjust its timing so that it is triggered by a click on this shape here.
I’m Helen Bradley.
Thank you for joining me for this video tutorial. Look out for more PowerPoint tutorials on this YouTube channel as well as additional tutorials on other Office applications and Photoshop, Lightroom and Illustrator.
Visit my website at helenbradley.com for tips, tricks and tutorials on all these applications.


