The Quick Access Toolbar or QAT runs across the top left edge of the Word 2007 and 2010 window. It also appears in other ribbon compatible programs like Excel 2007 & 2010, PowerPoint 2007 & 2010.
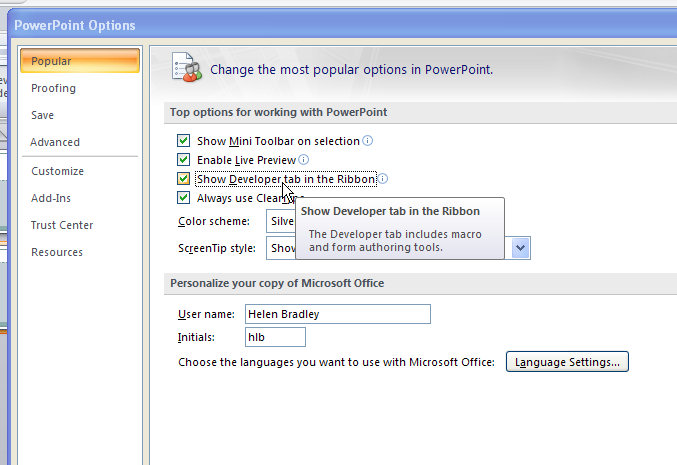
The QAT is a handy place to put icons that you use all the time. It can be customized through this Quick Access Toolbar option.

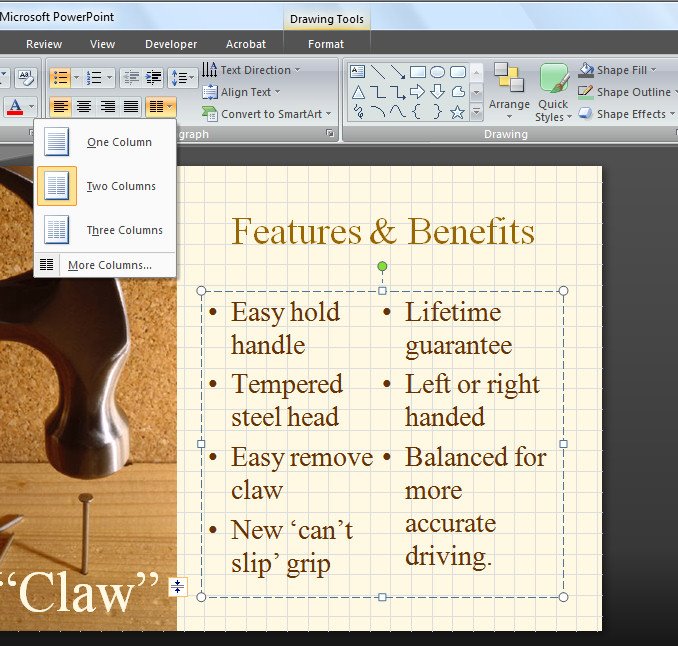
Click this icon to show the QAT editing options. Click Show Below the Ribbon to place the Quick Access Toolbar below the ribbon – I think most people will find its current position acceptable but if you want to move it that’s how to place it elsewhere.
Choose More Commands to add more commands to the Ribbon. From the Choose Commands From list you can select commands to view. These include Popular Commands, Commands Not In The Ribbon, in other words commands that are available in Microsoft Word but for which you have no other easy way of accessing, All Commands or Macros. The remainder of the dialog gives you access to the individual tabs in Word so that you can get access to icons listed there.

Some options you may want to add to the Quick Access Toolbar include the Close/Close All Button, Quick Print and I like to add Switch Windows which is available from the All Commands list. Other tools that you use frequently can be added to the Quick Access Toolbar making them instantly accessible.
You should note that you can set the features for all documents or for just an individual document so that you can, for example, set a different toolbar for a specific document. When you choose this option the specific document will get all the tools on the standard quick access toolbar plus those that you’ve added to just its toolbar.