Wednesday, October 24th, 2012

5 Quick Tips to Improve your Photography Today!

If you want to add a quick boost to your photos, follow these five tips to take better photos today… and everyday!

Tip 1 – Get close to your subject

The single simplest way to improve your photographs is to move physically closer to what you are photographing. If you can’t get physically closer then zoom in close using your camera’s zoom.

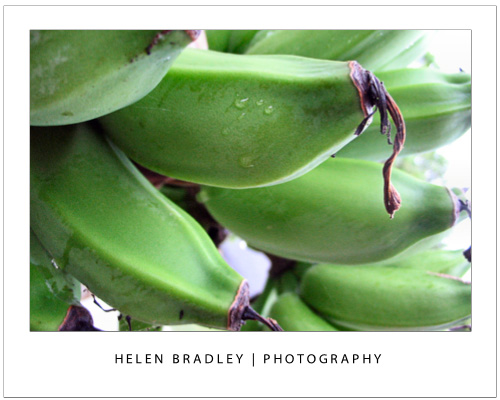
This image was captured from the verandah of a house in the tropics so it was possible to walk up very close to the clump of bananas on the palm.


Tip 2 – Capture Close ups with Macro

When shooting an object close up, set your camera to its Macro setting which is indicated by a small flower – you can set it using either a setting on the camera itself or from inside its menus. Zoom all the way back out (macro and zoom don’t mix) and check that the camera is able to focus on what you’re shooting – if not, move further back a little and try again. Most cameras can capture shots using macro mode as close as a few inches from the object.

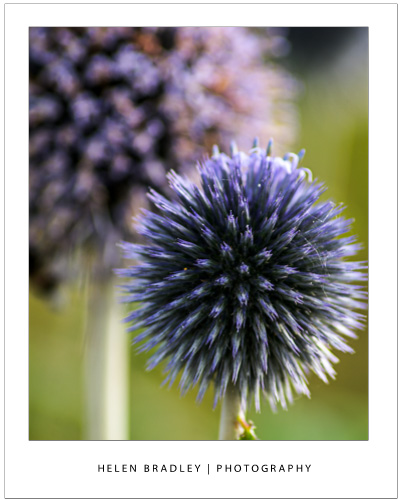
This flower was captured with a macro setting – one side benefit of this is that the background is thrown out of focus showing an attractive shallow depth of field.

Tip 3 – Follow the Rule of thirds

The rule of thirds is a tool for creating a dynamic composition for your image. To apply it, draw an imaginary tic-tack-toe board over the scene you see in the  camera’s LCD screen or the viewfinder before you take the shot. Position the subject of the image along a horizontal a vertical line or at the  intersection of the lines. This ensures, for example, that the  horizon appears across the top or bottom third of an image and never right in the middle.

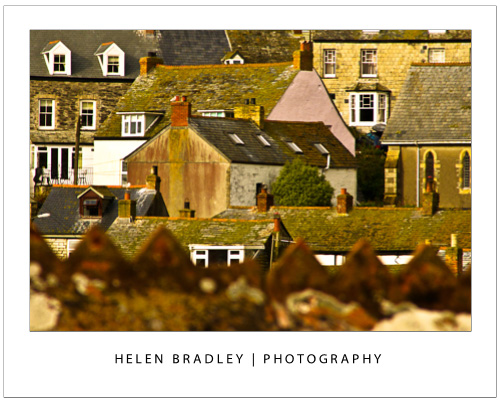
In this image the out of focus wall in the foreground is along the bottom line of the imaginary tic-tac-toe board.

Tip 4 – Capture from an Unusual Angle

Look for different angles to shoot from. Take a portrait  from a vantage point high above the person and look for different angles when photographing classic buildings so you  capture photographs that aren’t the same as everyone else’s.

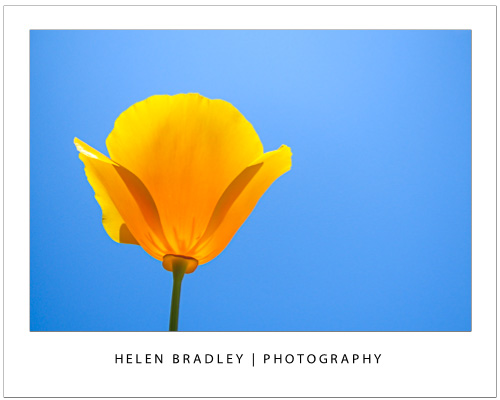
In this image the camera was positioned under the flower and facing the sky and the translucency of the flower shows beautifully.

Tip 5 – Respect the “no flash” zone

The effective radius of your camera’s flash is around 9-12 feet so it won’t work in a sporting stadium at night. Instead use a long exposure time and mount the camera to a tripod.

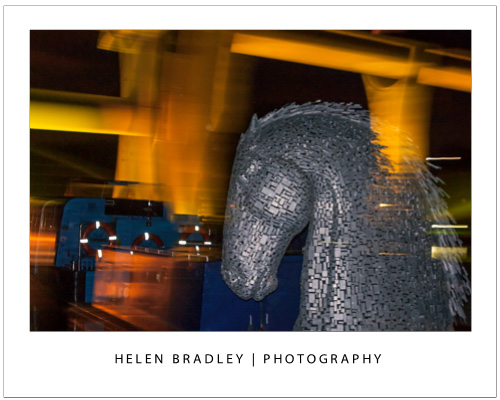
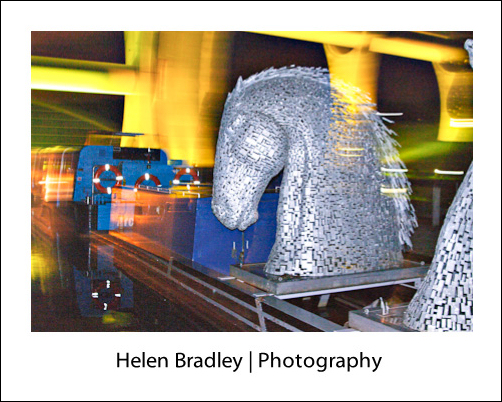
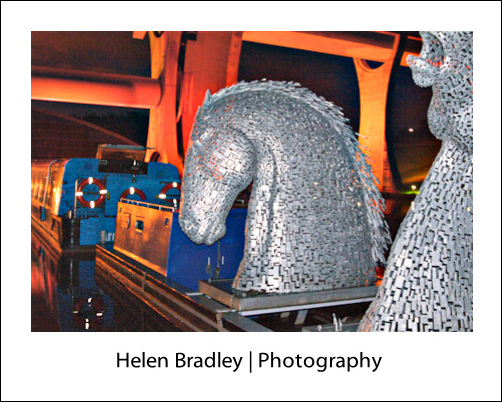
In the image below the short radius of the flash has lit the statue which is close to the camera. A long exposure has captured the light on the structure behind. Read this post to discover how setting a curtain flash lets you combine both flash and long exposures.


Helen Bradley

Monday, September 10th, 2012

Art with the flash

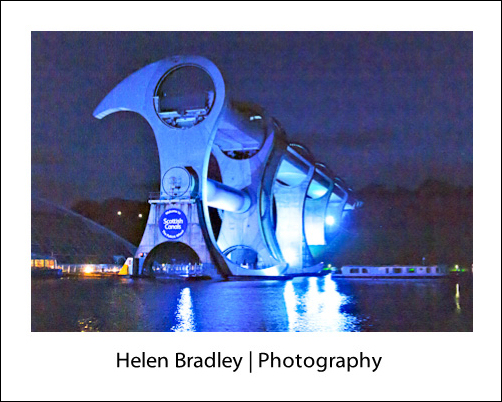
I got caught recently photographing in Scotland. While I had packed 2 more lenses than I ususally travel with – usually it is only one – I forewent the tripod – I do have my limits and I was spending 6 nights on a 6 foot wide narrowboat on the canals so to say that space was at a premium is an understatement. So, night one of the trip we are moored at the Falkirk Wheel. This huge monolith lifts boats using a rotating wheel up 80 feet or so from one canal to another. It’s big and beautiful and very kindly the guys at the wheel turned the lights on for me so I could photograph it. So, there I was late at night, the weater was cold but luckily pretty still but I really needed a tripod. There was nothing around to sit the camera on so I braced myself and got off a few shots, not too shabby in the circumstance – the lights were great but I love to get something just a bit different.


So here’s what happened – I had spent the afternoon photographing some kelpie statues – these are creatures with horse like heads and dragon like tails. In this case there were only the  heads and they were sitting on a boat in the mooring pond at the foot of the wheel – funky stuff. At night it made a perfect focal point for my shots – but still the problem of no tripod. Now there is a flash curtain setting on most cameras – you typically have a front and a read curtain sync flash. Essentially what it gives you is a combination of both a flash and a long exposure – the front and rear bit is when the flash fires – the beginning or the end of the exposure.

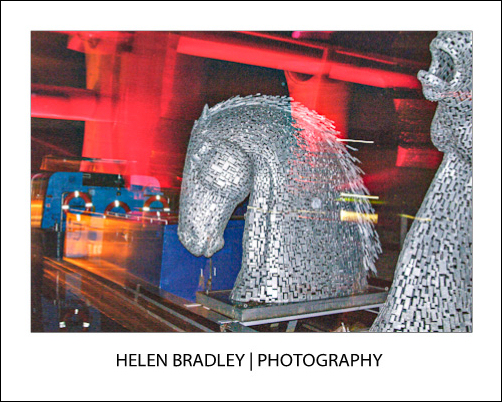
So, I could use the flash to capture the statues and the long exposure to capture the lights. Because the sculptures were so dark they didn’t get caught in the long exposure but they were frozen in the flash. Having shot a few test shots, I thought it needed  just a bit more so I combined the flash and long exposure and at the same time I moved the camera.

So, the kelpie (horse) statues are lit and they are sharp, the lights are caught but moving and out of focus – and because the statues are little bits of metal welded together with holes in them, the light show through and over them. All in all I called that a technical challenge well met  and an ace final result.

A word of caution. The solution to this problem required me to have  played with the flash in the past so I understood the curtain sync process, it also helped that I’d played a bit with moving the camera so I could forsee what that might give me. So, as always it will pay to learn to use your camera features before you really need to put them to use.

Then pure luck put the statues there (they get moved around a bit) and it got my host Nick to call the wheel guys and get the lights turned on and Irene to wake me and tell me the lights were on – an all round community effort which paid off with some shots I love.

Helen Bradley