Sunday, April 7th, 2013

Talk to the Animals – Photograph at the Zoo – Part 1

Your local zoo is a place to get great animal photos without leaving home

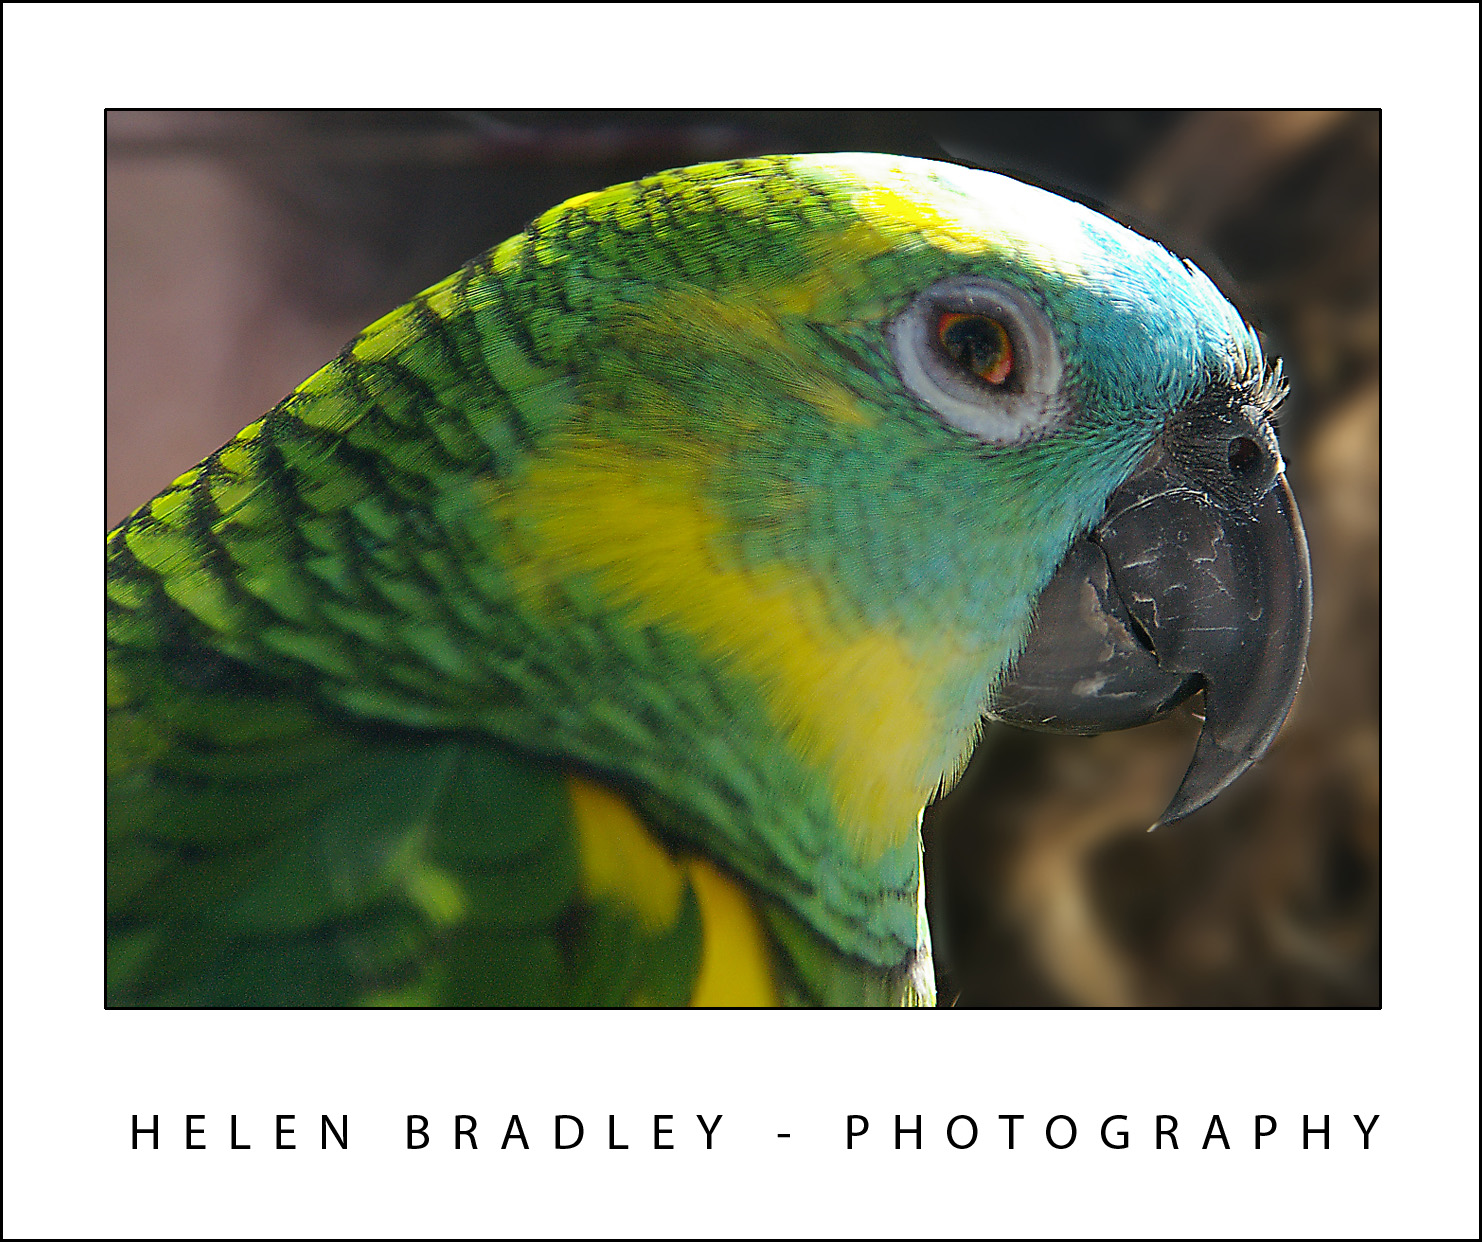
Zoos are a great place to polish your photography skills and to get photos of animals and birds you may never see otherwise.

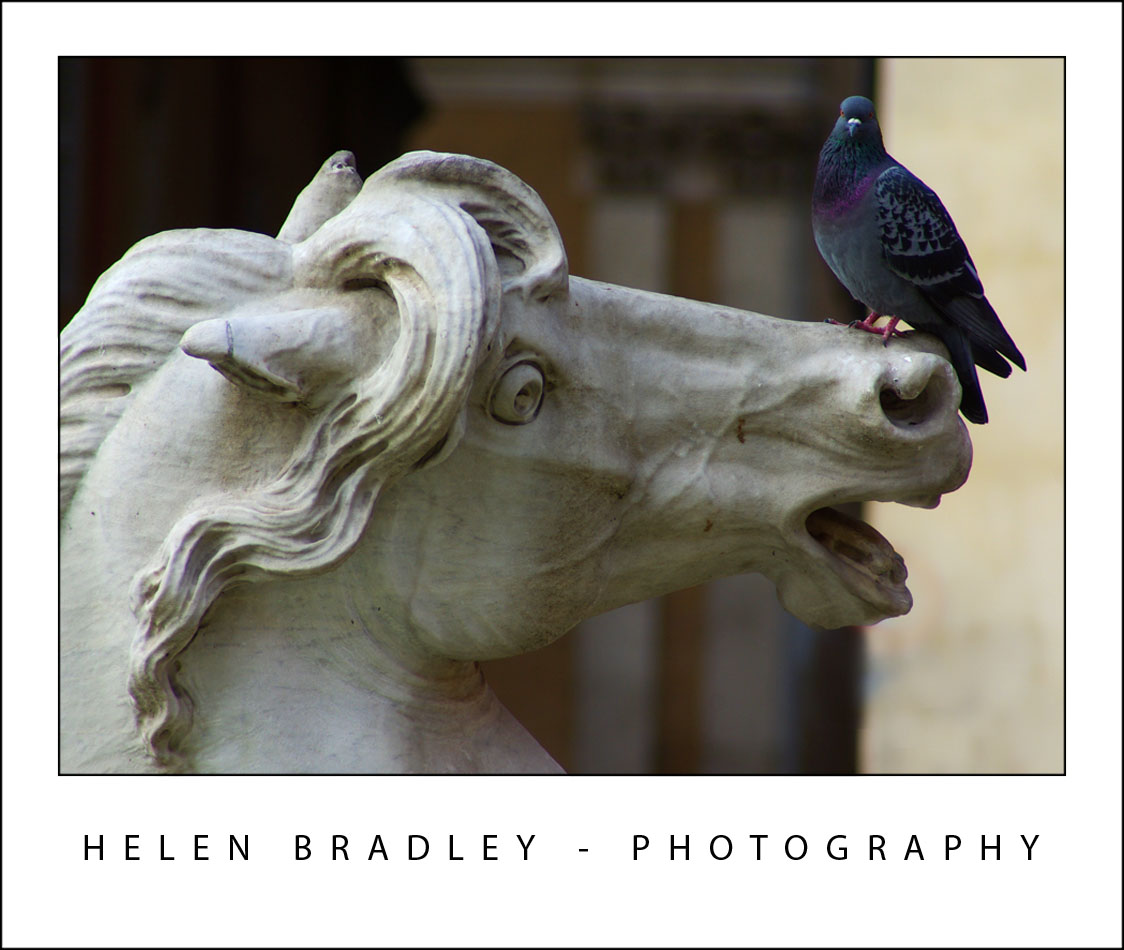
However, just because the animals are caged doesn’t mean they are easy to photograph so there is plenty to think about and work around.

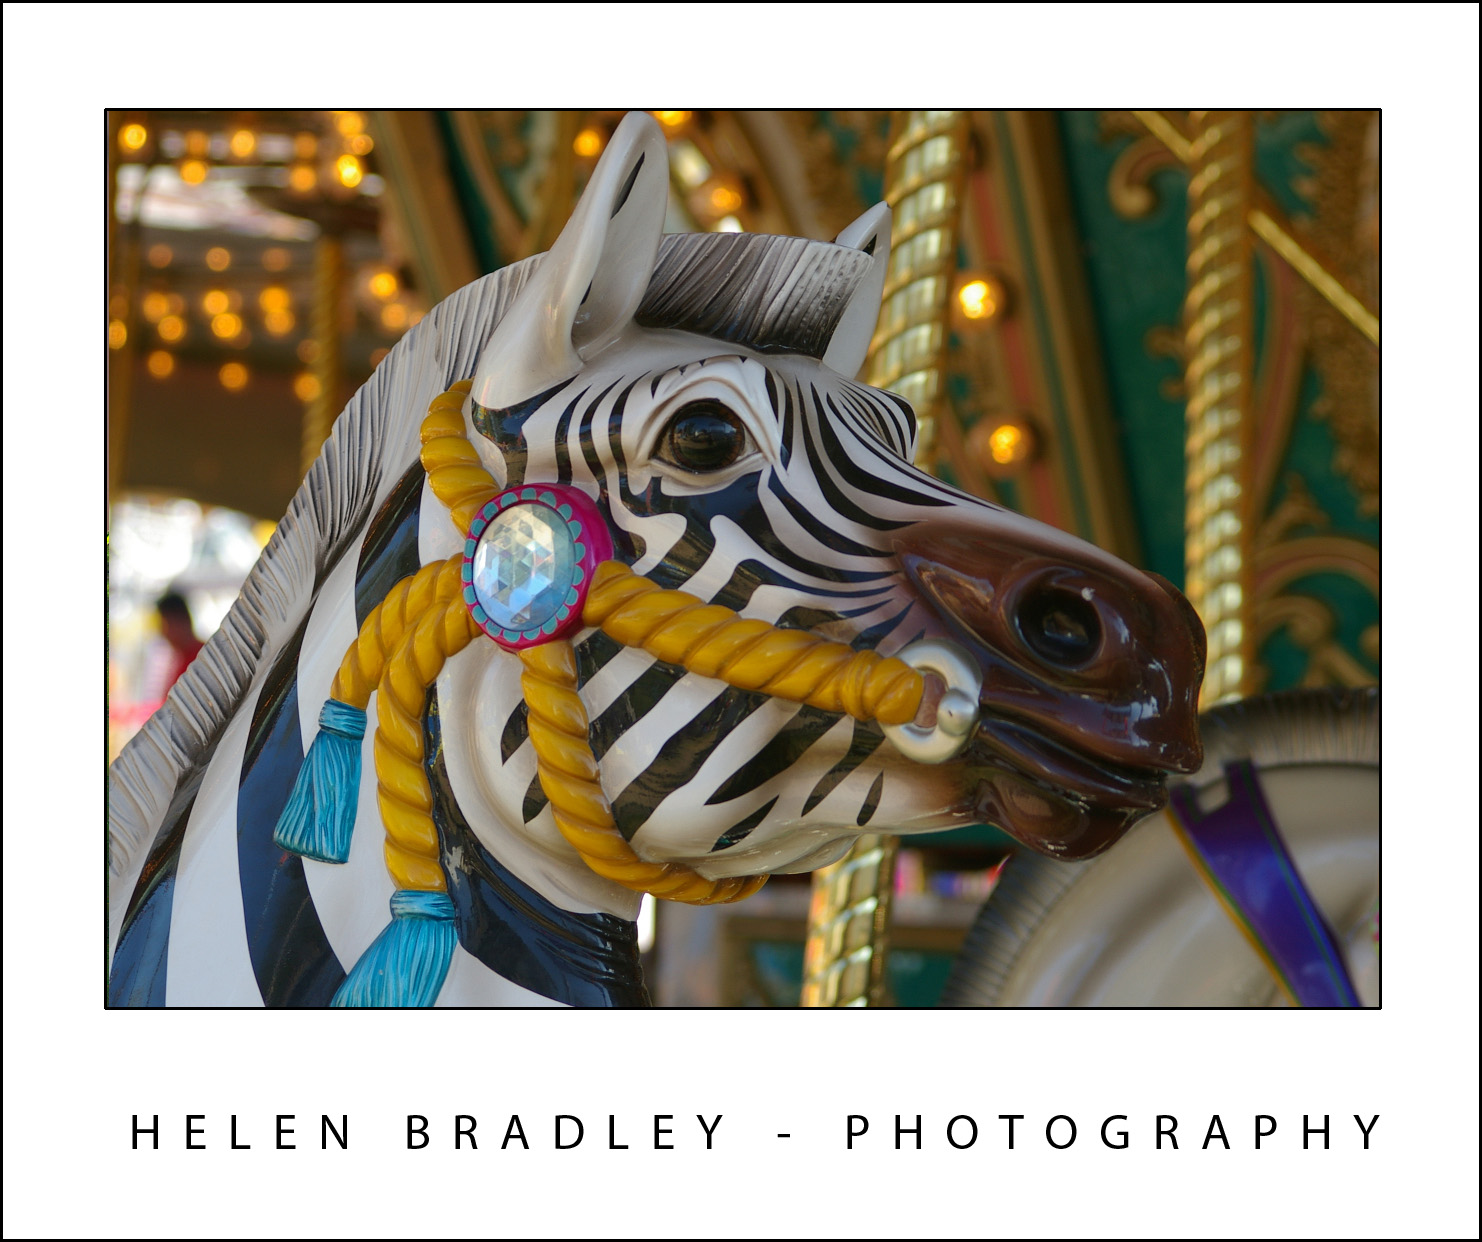
The plus is that your perseverance will be rewarded and you can get some truly great photos if you know how. Here are some tips for a successful day photographing at the zoo.

Pack the right kit

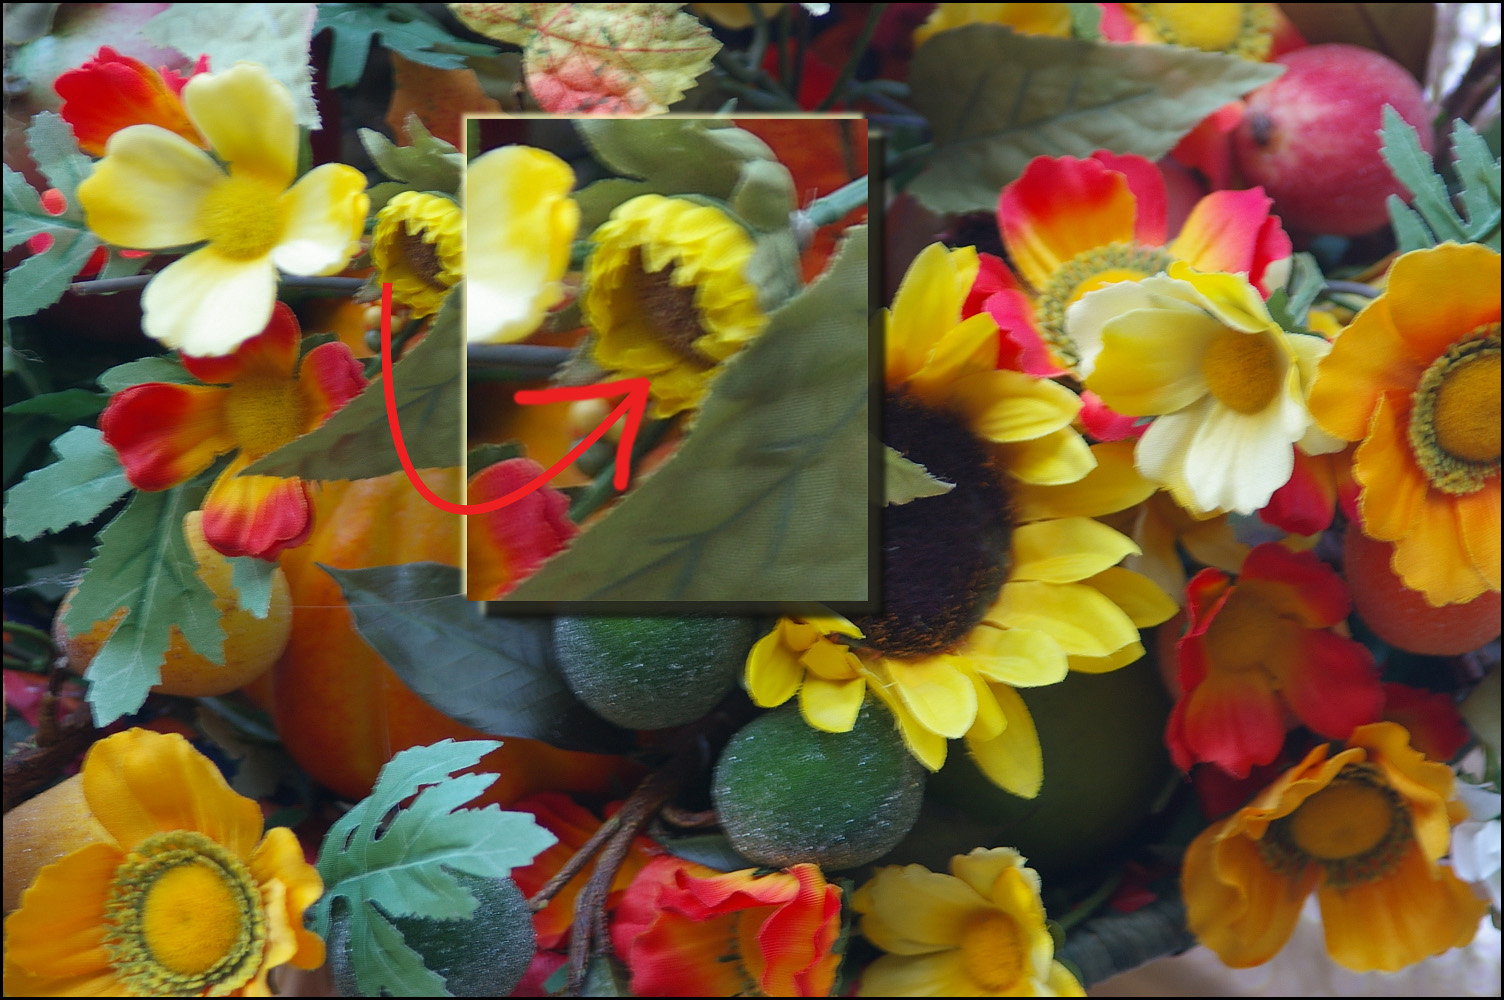
A digital SLR is a good choice for the zoo because most let you switch to manual focus which will be handy where you are trying to photograph an animal behind foreground foliage.

In this situation, the camera’s autofocus feature will have trouble distinguishing what you actually want to have in focus – being able to focus manually will let you have better control of what you shoot than using a point and shoot camera.

At the zoo you’ll be shooting at a reasonable distance away from most animals so a good zoom lens will get you close to the animals to fill the frame. A 28–200mm lens is a good choice as it offers a good zoom and is still easy to hand hold. A 70-300mm lens will get you in closer still but you have to be careful to hold it very still.

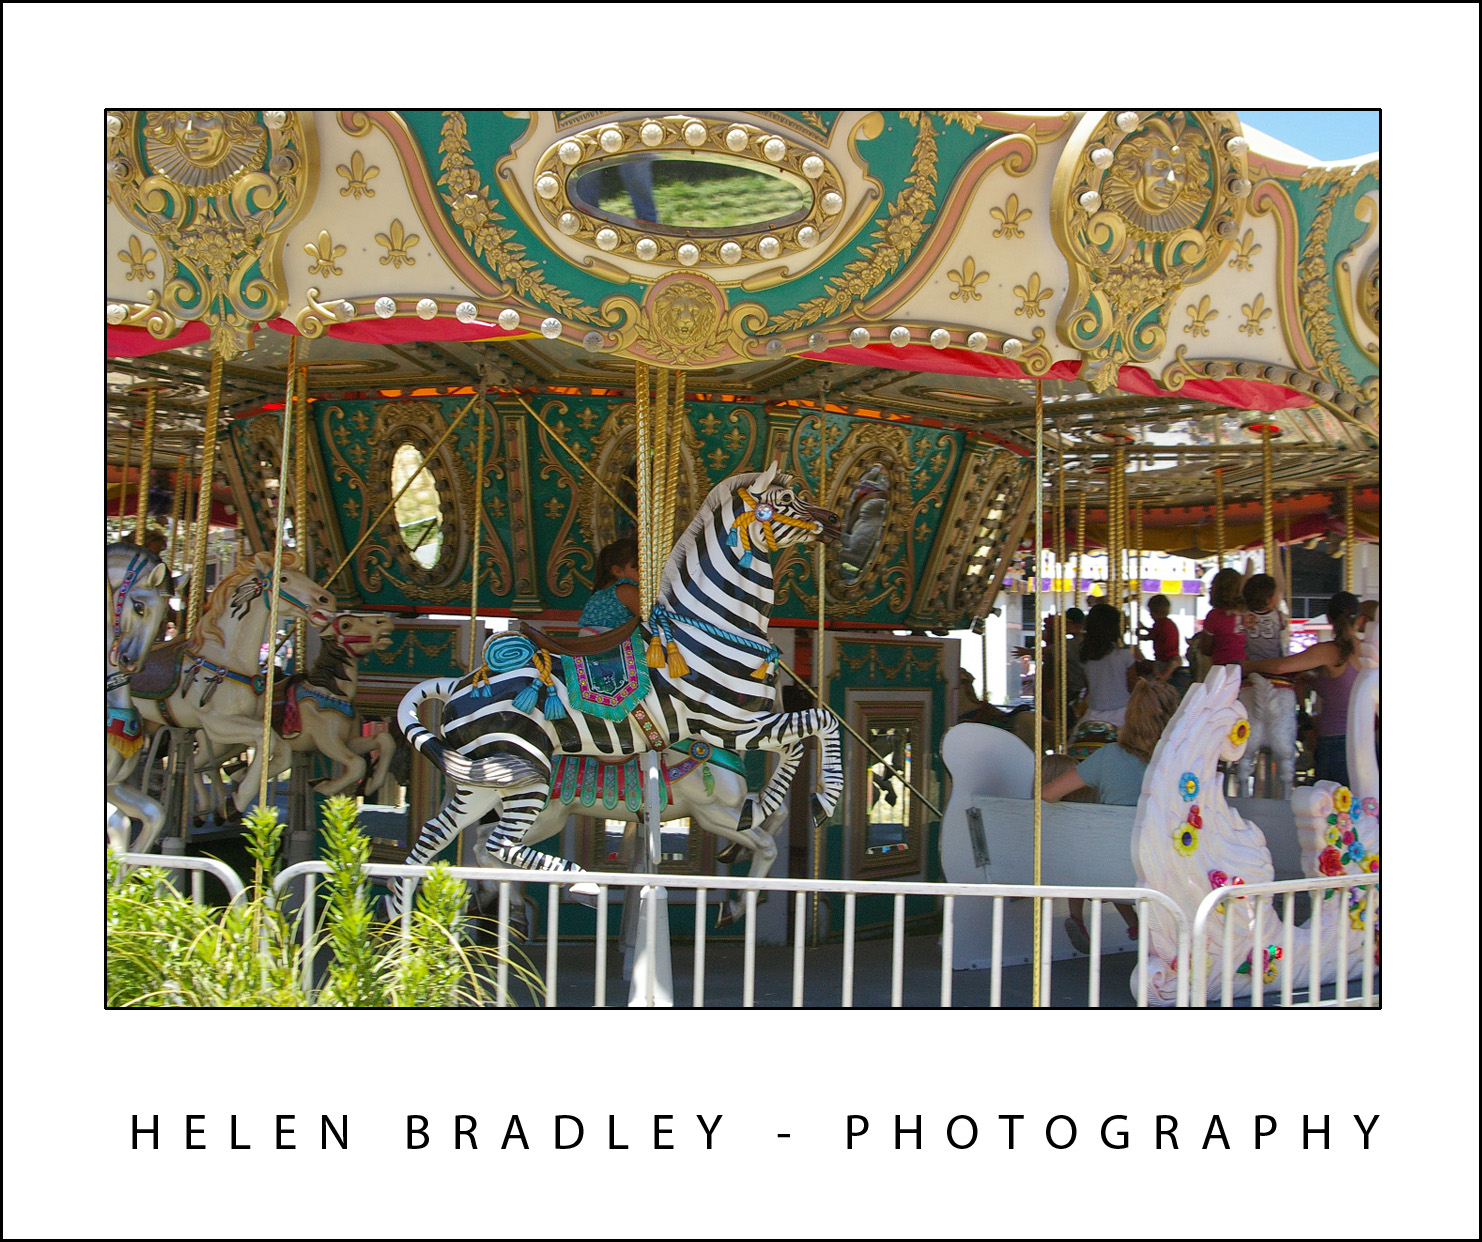
Also consider the issue of glare – you may not have a lot of choice about where you photograph so a polarizing filter may help you cut glare and get more saturated colours on a bright day.

When to go

Choosing the right time of the day can help you get better photographs. Photographing early in the morning or late in the afternoon when the light is softer and the shadows less harsh is always better than shooting at midday.

When you arrive at the zoo ask about feeding times, animal shows and anything that will get you close to the animals and preferably without cages between you and them.

To this end I’ve attended the free flight Bird Show at Taronga Park Zoo in Sydney and I’ve paid to breakfast with Orangutan in Singapore. I’ve also paid to photograph koalas up close at Taronga Park Zoo – instead of having my photo taken with them – I paid to do the photography. In Stockholm I paid to get inside an enclosure with some very curious Lemurs and I’ve done safari photo tours at Safari West in California. In short, any time you can get close to birds and wild animals unencumbered by cages do so. You’ll find these situations typically less encumbered by other people taking happy snaps and you’ll have more space and time to shoot.

Elsewhere around the zoo if you can visit the animals at their feeding time you that will bring animals out of hiding into places where it’s easier to see and to photograph them.

You do, however, still need to be well prepared and well positioned to get the best photos.

Helen Bradley

Wednesday, October 24th, 2012

5 Quick Tips to Improve your Photography Today!

If you want to add a quick boost to your photos, follow these five tips to take better photos today… and everyday!

Tip 1 – Get close to your subject

The single simplest way to improve your photographs is to move physically closer to what you are photographing. If you can’t get physically closer then zoom in close using your camera’s zoom.

This image was captured from the verandah of a house in the tropics so it was possible to walk up very close to the clump of bananas on the palm.


Tip 2 – Capture Close ups with Macro

When shooting an object close up, set your camera to its Macro setting which is indicated by a small flower – you can set it using either a setting on the camera itself or from inside its menus. Zoom all the way back out (macro and zoom don’t mix) and check that the camera is able to focus on what you’re shooting – if not, move further back a little and try again. Most cameras can capture shots using macro mode as close as a few inches from the object.

This flower was captured with a macro setting – one side benefit of this is that the background is thrown out of focus showing an attractive shallow depth of field.

Tip 3 – Follow the Rule of thirds

The rule of thirds is a tool for creating a dynamic composition for your image. To apply it, draw an imaginary tic-tack-toe board over the scene you see in the  camera’s LCD screen or the viewfinder before you take the shot. Position the subject of the image along a horizontal a vertical line or at the  intersection of the lines. This ensures, for example, that the  horizon appears across the top or bottom third of an image and never right in the middle.

In this image the out of focus wall in the foreground is along the bottom line of the imaginary tic-tac-toe board.

Tip 4 – Capture from an Unusual Angle

Look for different angles to shoot from. Take a portrait  from a vantage point high above the person and look for different angles when photographing classic buildings so you  capture photographs that aren’t the same as everyone else’s.

In this image the camera was positioned under the flower and facing the sky and the translucency of the flower shows beautifully.

Tip 5 – Respect the “no flash” zone

The effective radius of your camera’s flash is around 9-12 feet so it won’t work in a sporting stadium at night. Instead use a long exposure time and mount the camera to a tripod.

In the image below the short radius of the flash has lit the statue which is close to the camera. A long exposure has captured the light on the structure behind. Read this post to discover how setting a curtain flash lets you combine both flash and long exposures.


Helen Bradley

Tuesday, August 11th, 2009

Better Travel Photography #1 – take the road less traveled

Do your travel photographs look just like everyone else’s?

If you wonder why you bothered lugging your digital SLR half way around the world and didn’t just settle for buying postcards, it’s time to revisit the way you photograph your travels. Here is part 1 in my new series of Better Travel Photography – a guide to getting great travel photos that don’t look like everyone else’s..

Today’s tip: Move out of the way
If you’re tempted to stand alongside other photographers to capture photos of popular tourist destinations then it’s time to move away.

The really unique photographs are those that you take when you look at something through your eyes rather than following what everyone else is shooting.

Look for things that are different and interesting to you in the place you are visiting..

For example, when photographing fountains look for something other than the big picture.

Get in close to the fountain to capture close-up detail or wait for something to happen.

It might be a child splashing in the fountain, a couple sharing a kiss or it might be something as unusual as a bird perched on a statue.

Even in the most popular tourist places there are great and fun and unusual things to capture.

Helen Bradley

Sunday, June 28th, 2009

Take your photography up a notch


Owning a digital camera isn’t a panacea for taking bad photos. In fact, all too often, having a digital camera means you take many more bad photos – you just don’t pay to have them printed. Take a quick look through the photos you’ve taken recently and see how many great photos you’ve taken compared with how many you’re disappointed with.

If you’re erring on the side of having too many photos in the not so good category, then read on! This month I have some great tips for taking much better photos and they’re simple solutions that don’t need special tools or expensive cameras. In fact they’re techniques that are guaranteed to take anyone’s photography up a notch.

Cut the clutter
When your photos are marred by untidy backgrounds and general clutter, there are two simple solutions. One is to move closer. Most people shoot from way too far away from their subjects so it’s inevitable that there will be other extraneous detail in the shot. You can tell if you’re standing too far away if you look at the photos you take and identify how much of the surface area of the photo the subjects take up. If it’s less than 50% you’re not getting close enough.

Next time you’re about to take a photo, take one good big step towards your subject and check the LCD screen. Mentally calculate how much of the photo area is covered by the subject, if it’s not at least half, then take another step and check again. At the same time, ensure that the scenery behind your subject is attractive. If not, move yourself or the subject until you have a more attractive background (or move in closer still), and then take your shot.


Getting in close to this carousel turns the shot from ho-hum into wonderful.

No more blur
Blur in photos is great when you want it and disastrous when you don’t. When you want a sharp, clear photo and all you’re getting is blur, there are some things to check. One is that you’re not too close to your subject. Your camera’s manual will tell you the ideal range at which the camera can focus – if you’re closer than recommended then your photos will be blurry. The solution is to move further away from your subject so the lens can focus or switch to macro mode. Macro mode is indicated by a small flower icon and it is used for close up photography. Again, check your camera’s manual to see just how close you can be to your subject in macro mode – you will find this is usually a minimum of around 5cm. When using macro mode, zoom out (not in) as the camera generally won’t focus in macro mode if you’re using the zoom at the same time.

If the blur cannot be attributed to being too close, it might be caused by camera movement. When taking a shot, hold the camera in both hands and brace yourself. Take a breath, push the shutter release half way down to allow the camera to focus on the subject. Then push the shutter release the remainder of the way down to take the shot before breathing out again. Taking and holding a breath will avoid a lot of camera movement and pressing the shutter release half down gives the camera’s auto-focus mechanism time to focus correctly before you take the shot.


The camera moved a little as this shot was taken resulting in a slight blur.

When your subject is moving, taking a sharp picture is more difficult than when it is stationary. In this situation, switch the camera to sports mode so the shot will be captured faster and so there is less chance of the movement causing a blurry shot. It will also help if you adjust your placement so the movement is occurring towards you and not across the path of the shot. Of course, in some situations this is not possible, for example, standing in front of horses racing around a track is generally not possible, however it will give a clearer shot!

Too much light or too little
When your photos are repeatedly too light or too dark, adjusting the camera’s exposure may help. To do this, check your camera’s manual to see if it has an exposure compensation option. Generally you can adjust the exposure up or down by approximately 2 stops – these are marked -2, -1, 0, 1 and 2 on a scale. Zero is the value that is used by default and, to get a darker image, set the value towards the negative, generally around minus one third to minus half a stop is sufficient. On the other hand if your shots are too dark, adjust the setting to a positive value of around one third or one half. Exposure compensation settings are often lost when you turn off your camera so you should check it each time just in case.


If you’re shooting in bright daylight, and particularly if you are shooting portraits or a person standing in front of a scene, use the forced or fill flash setting on your camera. This forces the flash to fire in circumstances that it would generally not be required. The flash will light the person’s face and give a much nicer portrait shot and the background will still be captured just fine too.

Helen Bradley