When you spend a lot of your editing time in Lightroom it makes sense to learn how to work the interface so it behaves as you need it to. In a previous post (http://digital-photography-school.com/my-5-coolest-lightroom-commands) I listed some of my favourite Lightroom interface features. Here are my next favourite five, most of which have earned a place in my repertoire courtesy of spending far too much time editing on a 12″ laptop where screen space is at a premium:
Learn the F keys
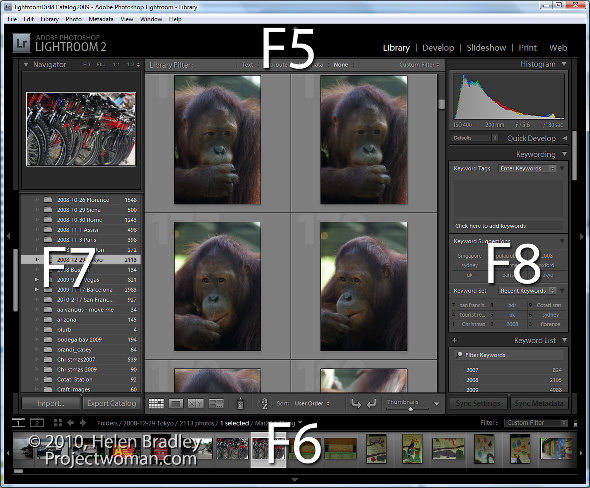
The function keys F5, F6, F7 and F8 can clean up the Lightroom screen very quickly. F5 controls the top panel, F6 the bottom, F7 the left and F8 the right panel. Pressing any one of these keys will hide or display the appropriate panel. It’s an easy way to get rid of a panel you don’t want to see without having to reach for the mouse.
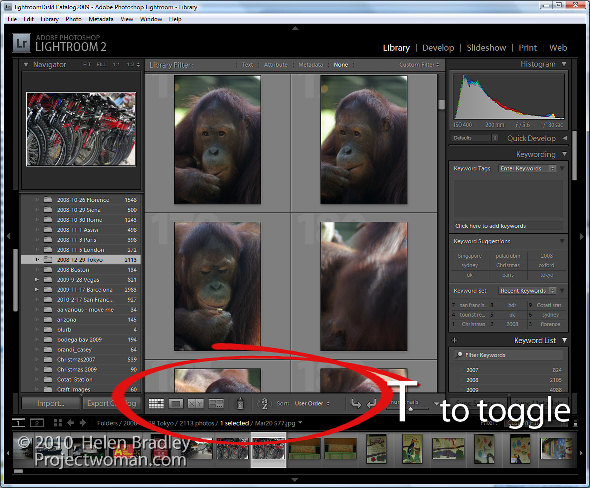
It is T for toolbar
At some time you may have toggled your toolbar off by mistake. When it goes, it takes with it handy tools such as Flag, Rate, Color Labels, the rotation tools, zoom tool and your Loupe and Grid buttons. In short, one accidental press of the T key can wipe out a lot of Lightroom functionality. When these tools go missing, press T and they’ll all come back again.
More panel magic – Tab key
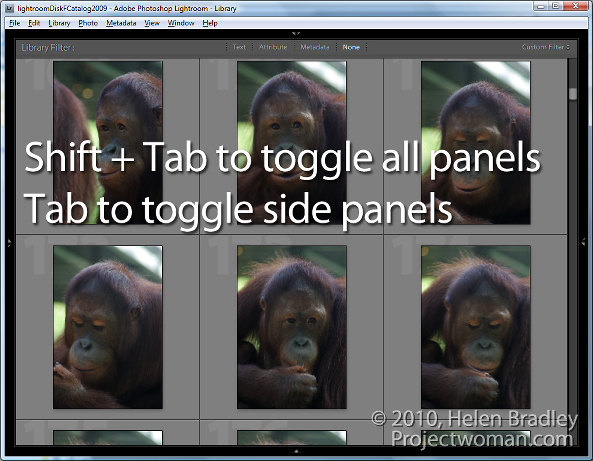
When you need to instantly remove the side panels from the screen, hit the Tab key. Shift Tab will toggle all panels on and off, Tab toggles just the side panels.
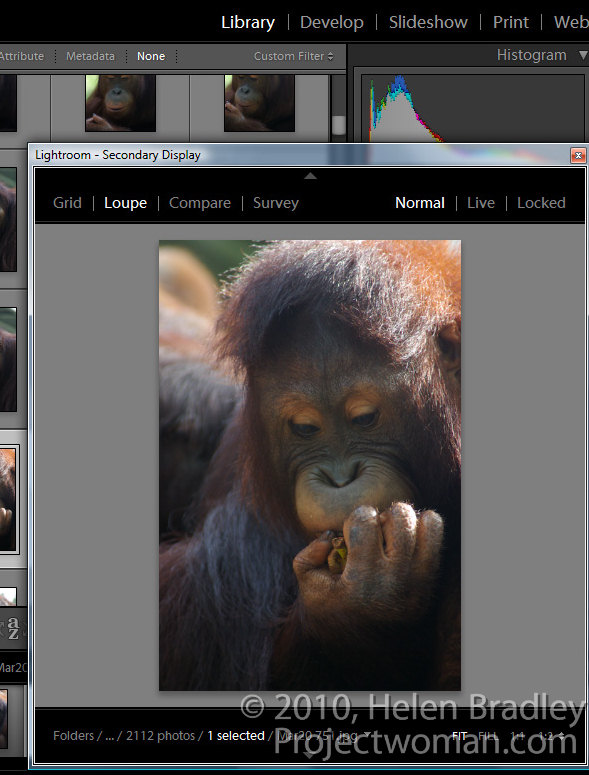
Open a second window – Yep – how cool is that?
If you want to see the Grid, Loupe, Compare or Survey View in a new second window, press F11. Once the second window is open, you can select what to view in it.
In Loupe view you can Lock the second window so that you see a single image in it regardless of what is visible on the main screen or choose Normal to view the currently selected image or Live to see the image under the mouse pointer.
To get rid of this window, press F11 again or click its Close button.

Lights out and screen modes
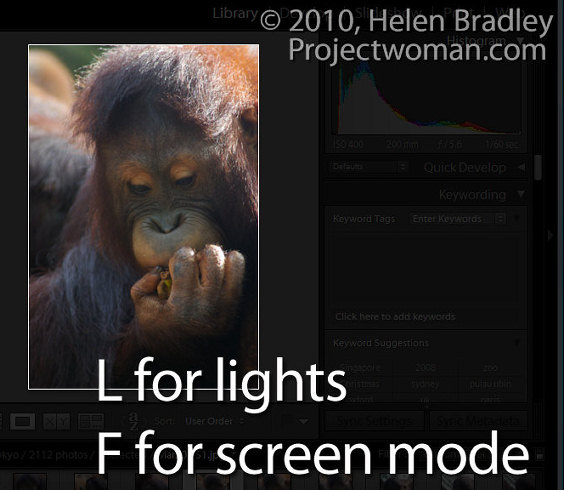
The L key toggles through the various lights out mode. The first is lights down, the second lights out and then press it again to return to the regular mode. This is handy when you want to see one image or the entire grid without any screen distractions. Similarly the F key scrolls around various screen modes including Normal, Full Screen with Menu bar, Full Screen and Full Screen and Hide Panels.
More info for Mac users:
Thanks to Facebook user Victor Cincola for this additional information for Mac users. You will need to use Command + F11 to open a second window on the Mac. In addition if your function keys F5, F6 etc do not work as described above you have Apple shortcuts enabled so you will need to use Fn + F5, Fn + F6 and so on – check your keyboard for the Fn key.
Helen Bradley


