Learn the difference between capturing in jpg and raw and when to use each.
One key decision that every photographer needs to make is whether to capture images in jpg or raw formats. With newer and more advanced tools on the market for processing raw images, the incentive to move to capturing in raw is attractive. However, raw images will require additional processing and they are very large so, to help you understand the issues behind the question “jpeg or raw?” I’ll explain the difference between capturing in jpg and raw and why you might choose one over the other and when to do so.
What is in a format?
Before exploring when you might want to capture an image in jpg or raw, it’s worthwhile looking at the differences between these two file formats. The raw file format is a format which is a camera specific so the format of raw images from a Canon camera is different to the format of a raw image from a Nikon camera. The reason for this is that a raw format image contains the data captured by the camera’s sensor and it is unprocessed. Because each camera’s sensor is different, the basic raw format is proprietary to that camera manufacturer and it may even vary from one camera to another within a camera manufacturer’s own range.
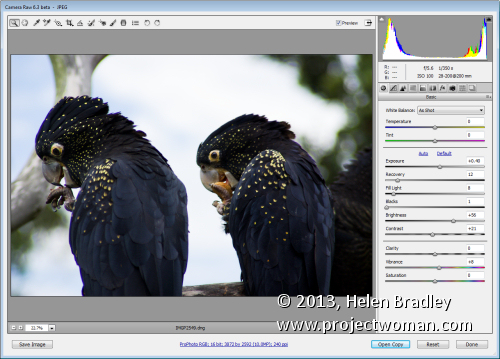
Before you can use a camera raw image in a program such as Photoshop, you need to process it using either your camera manufacturer’s raw processing application or a tool such as Adobe Camera Raw. One downside of capturing images in the raw format is that you need to do this preprocessing before you can use your images. If you capture in camera raw, you will be reliant on special software to be able to read your raw images in future in, say, 10 or 15 years’ time.
As a move away from the notion of a proprietary raw formats that are created by each camera manufacturer, Adobe recently released the dng or Digital Negative file format. This is an open format which can be used by camera manufacturers as an alternative to their own proprietary raw formats. It frees photographers from being tied to a specific manufacturer’s raw format and offers protection for the future simply because of the sheer number of people who will have images stored in this format. The format’s popularity should ensure that there will be programs available in future for most operating systems that can read and process these files.
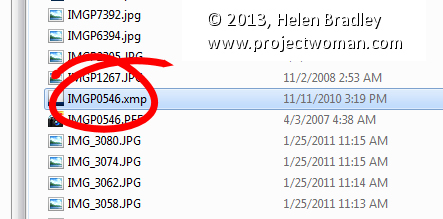
Camera raw images, when captured in the camera manufacturer’s own format such as crw, cr2, nef or pef cannot be written to and can only be read from. For this reason, if you make changes to a camera raw image in a program such as Adobe Camera Raw or Lightroom, then the changes that you make to the image cannot be written to the original image file. Instead, they’re written to what is called a sidecar xmp file which stores details of the changes that you’ve made to the image. Camera raw image processing applications read the original camera raw file and the sidecar xmp file and display the image with the changes you have made to it. However you need to be careful that you do not move a raw file to another location and leave its sidecar xmp behind – if you do, you will lose any changes that you’ve made to the image. The Adobe dng file format avoids this problem as it is a file format that can not only be read from but also written to so changes can be stored in the original file.
Differences in data
The advantage of recording all the data captured by your camera’s sensor in a raw file whether it be your camera manufacturer’s own raw format or Adobe dng is that you have a wider range of image data than you would have if the image was saved as a jpg image. When an image is saved as a jpg image by your camera, it is scaled down considerably so that it is no longer a 32-bit image but is now a 8-bit image with only 256 levels of brightness.
Other changes that are made to the image include sharpening the image and the camera will also apply any white balance setting you have selected to the image. If you have other “in camera” settings configured such as variations to the image saturation, contrast and brightness then these adjustments will be made to the image before being saved as a jpg file. In addition because the jpg file format is a lossy and compressed file format you will lose some detail in saving the image even if you opt for saving at the highest quality.
In contrast, a dng or raw image is not adjusted and all the data that was available from the camera’s sensor will be in that file. Situations in which this can save you some grief is where you have under or over exposed the image or configured an incorrect white balance setting. If you capture in a raw format then you have a larger range of exposure adjustments available to be made inside a camera raw processor than you would have with the corresponding jpg image. In addition, because the white balance setting is not applied to a raw image, you can change the white balance setting later on without compromising the image.
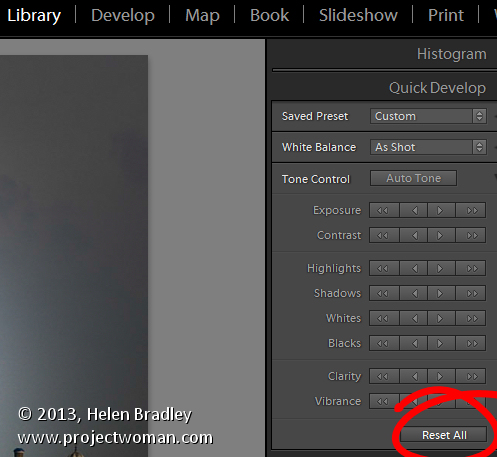
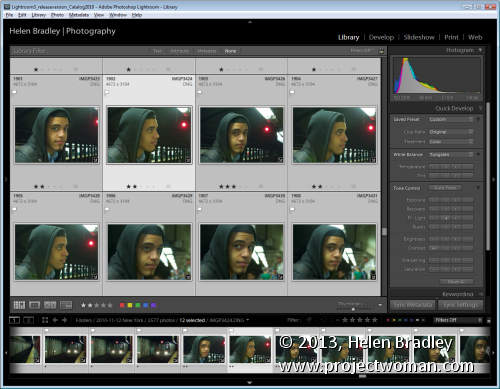 The tools in Lightroom make it easy to apply changes to a range of raw images all at once.
File size differences
Because jpg images include only a subset of the data that the camera captured and camera raw images contain it all, there are significant file size differences between images captured in the jpg and the raw format. For the equivalent pixel size image, a raw image might be around 20MB in size where the corresponding jpg image would be around 5Mb in size. The reason is, of course, that the jpg image has less data in it and the data is also compressed.
One drawback to capturing raw images in the past has been the difficulty of processing these images. Many programs simply couldn’t read the wide range of raw image formats in use by the varying camera manufacturers. This meant that you were either limited to using your camera manufacturer’s own software to preprocess raw images or you needed to purchase an expensive application like Adobe Photoshop to do so. These days the dng format and many proprietary raw formats can be read by a number of applications including the free applications: Picasa and IrfanView.
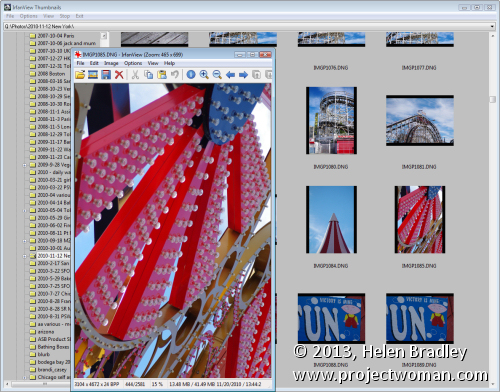
IrfanView is one of the popular free programs that can display and edit dng and some other popular raw format images.
However, operating systems like Windows Vista and Windows 7 still do not include native support for dng or other raw formats so, when viewing a folder full of dng images you will see icons instead of thumbnails. There are some downloadable codecs available from http://labs.adobe.com/wiki/index.php/dng_Codec but they have limited application.
When to use which format
Now that we’ve investigated the difference between capturing in jpg, raw or dng, it’s time to look at when you might opt for one in preference to the other. If you already use a program that includes built-in support for camera raw images such as Picasa, Lightroom, Photoshop, Photoshop Elements or Corel Paintshop Photo Pro then you may opt to always shoot in raw or dng because of the ease at which you can work with your images – this is particularly the case with programs like Lightroom and Picasa.
On the other hand, if you typically shoot images to share online on sites like Facebook or Flickr and you don’t usually do much, if any, processing then jpg may be the best option as the files are smaller and you can quickly download them and then get them uploaded to your sharing site. For example, Flickr will let you upload full size jpg images but you can’t upload raw or dng images.
One advantage of capturing in jpg is that you have the flexibility of being able to determine the pixel dimensions of the image you will be capturing in the camera. Most cameras have varying size options available when capturing in the jpg format and also different compression options. If you’re only shooting snapshots for uploading to the web, then you don’t need very big images and you may find smaller jpg format images work as well.
That said, you need to accept that if you are capturing jpg format images you’re reducing the amount of image data that you have available and, if in the future, you decide that you want to do something special with a particular image, you won’t have the full range of image data there to do anything with..
If you’re shooting to sell images for stock, then you absolutely must capture images using the camera raw file format so that you have all the data in the image available to you. Many stock agencies will not accept images captured as jpg images because of the processing that’s applied to those images by the camera including the image sharpening. Stock agencies prefer unsharpened images so that the purchaser can then determine the amount of sharpening they want to apply in each specific case.
There is a way to “have the best of both worlds” and you can capture in both jpg and raw formats. Most cameras can capture jpg and raw or jpg and dng so you’ll get both files for each image that you shoot. You can then download both formats – use the jpg images for your day to day use and store the raw originals in case you ever need to work with those images in future.
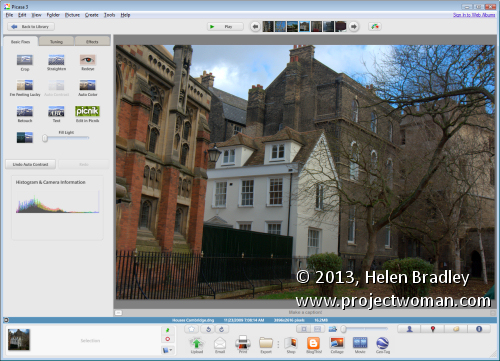
Picasa supports many raw formats so you can view and work with raw images in the same way as jpg images.
Helen Bradley
