One feature of Photoshop is its ability to store things like custom shapes, brushes and workspaces so you can use them again and again. Saving settings you use a lot in Photoshop will save you time in future when you need to repeat the process.
Here are six handy ways to speed up your work in Photoshop by saving custom settings:

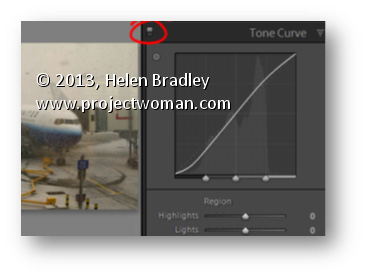
Curves (and other) Dialog presets
One of my favorite fixes is one involving a curves adjustment in the LAB color space which I introduced in my blog post “Turn Ho-Hum Color into WOW! with Photoshop” http://www.digital-photography-school.com/turn-ho-hum-color-into-wow-with-photoshop. The fix involves taking an image to LAB color mode and then, on a duplicate of the background layer, applying a particular Curves adjustment. Once you’ve done this once, you can speed up the process next time by saving the Curves settings as a preset. To do this, click the down-pointing arrow icon to the right of the Presets list, choose Save Preset and type a name for the preset. Next time you need to apply the same adjustment all you need to do is to select the preset from the list in the Curves dialog to save yourself the effort of creating the curves manually.
As you work in Photoshop, look out for dialogs that offer the ability for you to save your settings as presets you can use anytime in future.
Image Vignette Layer Style
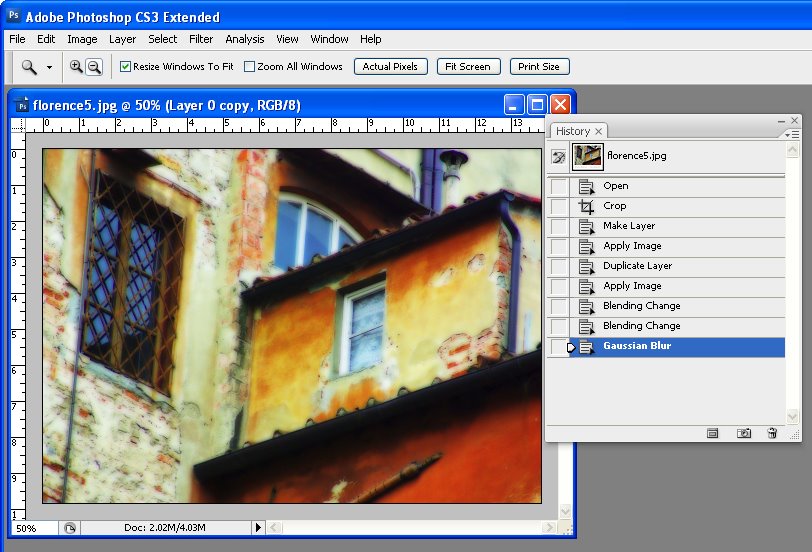
Another type of preset you can save to reuse is a layer style such as one that applies a vignette to an image. To configure this, convert the background layer of an image to a regular layer and choose Layer > Layer Style > Inner Glow. Configure an Inner Glow with settings such as Blend Mode: Multiply, Opacity: 50%, Noise: 0%, Color: Black or Dark Brown/Grey. Set the Technique to Softer, Source: Edge, Choke: 10%, Size: 250px (or to suit the image).
Click the New Style button and type a name for your style. Select both the Include Layer Effects and Include Layer Blending Options checkboxes and click Ok.
In future, you can apply this effect to an image by selecting Window > Styles to display the Styles Palette. Your new layer style will be the last one in the dialog and you can apply it to any image by clicking on it.

Saving the Presets themselves
Certain Brushes, Styles, Gradients, Shapes and Tool presets need to be saved to disk or your run the risk of losing them if, for example, you reinstall Photoshop, delete your preferences file or choose Replace instead of Append when adding presets to a panel.
To save these presets to disk as files, choose Edit > Preset Manager and select the type of feature to save, such as Styles if you have created a custom style. Select the style or styles that you want to save, click Save Set and give the style set a name.
Once they’re saved as file on disk, you can load them into Photoshop at any time in future using the Preset Manager dialog or the feature’s own flyout menu.

Save a record of your work
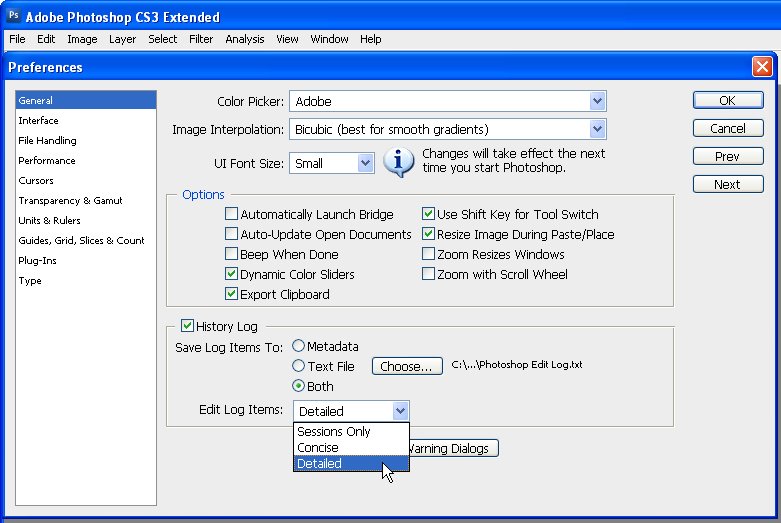
Sometimes what you want to save in Photoshop is not preferences or brushes but, instead, details of the work that you’ve been doing on your images. You can save details of the steps you have performed to individual files or to a log file by choosing Edit > Preferences > General and enable the History Log checkbox.
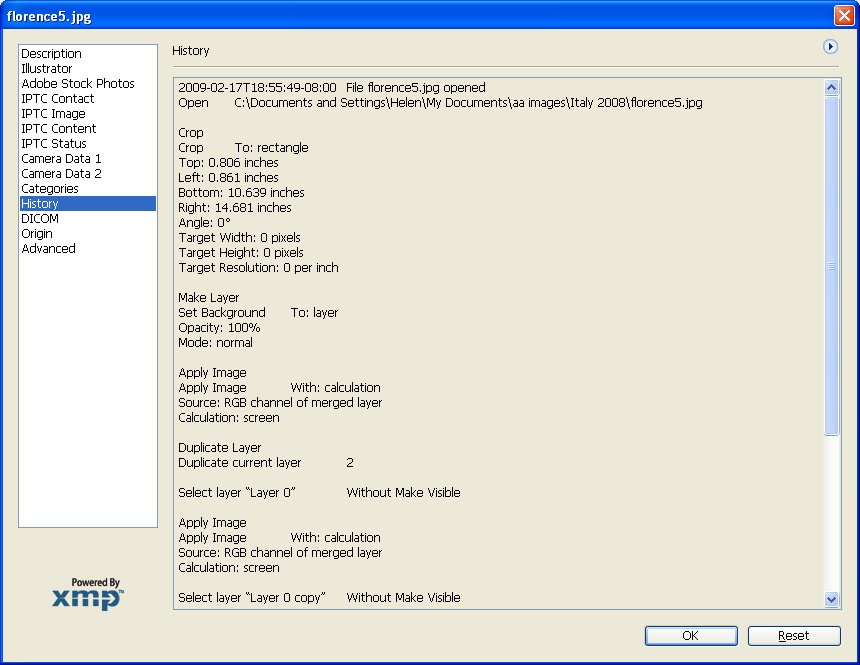
Select to save the Log Items to Metadata, Text File or Both. If you choose Text File, a dialog will open from which you can select the folder and text file name to save the information to. Select Sessions Only, Concise or Detailed – to learn more about these options check out this blog post: http://www.digital-photography-school.com/how-to-keep-a-log-of-your-work-in-photoshop. Click Ok and in future the work you do on all your files will be recorded and stored for you.

Save your Actions
When you create Photoshop Actions to speed up the work that you do in Photoshop, like Brush and Presets, these will be lost if you lose your Photoshop settings. To make sure that these are backed up to external files so that you can recover them if they are lost, view the Actions palette, select the group of actions that you want to back up and click the flyout menu. Select Save Actions and, when the dialog appears, save your actions in a file so you can load then into Photoshop at any time.

Save your Workspace
I like my Photoshop workspace to be a certain way so I use the workspace feature to store my preferred layout for the Photoshop window and Palettes. To see how to do this, arrange Photoshop the way you want it to look, including hiding any palettes you don’t want to see and showing those that you do. Choose Window > Workspace > Save Workspace (New Workspace in Photoshop 5) and give your workspace a name. Select whether to include Panel Locations, Keyboard Shortcuts and/or Menus.
In future, you can use your Photoshop workspace by choosing Window > Workspace and select your saved workspace. Unlike other preferences, workspaces are automatically saved as external files.
Helen Bradley