Thursday, June 26th, 2014

Remove Edits to a Photo in Camera RAW

It’s not easy to find, but you can strip away the camera raw edits from a photo

Sometimes I look at the edits I’ve made to a photo a few months later and I think – What was I thinking? I simply hate what I did to the photo. I want the original image back so I can work on it again. But how to do that? You see there is no reset button in Adobe Camera RAW that matches the Reset button in Lightroom. It’s easy to do in Lightroom but not obvious how to do it in ACR.

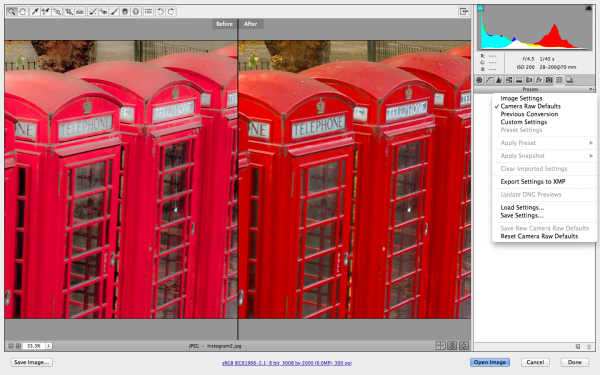
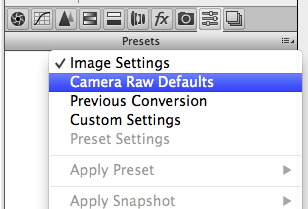
If you get stuck like this and you want to reset an image in Camera RAW, first open the image in Camera RAW and then go to the Presets panel:


Open the flyout menu and choose Camera RAW Defaults. Instantly all your fixes will be removed from the image – whether they were applied in Camera RAW or Lightroom and the image will be back to how it looked out of the camera – Yeah!

Saturday, October 12th, 2013

Reinstate a RAW or DNG image in Camera Raw


Remove all the edits you’ve made to a raw or dng image in Adobe Camera Raw

No doubt you’ve encountered the situation where you have a raw file or a dng that you’ve worked on in Adobe Camera Raw or Lightroom and you one day look at it and think – “what was I thinking?”

You decide you want immediately to remove all the changes you’ve made to the image. Easy? Not really!

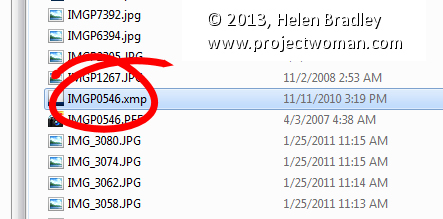
If you’re working with a raw image then you can locate the image on disk and alongside it will be its sidecar xmp. Shall I say that again, because to the uninitiated ‘sidecar xmp’ just sounds so cool doesn’t it. What it is is an .xmp file with the same name as the raw file and it contains the edits you made to your image. The sidecar xmp file is used because you cannot write data to a camera raw file so the edits have to go somewhere. They go in this little xmp file as a set of text entries – delete the file and you remove the edits, permanently – in fact just remove the xmp file to another folder where ACR can’t find it and you’re done.

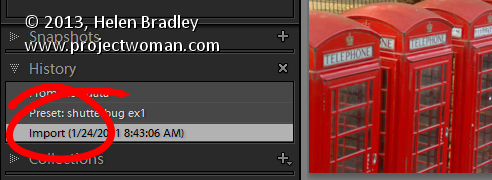
In Lightroom you can wind back edits to an image from the Develop module in the History panel on the left of the screen. Open the panel and select the bottom-most entry to wind back the changes you made to the image.

Unfortunately this won’t work if you made changes in a program that wrote an .xmp file and it won’t work if the changes were made to a dng file, written to that file and then the file was imported into Lightroom.

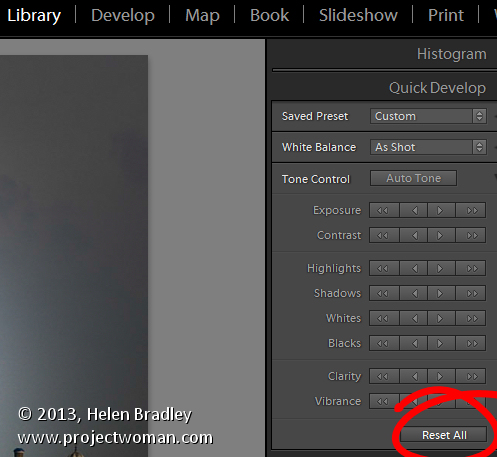
In that case, go to the Library panel and open Quick Develop and click Reset All – that removes all the edits.

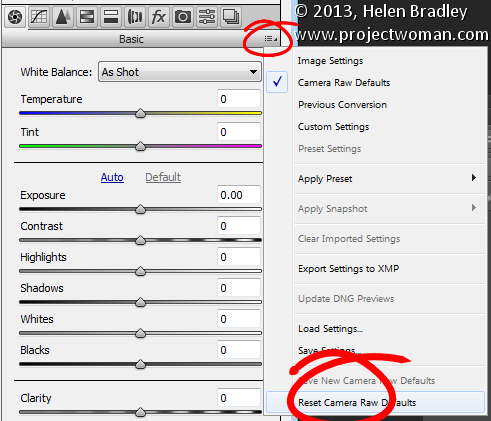
In ACR, go to the small menu in the top right of the edit pane and choose Reset Camera Raw Defaults. This removes the edits and returns the image to its out of camera state (see image at the top of this post)

This is also very handy for teachers who teach using a set of images – if you need to start over editing an image with a new class, this option will help you start over with a clean image.


Helen Bradley

Saturday, May 25th, 2013

Photoshop Tip – Custom Workspaces

How to Create a Photoshop Workspace Just for You

I like Photoshop to open and “look the way I want to see it”. But sometimes ‘the way I want to see it’ is different than others. I’m fickle – but thankfully Photoshop plays nice with me – the secret is its Workspaces. These Workspaces let me preconfigure my Photoshop screen for various scenarios, to save them so I can reuse them, and to put everything back in its place when I mess them up.

If this sounds like something you could use – here’s how to give your Photoshop window a custom look with workspaces.

The first thing I do is to set up Photoshop the way you want it to look and that means hiding all the panels you don’t want to see and displaying those that you do.

Then arrange them on the screen exactly the way you want to see them. For me, I prefer my toolbar to be in two columns rather than one long one. I like my layers and paths palettes visible but not much else.

Once the screen is organized the way you want it to look, from the dropdown list in the top right corner choose Essentials > New Workspace and type a name for the workspace. Select the options for keyboard shortcuts and menus select and click Save.
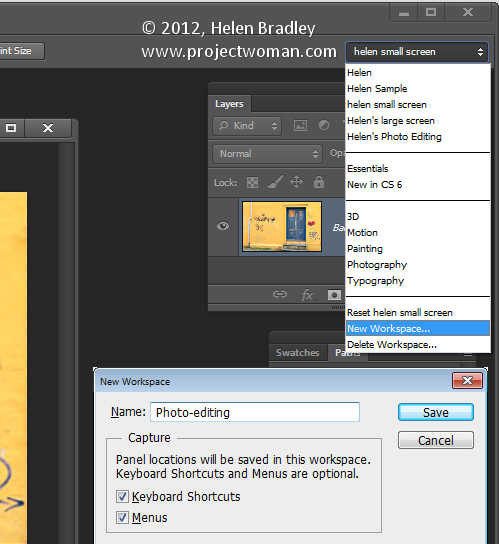
You can repeat this process, if desired, and create other workspaces. You might make one for photo-editing, one for collage, one for illustration or one for videoing depending on your own personal needs.

In future you can set up your screen by choosing the workspace of your choice from the dropdown list.
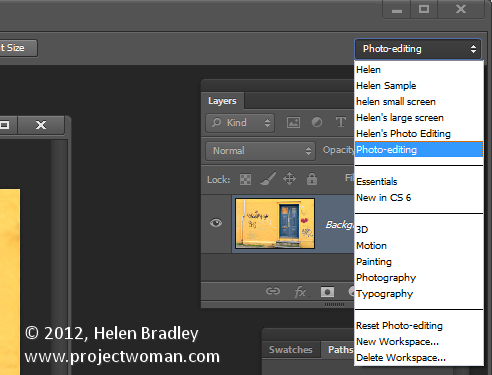
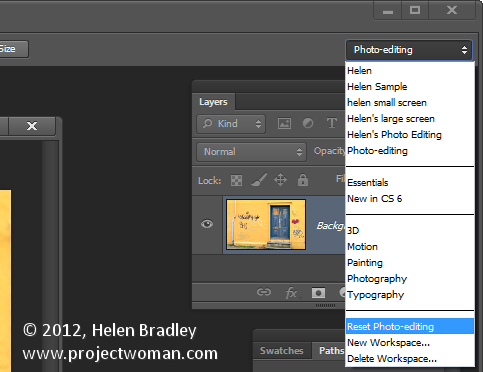
If you move things around and things go a bit crazy it is easy to reset a workspace back to how it was when you last saved it.

To do this, first make sure you are viewing the workspace to reset and then open the Workspace menu and choose Reset .
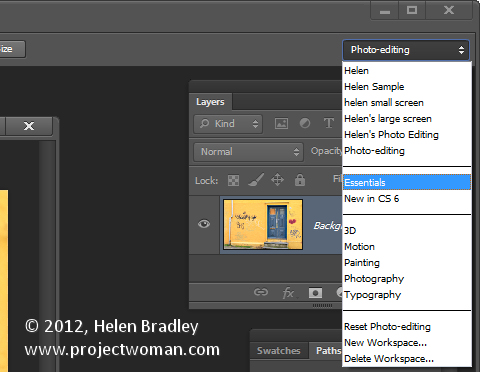
Likewise you can return to Photoshop’s default workspace anytime by selecting Essentials then click Reset Essentials.
And one last word on workspaces…
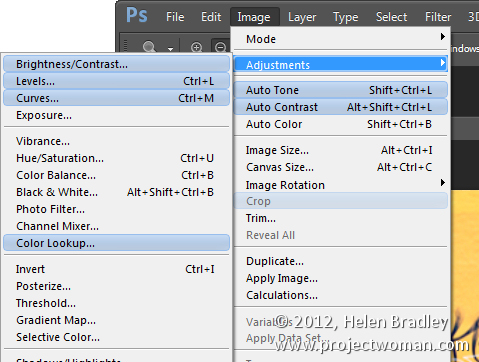
If you want to see what’s new in Photoshop CS6 click the New in CS6 workspace and you can see what is new in Photoshop. Open a menu and any new options in it will show as blue on the menu.
Helen Bradley

Wednesday, September 5th, 2012

Trevor’s Photoshop tip of the Week – Resetting Color Palettes

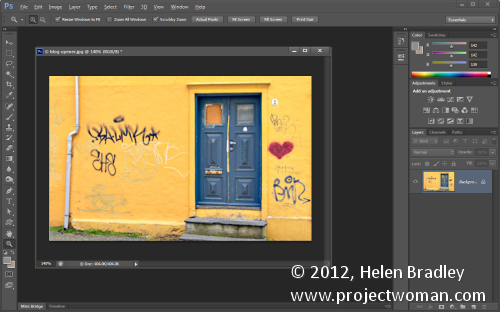
(photo by: Leroy Skalstad)

Want to quickly switch the colors you’re working with back to the default black and white? All you have to do is hit the D key on the keyboard and the color palette will be reset to the default black foreground and a white background.

Helen Bradley

Thursday, October 18th, 2007

Where did my Photoshop cursor go?

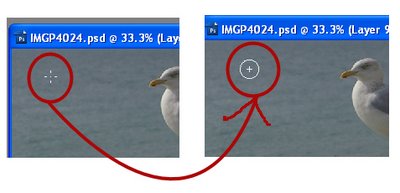
Ok. So this morning I went to do some work on my images from my trip and my Photoshop cursor went missing. All I had was a funky little cross hair thingie. It’s not a machine I use a lot so I thought it was just that the brush hadn’t been set correctly. Into Edit, Preferences and – well, all the brush settings look ok. So I try another brush option just in case. Same problem. Not good.

The solution is, luckily very simple. When you know how. It’s just a matter of pressing the Caps lock key. In fact, I suggest you do it right now so you know how it works. Choose a brush tip and press the Caps Lock key – voila, your cursor changes and disappears. Press it again and it comes back. That’s what happens, your Caps lock key toggles the brush tip display. So, when your brush tip goes west and you can’t see it so you have no idea how big it is or pretty much where it is, the Caps lock key is about to become your new best friend. Promise.

Helen Bradley