image credit © 2008 lockstockb, freeimages.com
Guest post
image credit © 2008 lockstockb, freeimages.com
Guest post
Understanding how layers work is crucial to being able to work effectively in Photoshop and in this post I will cover everything related to Layers including,
How to Create a New Layer
How to Duplicate a Layer
Add a Layer style
Using Adjustment Layers
How to Merge Layers
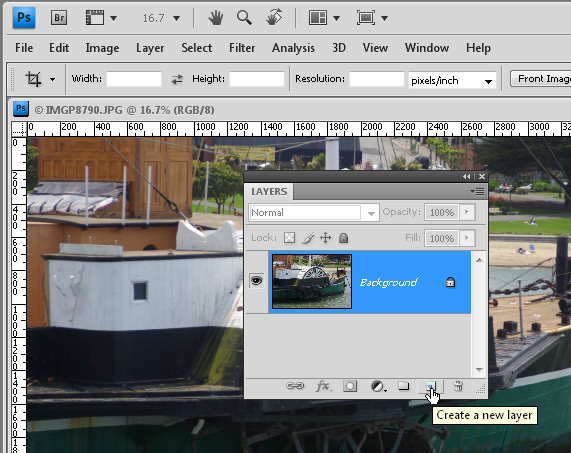
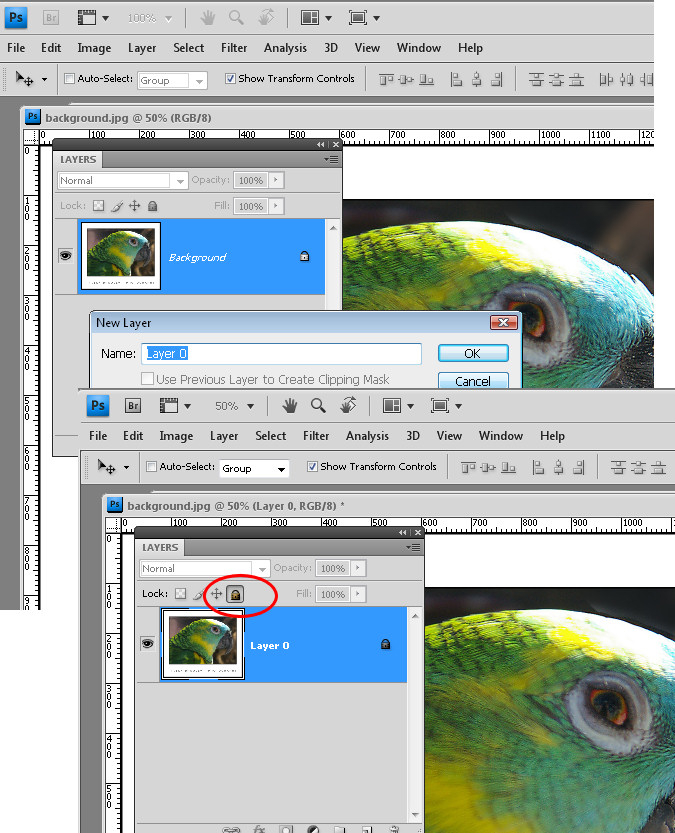
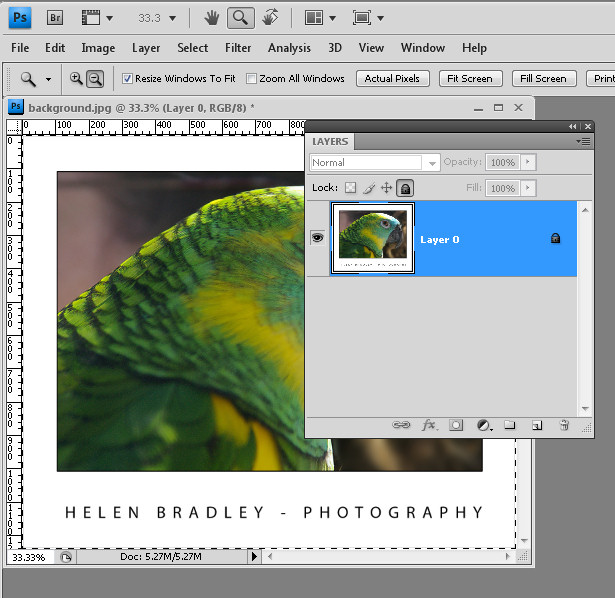
CREATE A NEW LAYER:
This is a very basic function in Photoshop which is elaborated further in this Photoshop tutorial. On the menus choose Layer > New > Layer to create a new empty layer right above your image. On that brand new layer, you can paint, create shapes, etc… all in a non-destructive way. This means that if you don’t like what you just did, hide or delete that layer on your image underneath will still look like it did at the start.
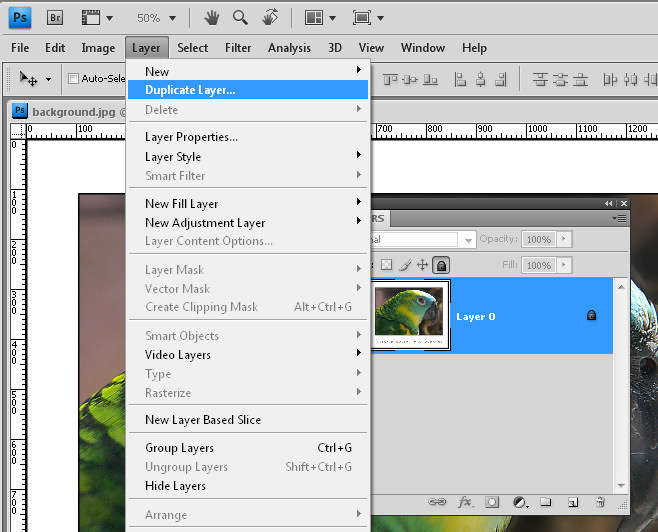
DUPLICATE A LAYER:
To duplicate a layer click on the layer you want to duplicate then go to Layer > Duplicate Layer and voila, you now have two identical layers!
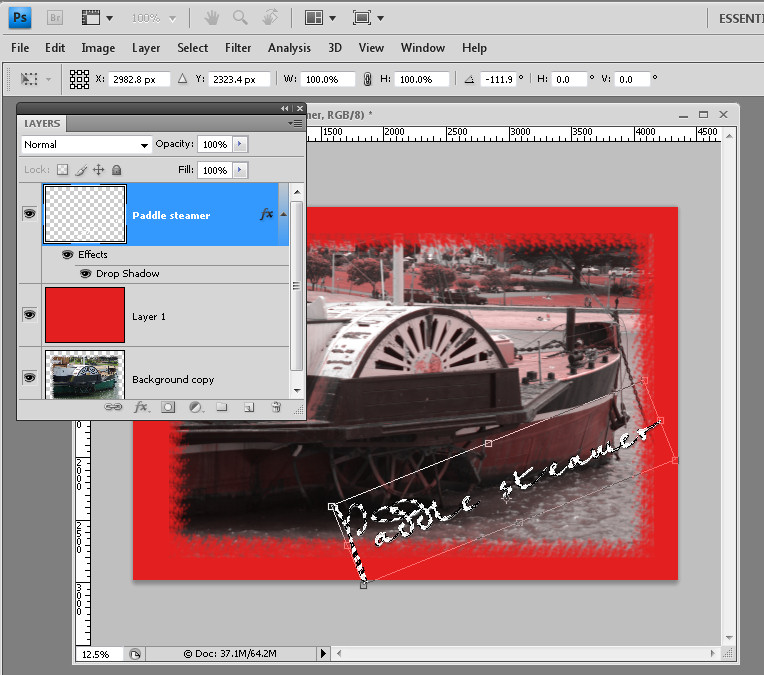
ADD A LAYER STYLE:
Say you added a button or some text on your image and you’d like to add a shadow to it. To do this, choose Layer > Layer Style and choose Drop Shadow. Other popular options are Inner Shadow, Outer Glow, Inner Glow and Bevel & Emboss. I suggest you play with each of them to really understand how they can benefit you.
USING ADJUSTMENT LAYERS:
Adjustment layers are one of the most powerful tools in Photoshop. Use these to change the look of your image in a non-destructive way by, for example, adjusting the colors as well as the shadows, highlights and contrast. To add an adjustment layer to any image, go to Layer > New Adjustment Layer and choose the type of adjustment layer. Here is a list of the adjustment layers I use most frequently:
Brightness/Contrast: This lets you make simple adjustments to the tonal range of your image. In layman’s terms, when you move the Brightness slider to the right your image gets brighter, when you move it to the left the image gets darker. If you move the Contrast slider to the right, your image becomes more contrasty, you move it to the left, contrast is reduced and the image becomes more grayish.
Levels: A Levels adjustment allows you to adjust the intensity levels of shadows, midtones, and highlights in your image. Drag the slider on the left inwards to darken the shadows and drag the slider on the right inwards to brighten the highlights. If you drag the middle slider to the left you will brighten the midtones and drag it to the right to darken the midtones in your photo.
Curves: Use can use Curves to adjust the image tonality with more precision than by using Levels. By adding points on the curve, you’ll be able to adjust the brightness or darkness of the Highlights, Midtones and Shadows.
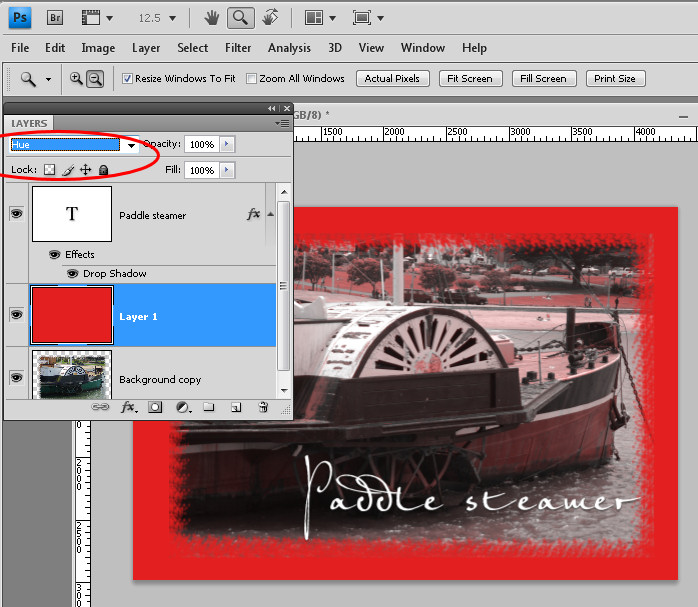
Hue/Saturation: This one is really helpful for adjusting colors. You can either adjust the saturation of all colors at the same time (this is the default and occurs when the Master channel is selected) or select individual colors from the dropdown menu to adjust the saturation of that color and also its Hue and Brightness.
In adjusting the hue you can, for example, with red selected, drag the slider to bring the red towards either pink or orange. The Brightness slider will either brighten or darken specific colors or the entire image – depending what you have selected in the dropdown menu.
Color Balance: Perfect for color correction, Color Balance changes the mixture of colors in a photo. You have the option here to adjust the colors in the Midtones, Shadows and Highlights. Let’s take the color blue for example, if you want to adjust the color of a blue sky, choose Highlights, a blue shirt, choose Midtones, a blushish shadow, choose Shadows. To color correct an image, I suggest you try each slider and move to the next slider once you like the look of the image.
Selective Color: This is another powerful tool for color correcting or color grading. Selective color will allow you in a very precise way to fine tune color. For every color (Reds, Yellows, Greens, Cyans, Blues, Magentas, Whites, Neutrals/Gray, Blacks) you’ll be able to fine tune them by adjusting the Cyan/Red, Magenta/Green, Yellow/Blue, Black/White found in each of those colors.
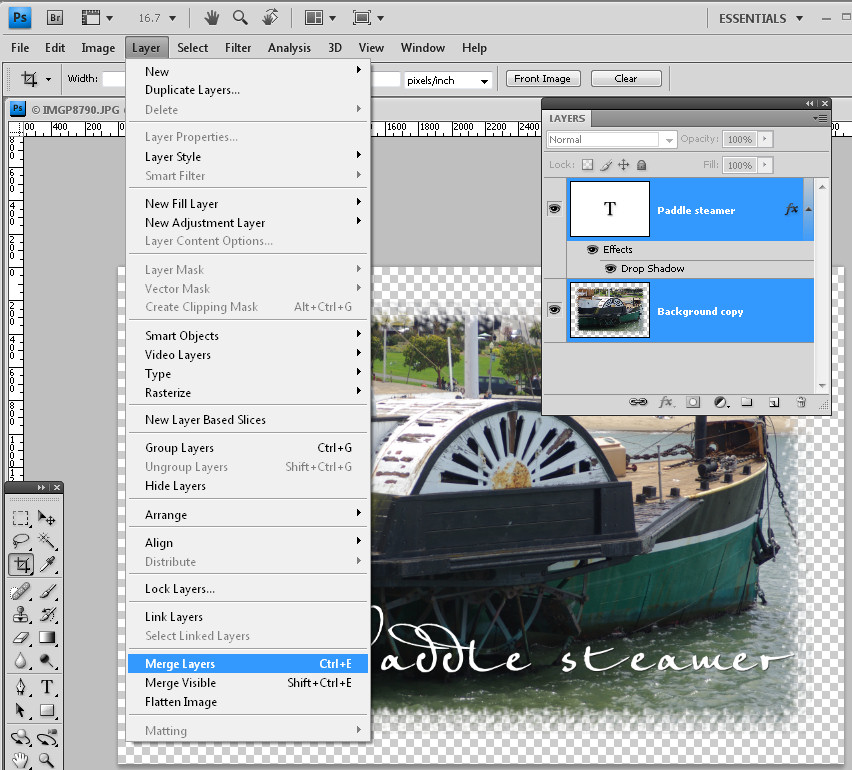
MERGING LAYERS:
Sometimes you want to duplicate a layer, other times you want to merge them together. To do this, from the Layer menu choose Merge Layers, Merge Visible, or Flatten Image:
Merge Layers: Use this option when you want to merge layers you have selected.
Merge Visible: Use this when you want to merge all the visible layers.
Flatten Image: Use this when you want to flatten the entire image/all the layers.