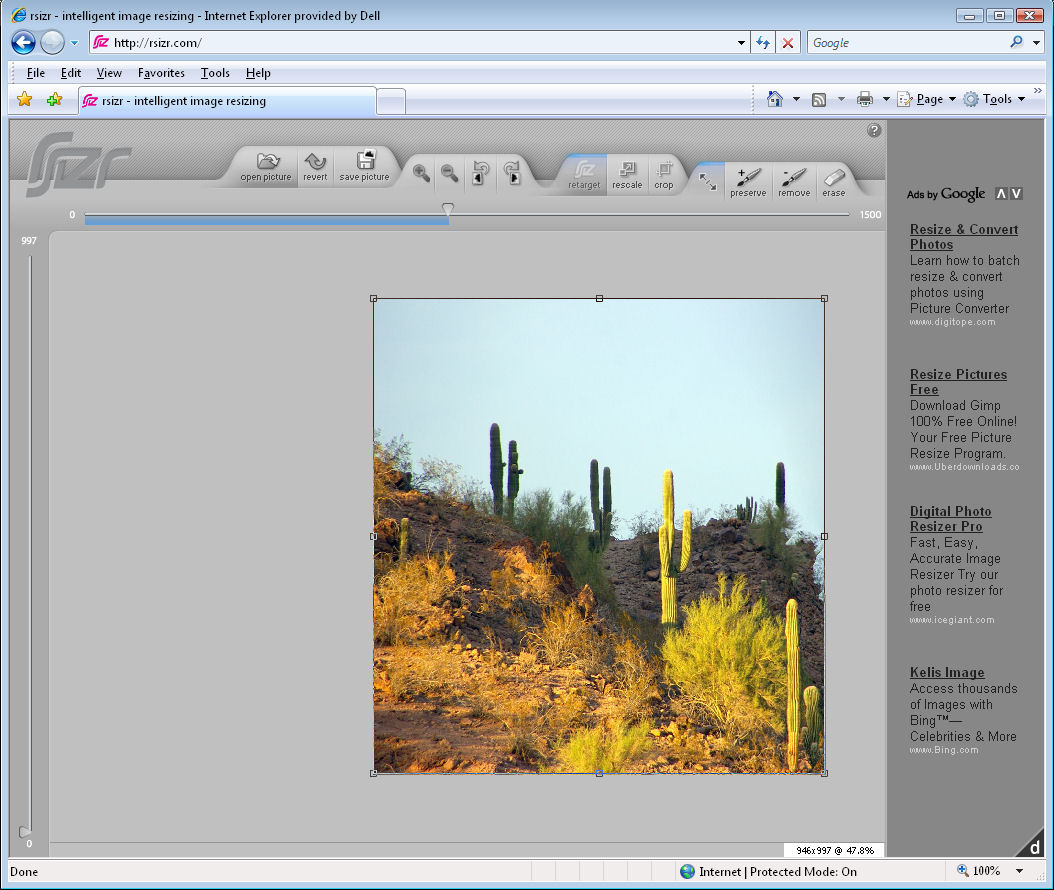
In a previous post, I looked at content aware resizing in Photoshop CS4 http://projectwoman.com/2009/09/smart-scaling-with-content-aware-scale.html which is the same as in CS5. I also mentioned the online application called Rsizr http://www.rsizr.com. Today I’m going to show you a plug-in for Gimp that does pretty much the same thing.
The tool is called Liquid Rescale which you can download from here: http://liquidrescale.wikidot.com/. Close Gimp, install the application and then reopen Gimp and you will see the application on the Layer menu.

This plug-in is an alternative to the crop tool. You use it to reduce an image’s size but, where the crop tool removes the data from one or more sides of an image, content aware resizing removes it from the middle of the image. This gives you basically the same looking image but smaller in one dimension. You might use this, for example, to remove some empty area from the middle of an image where the more interesting parts of the image are to either side of it.
The same tool can scale an image up to make it larger in one direction – and this time it will create extra data in the image to fill the space. You might use this, for example, where you have a rectangular image that you want to make into a square image without losing any detail.
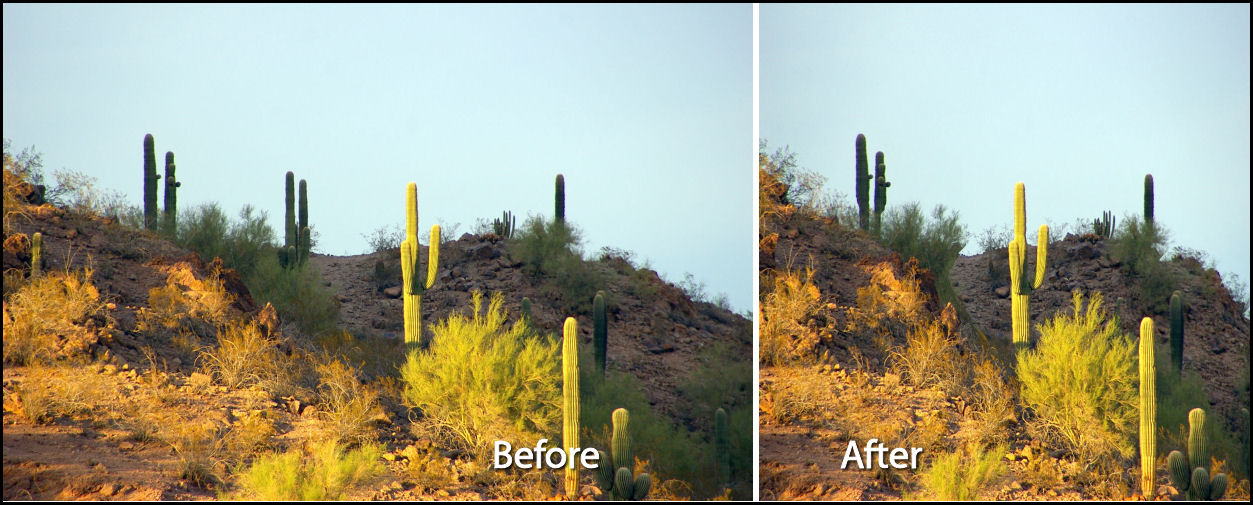
To see how this can be done, I’ll take this beach image and size it down from 3571 pixels wide to 3000.

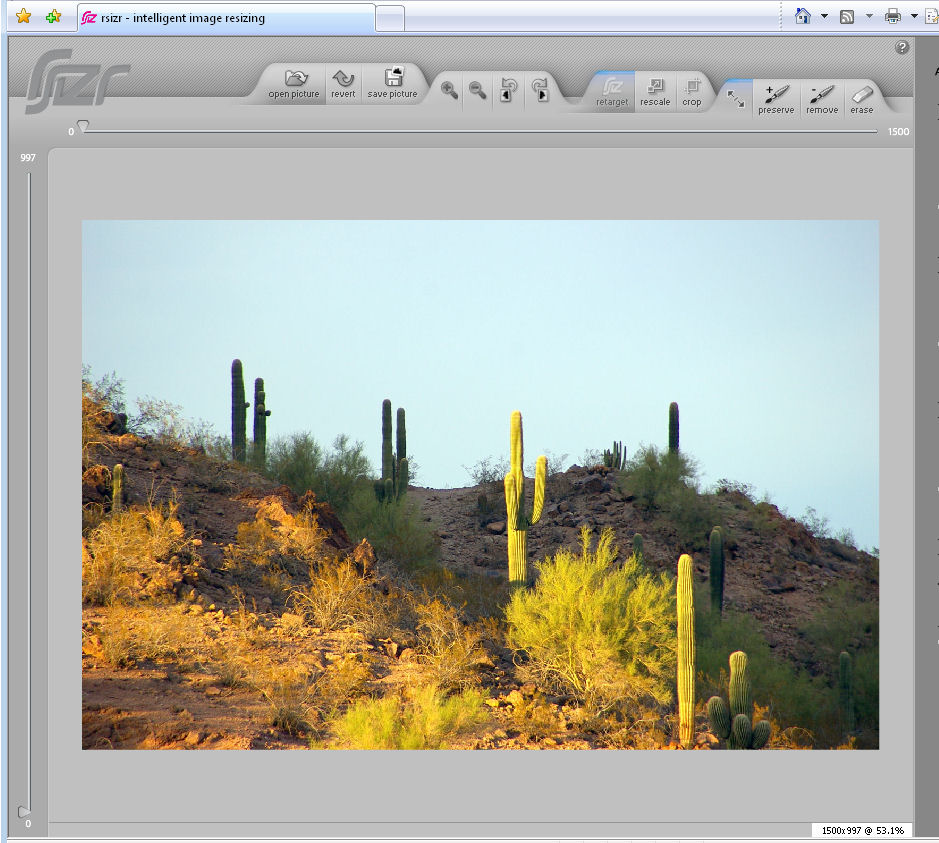
Open the image in Gimp and choose Layer > Liquid rescale. When the dialog appears, click the Output tab and set Output Target to a New Image. Enable the Resize image canvas checkbox and click Ok.

Set the new image width – I set this to 3000 but made sure that the link icon was disabled as I don’t want the height altered. Click Interactive and wait as the image is resized.

The program resizes the image by removing unimportant details from it and keeping what it understands to be the important bits. This is the result:

If you find that some elements in the image are squeezed or damaged by the process, you can create a mask to prevent this from happening.
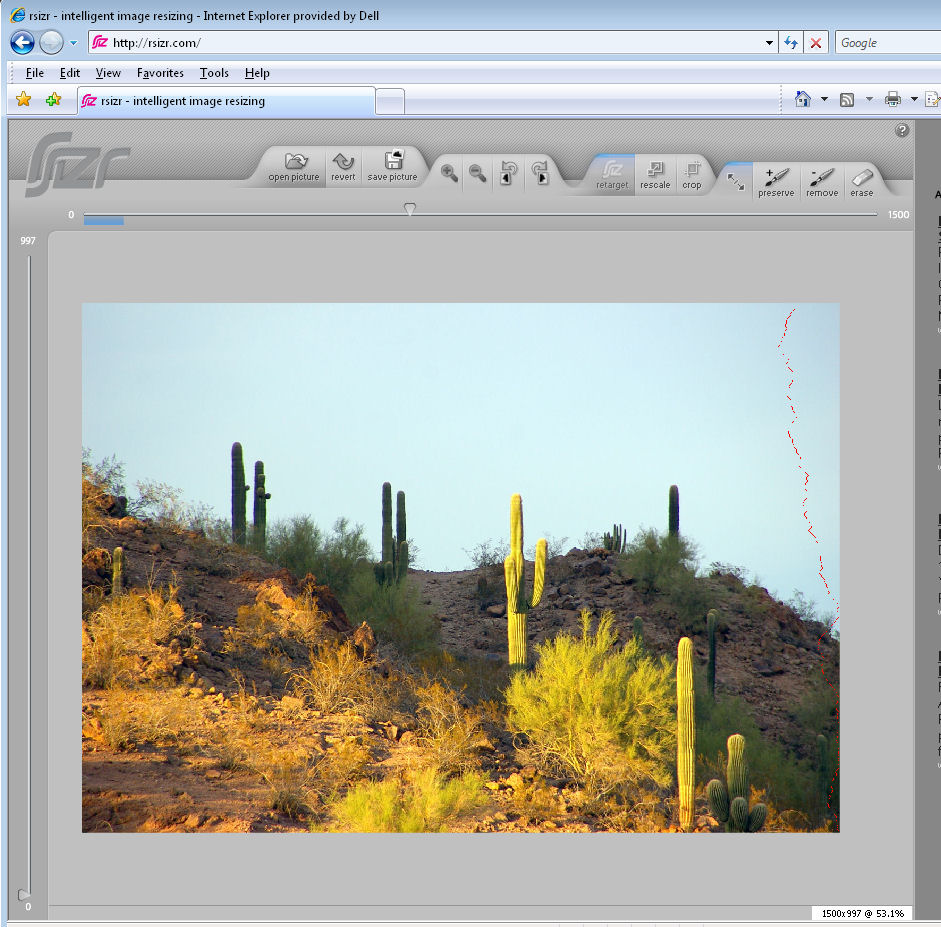
To do this, click the original image again and choose Layer > Liquid rescale and set up the Output tab options.
Click Feature Masks and, to create a protective mask, click the Feature Preservation Mask option and click New. The paint color will be set to green so select a brush, enlarge it to an appropriate size and paint over anything on the image that you do not want to change as the image is resized.

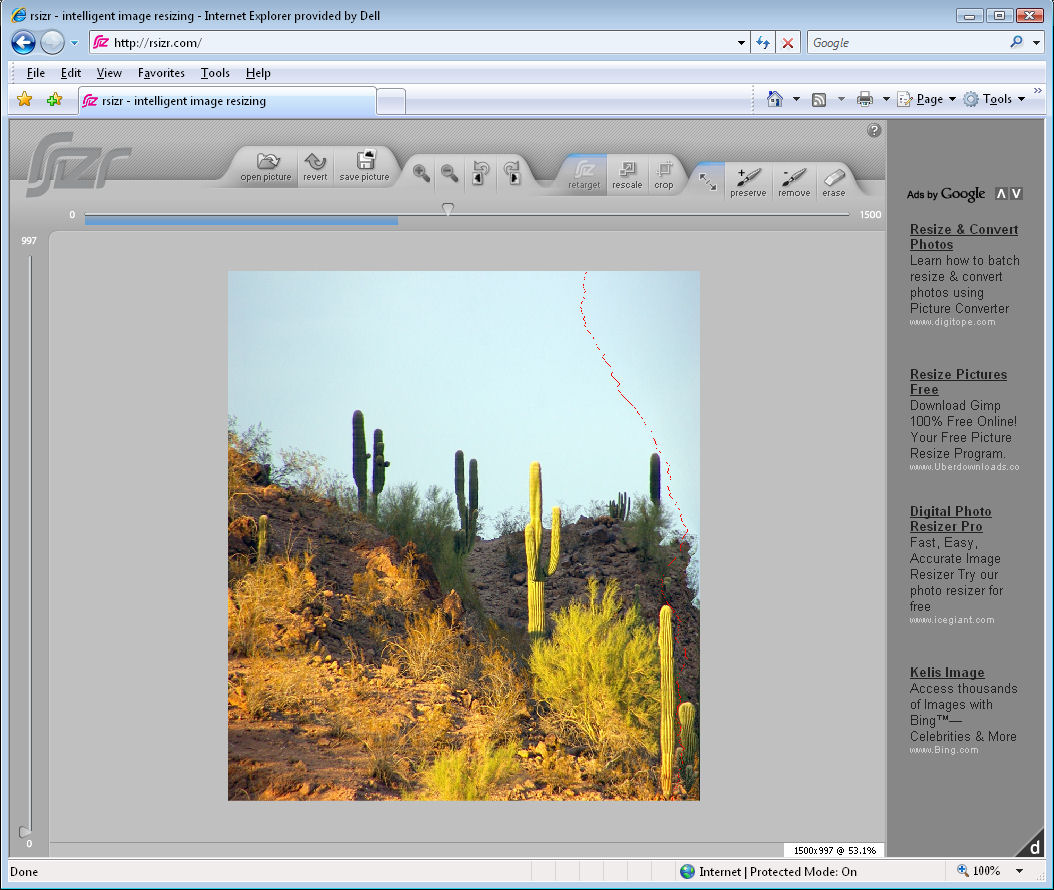
In my case, that is the swimmer at the front of the image and the lifeguard and boards at the back. I’ve added some other bits I don’t want skewed out of alignment like the vertical poles too. Anything else can be adjusted except these elements. When you’re done, click Ok.
Type the size for the new image and click Interactive and wait as the image is resized. Here I chose for the image to be reduced from 3571 to 2500 pixels wide, and the surfer, boards and flags have all reduced well. The protected areas have not been touched.

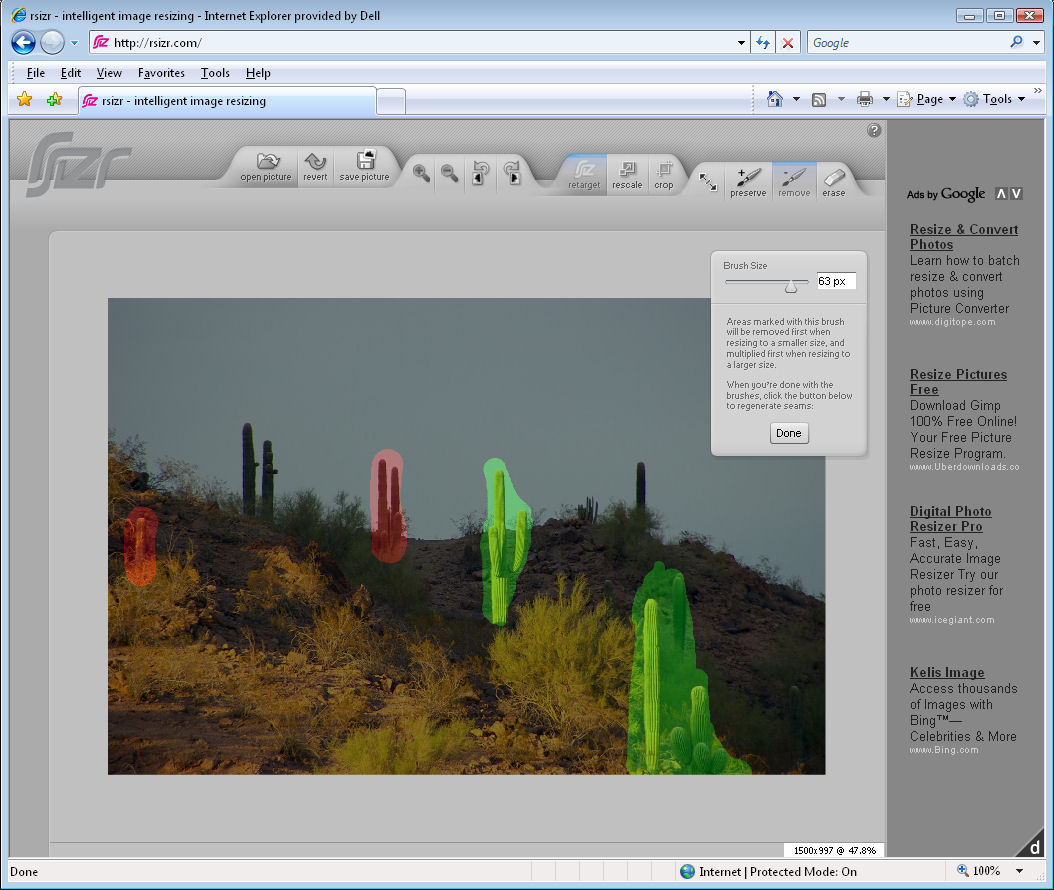
The plug-in also has a tool that you can use to remove elements from the photo. In my image let’s take out the large pole in the foreground. In this case you use a Feature Discard Mask – and paint in red over the area that you want removed from the image. Adjust the strength to the highest value, set the width value by clicking Auto size: Width so that the image is scaled to the appropriate width for the item you are removing and click Interactive.

In this case, the flag has gone but we’ve got a bit of a repair job to do with the rest of the image to fix it up. It would require some work with the clone tool to fix up the image but Liquid rescale has got us some part of the way towards where we are headed.

You can also use the plug-in to enlarge an image. In this case, we’ve enlarged the image to create a square image.

The rescaling process isn’t perfect but generally you’ll get a good enough result that with a small amount of cloning afterwards using the clone tool you’ll be able to produce a realistic result.
Helen Bradley