Tuesday, February 7th, 2012

Create a collage in Gimp

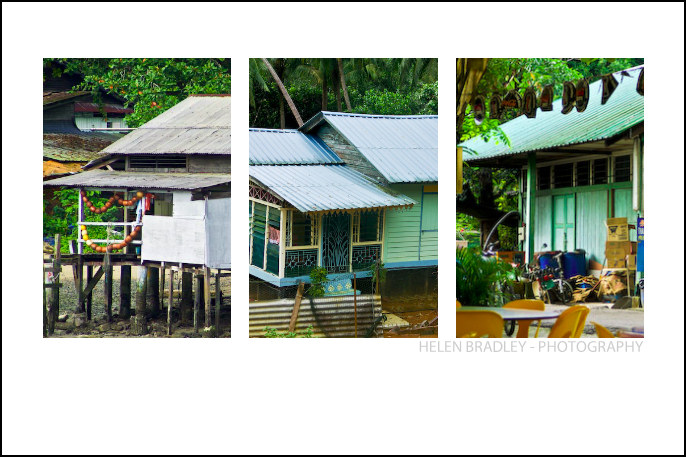
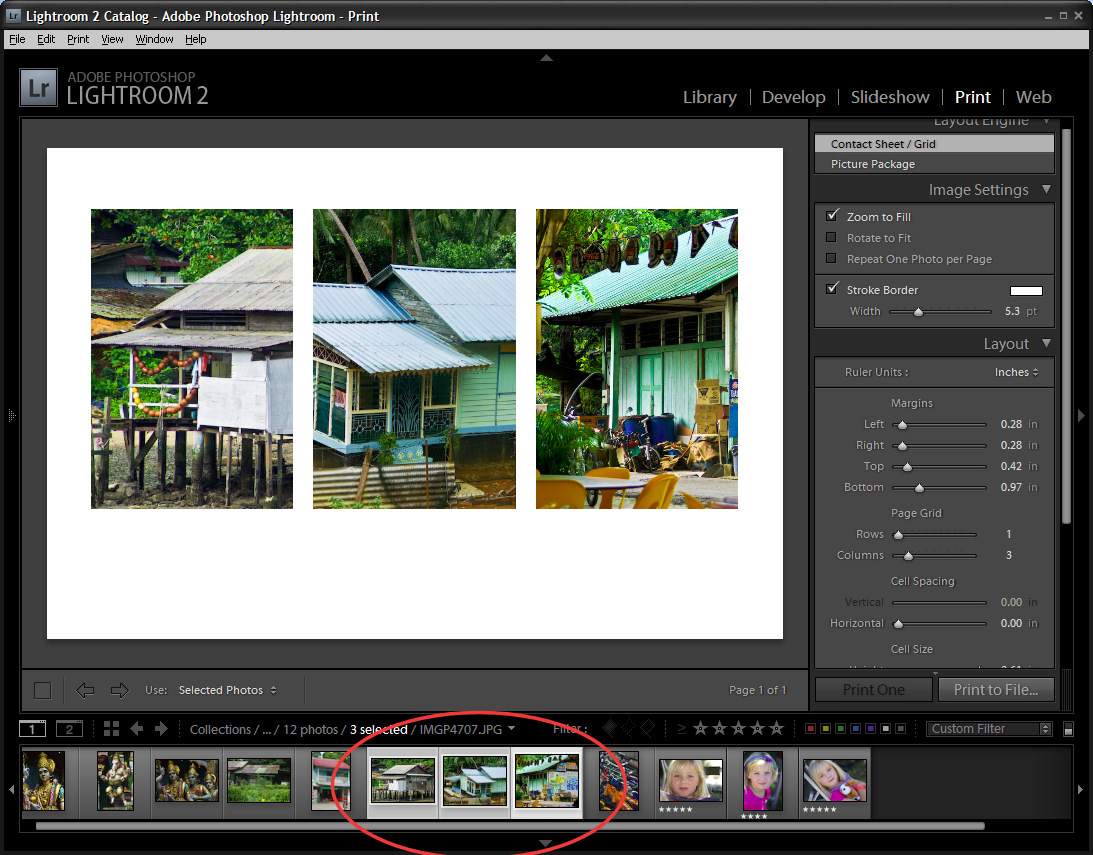
One task I perform regularly in Photoshop and Lightroom is to assemble multiple images on a single page for printing.  I love displaying my photos, for example, as triptychs –which are three side by side images.

I’ve posted before on the process in Lightroom here (http://projectwoman.com/2009/07/creating-a-triptych-in-lightroom.html) and here (http://projectwoman.com/2009/10/how-to-select-and-compose-a-triptych-in-lightroom.html)and today I’ll show you how to do this in Gimp using a set of templates I have created for you and that you can download free.

These templates work with both Gimp and Photoshop and you can find them here: http://projectwoman.com/articles/45PhotoshopTemplates.html

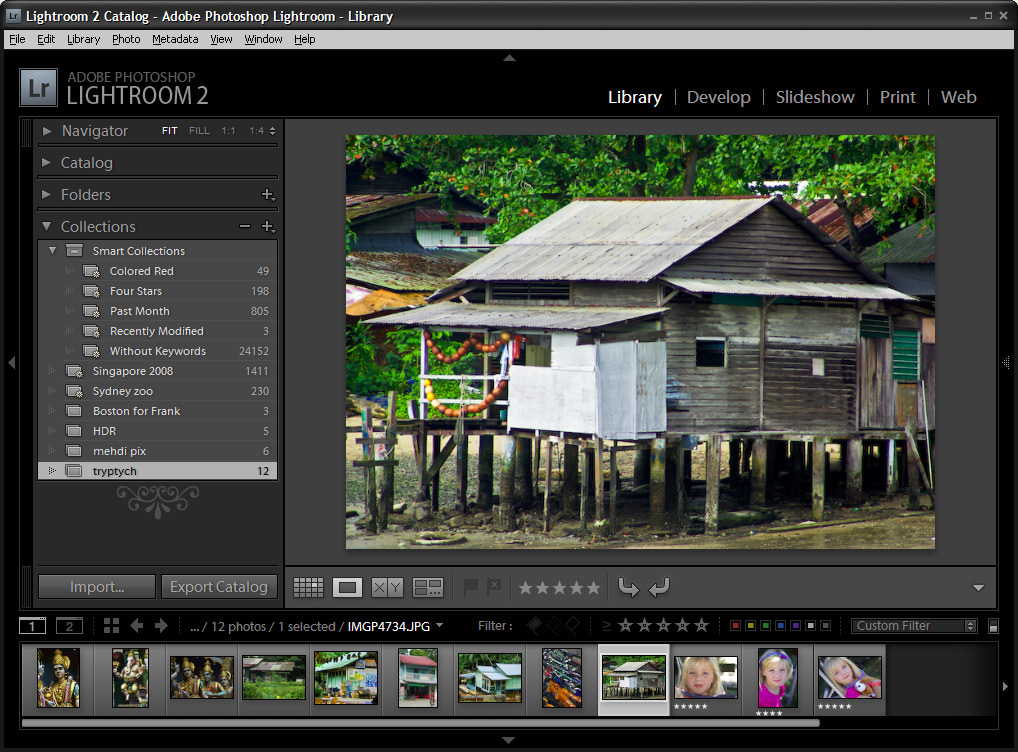
Unzip the files and open the one to use in Gimp along with the images that you want to use. I’m using the Triptych.psd file.

Start by viewing the template you are using and, in the Layers palette select and discard the top three layers which include the instructions for using the template in Gimp and in Photoshop and Photoshop Elements.

Select the first of your images, choose Select > All  and then select > Edit > Copy to copy the image to the clipboard.

In the template click on the layer marked A and choose Edit > Paste as > New Layer. This pastes the image from the clipboard into the layer immediately above layer A.

Click the Move tool (set it to Layer) and drag the image over the top of the shape on the right. If desired, click the Scale tool and scale the image to size it larger than the black rectangle.

Move the portion of the image that you’re most interested in seeing over the shape.

Now, to crop the image to size, click layer A, right click and choose Alpha to Selection.

Now select the Clipboard layer that you’ve been working on, choose Select > Invert and press Delete.

The image will be clipped to size using the template shape as a guide to the size. Choose Select > None before continuing.

Repeat this process for layers B and C – select and copy the image to use, click the layer you’re working with (B or C) and choose Edit > Paste As > New Layer.

Move the image into position and scale it if desired. When scaling, making sure to lock the width and height so that the image is scaled in proportion.

Right click the layer you’re working with – Layer B (or C) and choose Alpha To Selection. Click your newest clipboard layer and choose Select > Invert and then Delete.

When you are done you should have all 3 images in position.

This image has a background layer behind the pictures which currently shows white. If you prefer to add a solid color behind everything, delete this layer and add a new layer filled with your choice of color. Here I’ve added a new dark grey filled layer.

You can finish off the design with some text or simply save the resulting image.

These storyboard templates are a good place to start with your picture layouts. You can find similar templates elsewhere on the web so start with a search for “Free Photoshop Clipping Mask Templates” or “Free Storyboard templates”


Helen Bradley

Wednesday, July 1st, 2009

Creating a Triptych in Lightroom


When presenting your photos you will sometimes want to create and print them as a series of three images on a single sheet of paper rather than a single image. You might want to do this, for example, to use to decorate a gift card or for framing.

Using Lightroom you can assemble multiple images ready to print and a triptych or series of three images is one way to do this. Here’s how to use the Lightroom Print module to assemble a triptych for printing and how to save it as a reusable preset:


Step 1
You can create a triptych for any images that you have in Lightroom so begin by selecting the folder or collection which contains the images in the Library Module.


Step 2
Switch to the Print module and from the Layout Engine options in the top right corner of the screen, select Contact Sheet/Grid.

In the bottom left of the window click Page Setup, select your printer and select the paper size to print on. Lightroom uses the paper size you select as the paper size for your contact sheet. Select Portrait or Landscape orientation as desired (I chose 4 x 6 in Landscape), and click Ok.


Step 3
Use the layout options on the right of the screen to configure the output image to show three images.

Set the Layout to 1 Row and 3 Columns. Set the Width and Height of the cells using the sliders and the Top and Bottom margins to your desired values. I like to add more space below the images and less above them.

To fill the three slots with images, select three images in the filmstrip by Shift + clicking on them.

To display or hide the guide lines, enable or disable the Show Guides checkbox in the Guides area of the panel.


Step 4
In the Image Settings area at the top right of the screen, enable the Zoom to Fill checkbox and disable both the Rotate to Fit and Repeat One Photo per Page checkboxes. Use your mouse to drag each image around in the cell to find the best position for it.

To add a space between the images either adjust the Cell Spacing: Horizontal value or if you don’t plan to use a contrasting border, enable the Stroke Border checkbox and add a white border around the images.


Step 5
The images appear from left to right in the order they appear in the film strip. To change the order in the triptych, drag them into the desired order in the film strip.


Step 6
To add an overlay, open the Overlay group and enable the Identity Plate checkbox. Where the identity plate shows Lightroom, click the down-pointing arrow and click Edit.

Type your name or other information into the identity plate area, format the text and click the Custom dropdown list and choose Save As to save it so you can use it again in future. Click Ok.

Adjust the Opacity slider to make the Identity plate more transparent and use the Scale slider to scale it to size.

Opposite the Identity Plate checkbox is an indicator that probably reads -90 degrees. It is a dropdown list so click it and choose an alternate rotation for the identity plate, if desired. You can also drag the identity plate into position using the mouse.


Step 7
To print the finished image, click the Print button at the foot of the panel.

You can also save the image as a JPEG file by selecting Print to JPEG file. Select the file resolution and the JPEG quality and click the Print to File button to create an image that you can print later on or send to a commercial printer.


Step 8
To save your new design, from the left of the screen click the + symbol adjacent to the words Template Browser and type a name for the template and click Create. You can then use it at any time by selecting it and selecting the three images to add to it.

Ready to learn more about Lightroom? Here are links to two of my other Lightroom tutorials:


Sharpening in Lightroom 2


Lightroom: Spot fixing with the Adjustment Brush

Helen Bradley