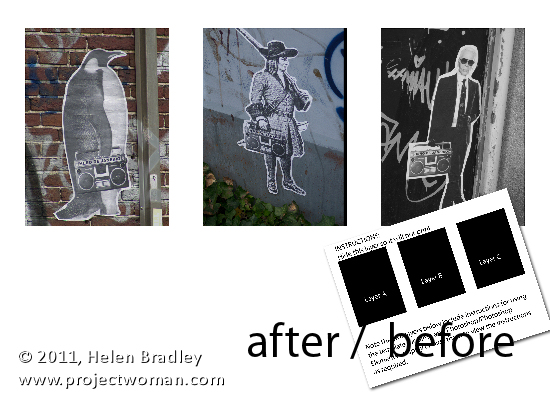
A short while ago I wrote an article on using templates to create a collage or montage of images in Gimp. Sometime after, the templates that I suggested you could use were taken down from the original website.
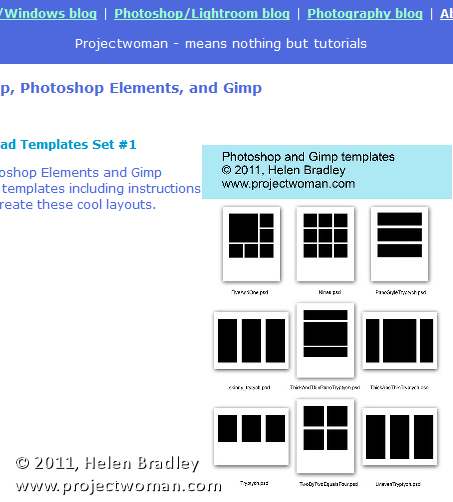
To help out our Gimp readers, I created a new set of templates and as I was making them, it seemed like a good idea to include instructions for Photoshop and Photoshop Elements as well as for Gimp. Here, therefore is how to use a downloadable template to create a montage of images:
Start by visiting this site and download the template zip file: http://projectwoman.com/articles/45PhotoshopTemplates.html
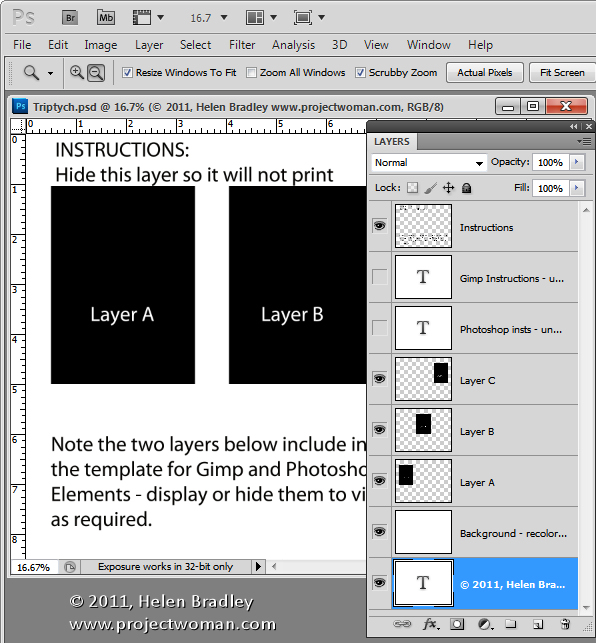
Then unzip the templates, save them where you can find them when you need to use them and open one of them. I’ve used the template triptych.psd.
When you open it, you’ll find that there are a series of layers. The top layer can be disabled or deleted at this point. The next two layers are instructions for Gimp and Photoshop users. Again, you can discard these two layers.
Open up the three images that you plan to use for this triptych. Images that are in portrait orientation will look best but you can use anything that you like – just be aware that you’re going to take a portrait orientation slice of the image.
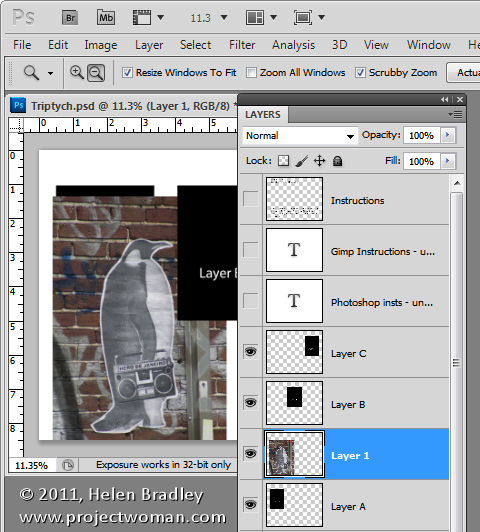
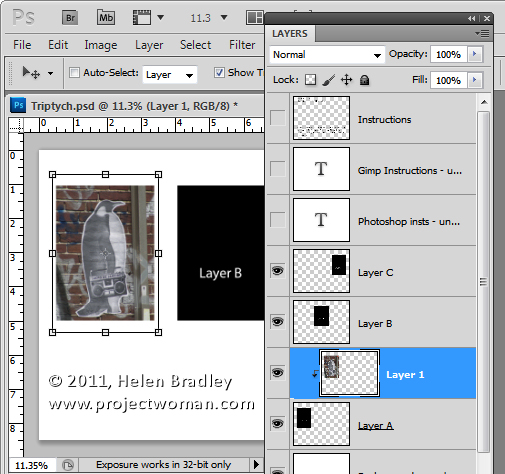
In the template, click on Layer A and then click on the first of your images and drag and drop the background layer from the first of your images into the main image.
Click on the Move tool and size and position the image so that the interesting portion of it is over the black background. Click to accept this size and positioning and then with the new layer still selected, choose Layer > Create Clipping Mask. You’ll see that your layer is clipped to the size of the underlying shape.
You can fine-tune the placement and sizing by moving the contents of the new layer.
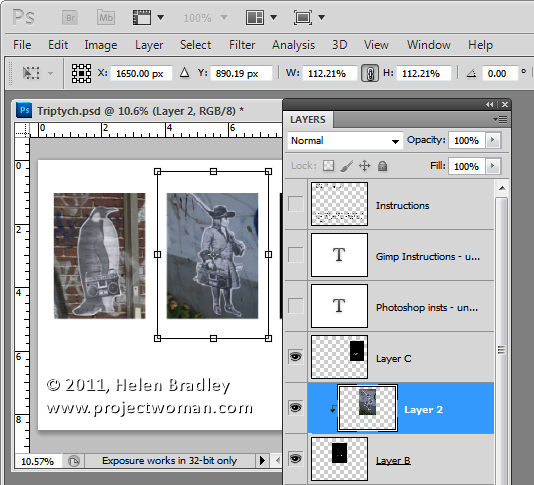
Now click on Layer B and again drag and drop the background layer from the second image into this template. Again, position the interesting portion of the image over the underlying background, sizing the image if desired. Create the clipping mask for that layer by selecting the image and choose Layer > Create Clipping Mask.
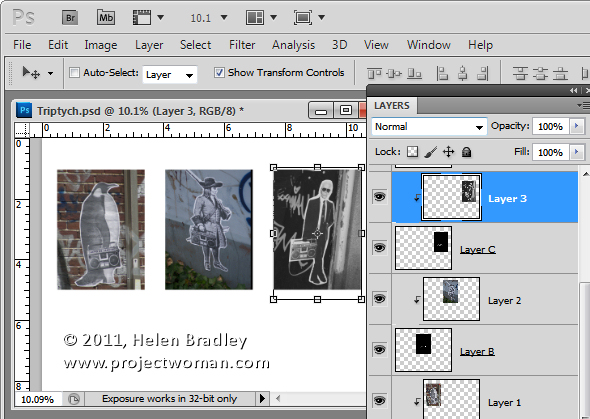
Repeat this for Layer C using your third image.
When you’re done, you can adjust the background of the image if desired by recoloring the layer marked background recolor if desired. You can now save and print the image or upload it to the web.
This same process can be used in Photoshop Elements.


