

The Vanishing Point Filter in Photoshop lets you create perspective grids that you can drop an image into.
To do this, copy the image to paste into the grid into the clipboard and open or create the image to put it into. Add a new layer to this image, select it and choose Filter, Vanishing Point Filter.
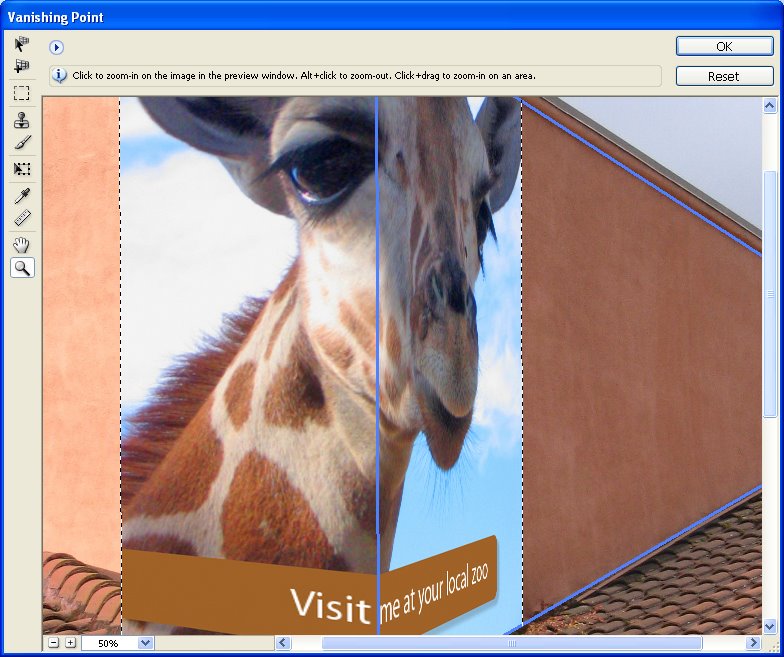
Click the Create Plane Tool and click on the four corners of the grid. Move the points if necessary, you need a blue grid (if it’s yellow or red it isn’t correct and won’t work). Now, you can drag a second related plane by holding the Control key (Command on the Mac) and drag from a side to create a second pane. Don’t worry about the direction just that it’s at right angles to the existing pane. Let go the mouse. Hold the Alt key (Option on the Mac) and drag to align the pane, fine tune using the Angle value.
Now either continue to create planes or paste the image using Control + V (Command + V on the Mac). Select the Marquee tool and move it into position on the grid. Use the Transform tool to size it if desired. When you’re done, click Ok.
If you need to remove or delete the plane – for example to start over, click on it so it’s selected and press Backspace.
The Vanishing Point Filter is heaps of fun – use it to apply an image to a building, the side of a truck, or just in thin air!
Post a Comment
Please feel free to add your comment here. Thank you!