

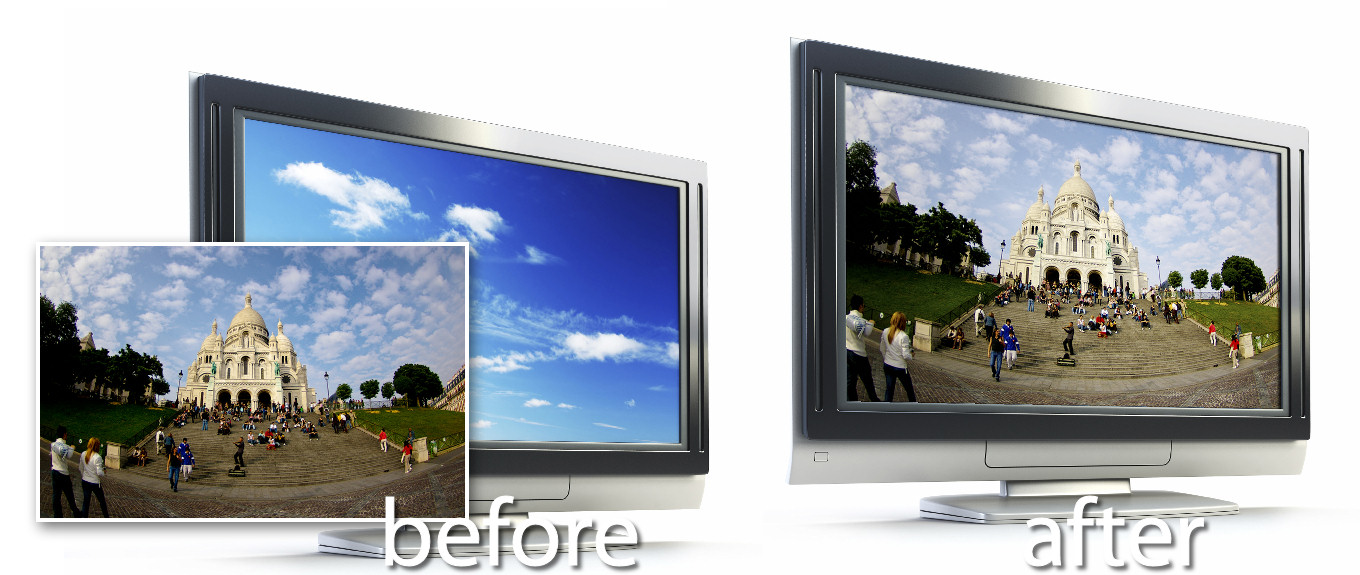
 This fun Photoshop technique lets you showcase your photos on a computer screen or billboard and it uses the vanishing point filter to distort and crop the image.
The Vanishing Point Filter was first introduced with Photoshop CS2 so you will need Photoshop CS2 or later for this project.
 Step 1
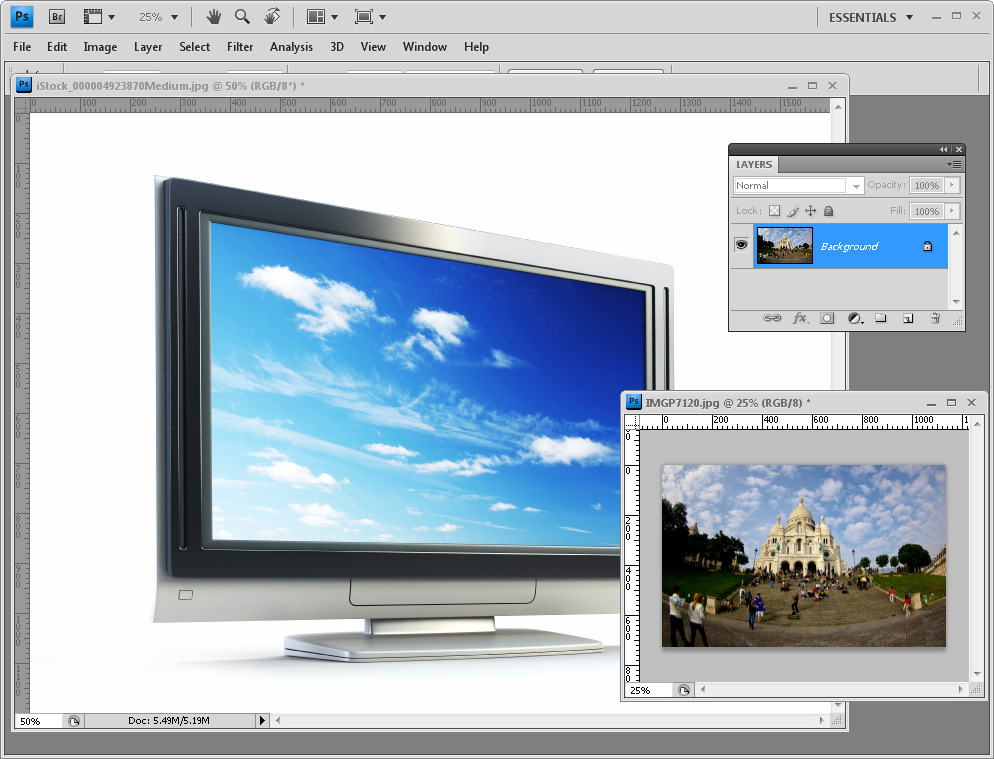
Open an image of a computer screen (or a billboard) in Photoshop and open the image you want to place on it.
The Sacré Coeur image is mine and the computer screen is © iStockPhoto, Dmitry Kutlayev.
Size the image to place on the computer screen to the approximate size the image needs to be having regard to the size of the computer screen image. The computer screen I used is 1600 x 1200 so I sized my photo smaller than this.
 Step 2
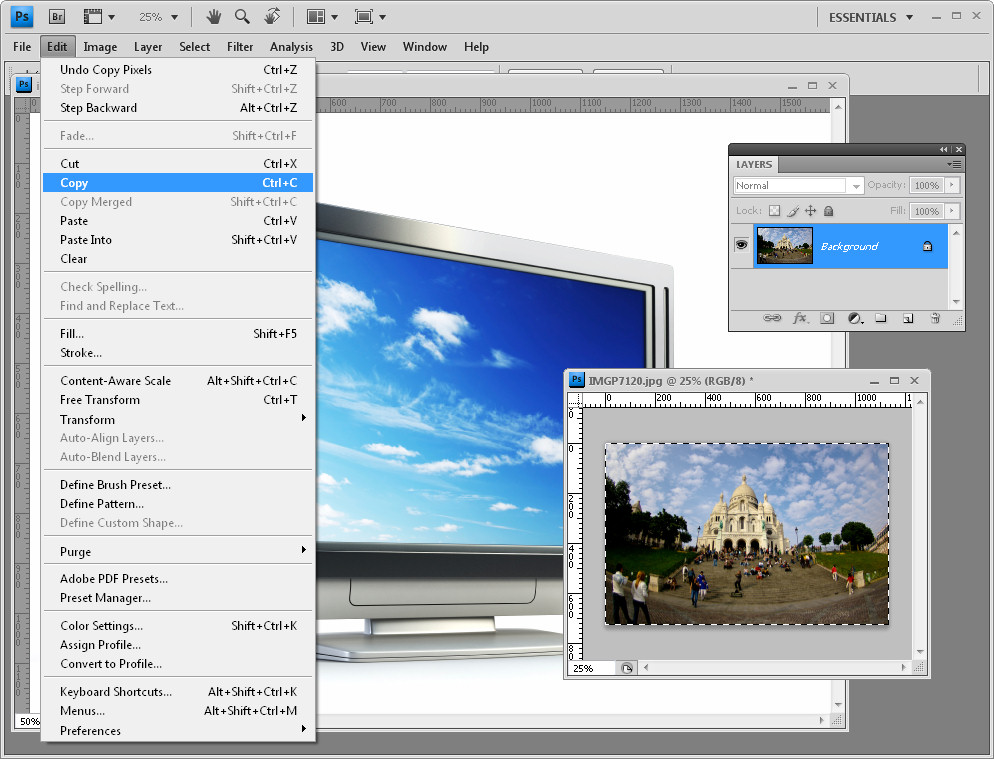
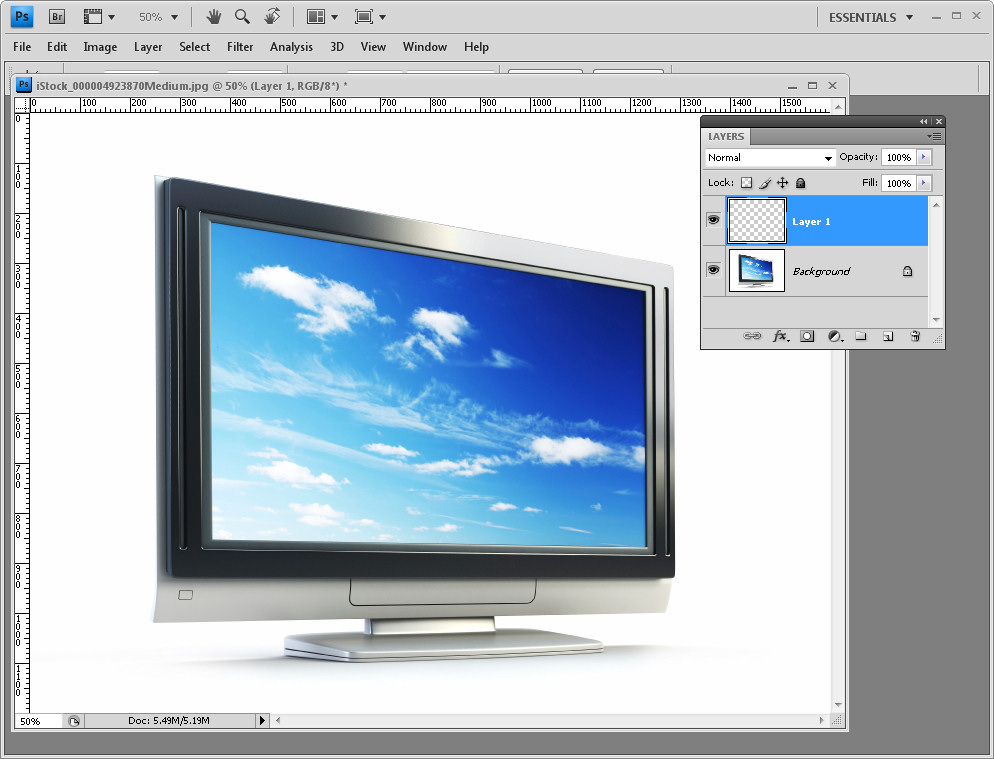
Create a new blank layer on the computer screen image (Layer > New > Layer) and then switch to the image you want to add to the screen or billboard. Choose Select > All and then Edit > Copy. Return to the computer screen image.
 Step 3
Choose Filter > Vanishing Point and click Ok. This opens the image in the vanishing point filter.
 Step 4
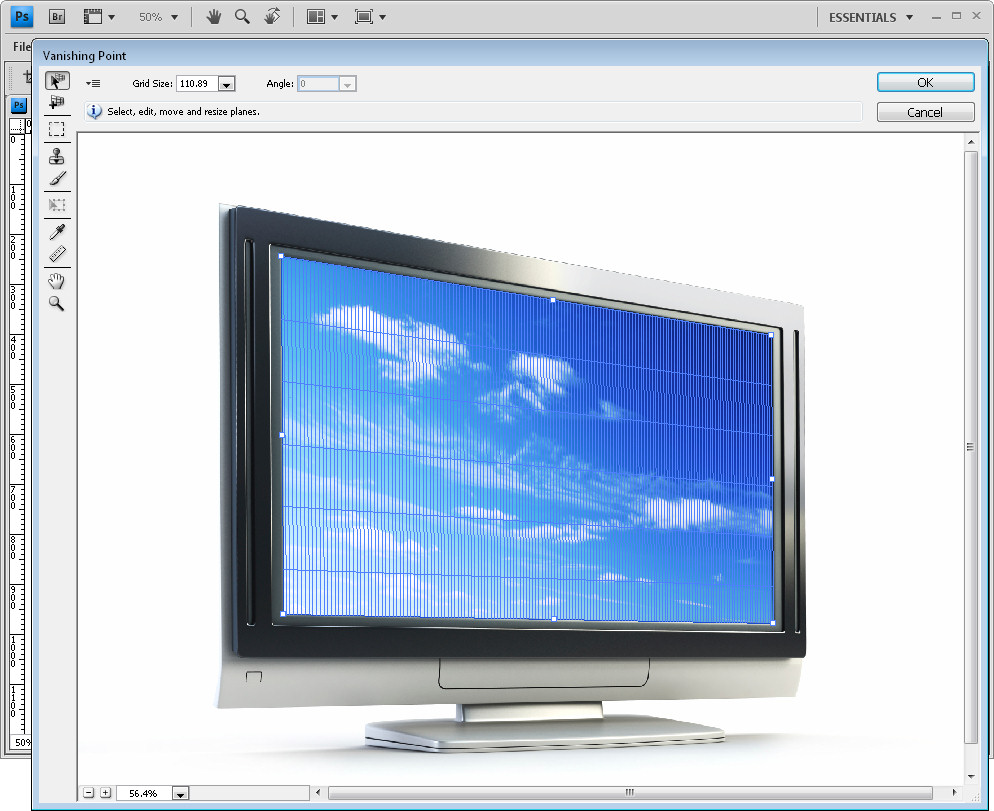
Here you can create the perspective grid for the image. To do this, click the Create Plane tool and click at all four corners of the area that you want to paste the photograph into.
If the grid is red, it is not a grid that can be used so you need to readjust the corners until it turns blue. You can adjust the grid size if that makes it easier to see.
 Step 5
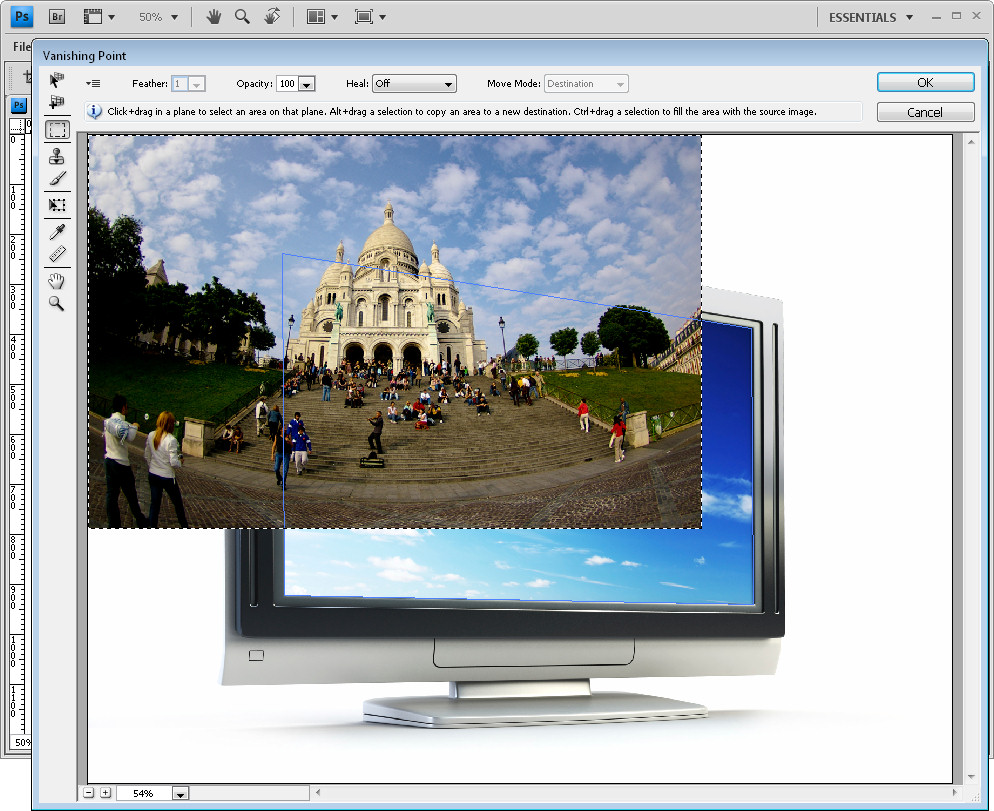
Once the grid is in place, press Ctrl + V to paste the image from the clipboard into the filter.
 Step 6
Click the Transform tool and size the image to approximately the size it needs to be.
Drag the image over the grid and you will notice that it reshapes to conform to the perspective of the grid.
 Step 7
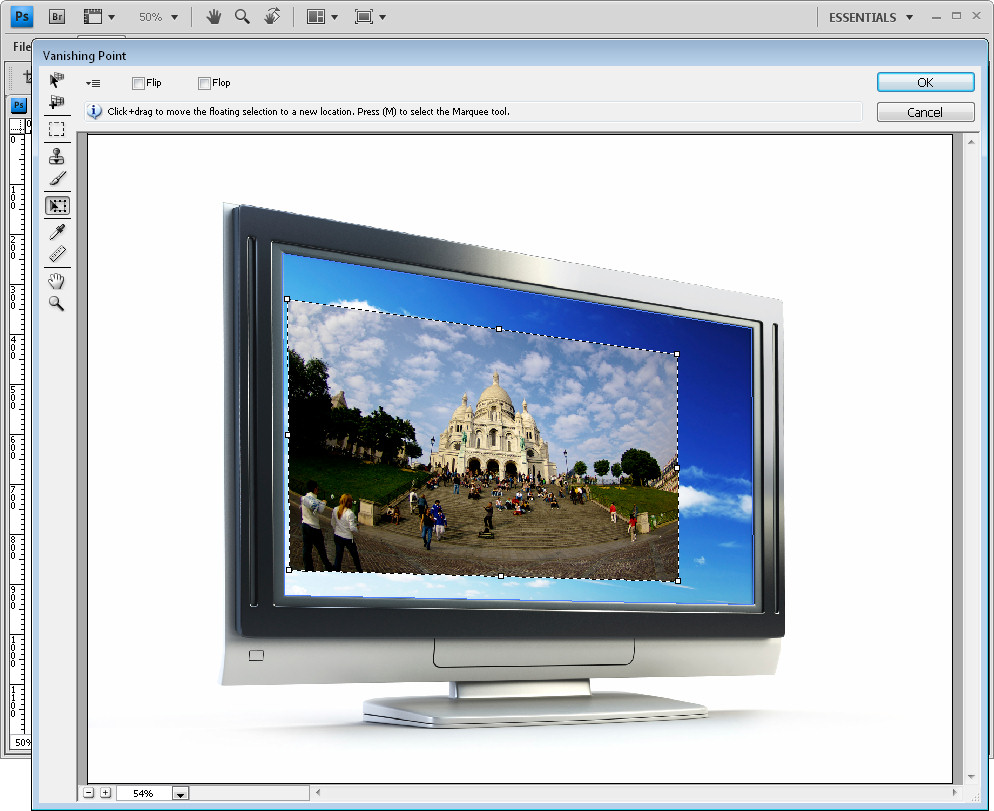
Size the image so it fits in the area covered by the grid. Any portion of the image that extends beyond the grid is automatically hidden.
 Step 8
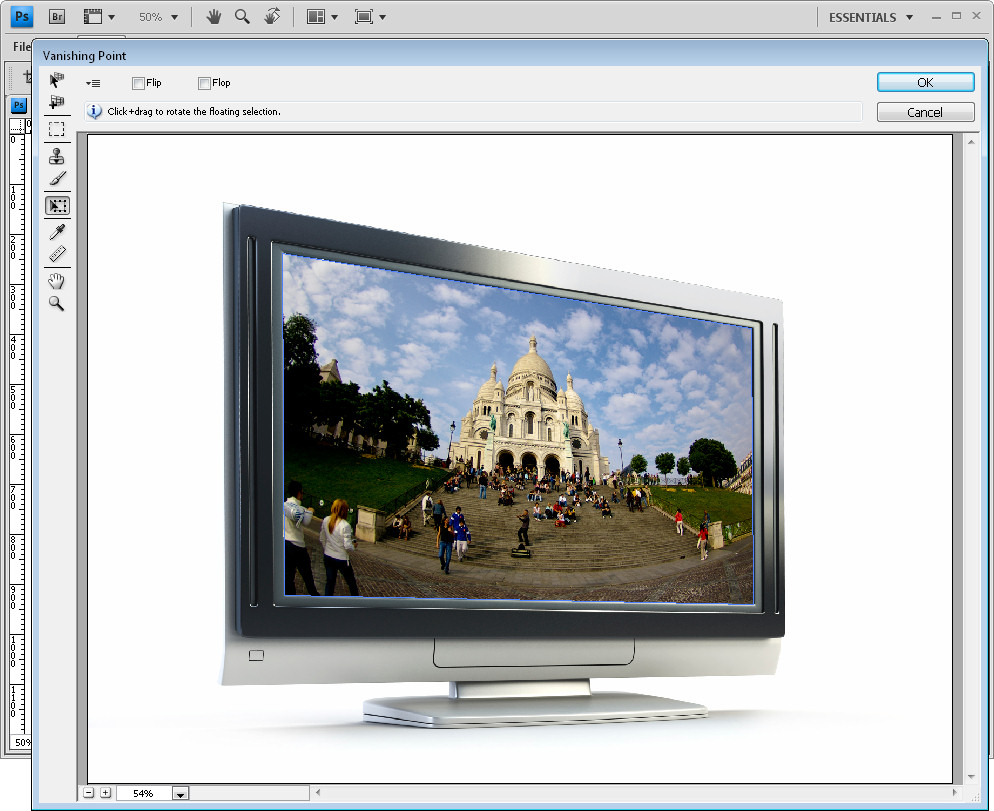
When you are done, click Ok to return to Photoshop. Your image should be neatly aligned inside the screen.
To finish, you can add a curves adjustment layer that lightens the image to match the screen lightness. You can also add a gradient to the curves layer mask to adjust the lightening of the image to match the original screen lights and darks.
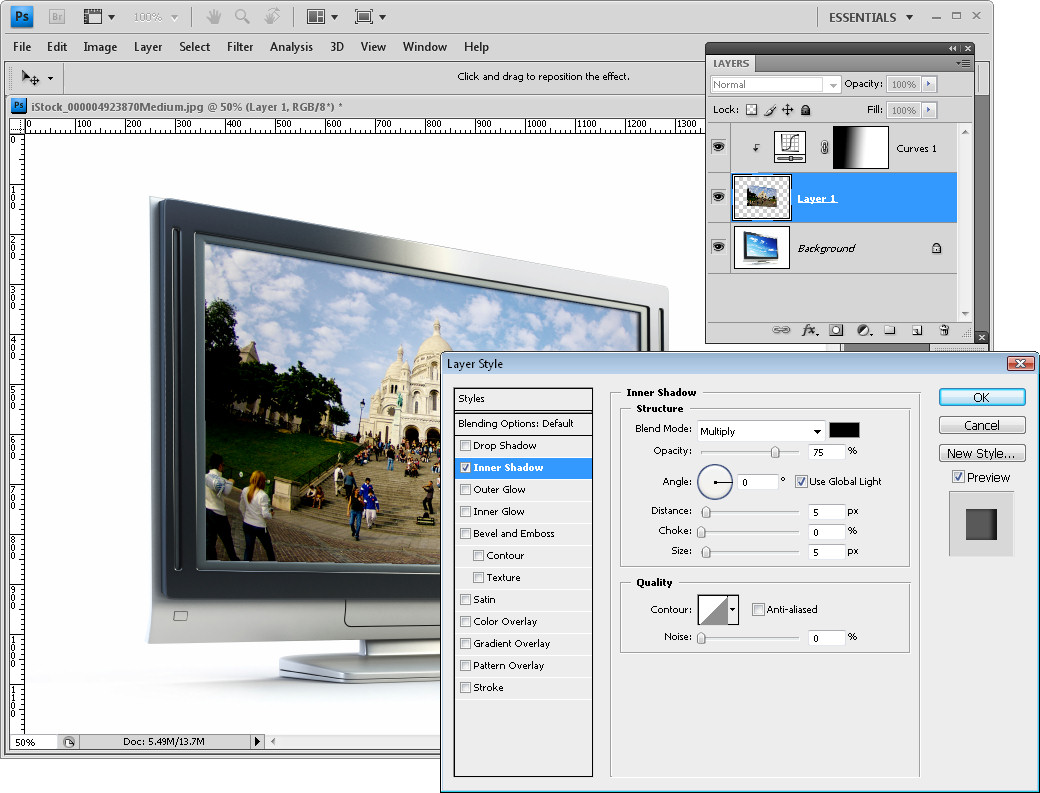 Step 9
I also added a shadow to the layer by selecting the layer and select the Add a Layer Style button at the foot of the layer palette. Select Inner Shadow and create an inner shadow for the image so it appears more realistically situated on the screen.
Using a similar technique, you can place a photo on an image of a billboard or any other similar flat but angled surface.
.
Post a Comment
Please feel free to add your comment here. Thank you!