

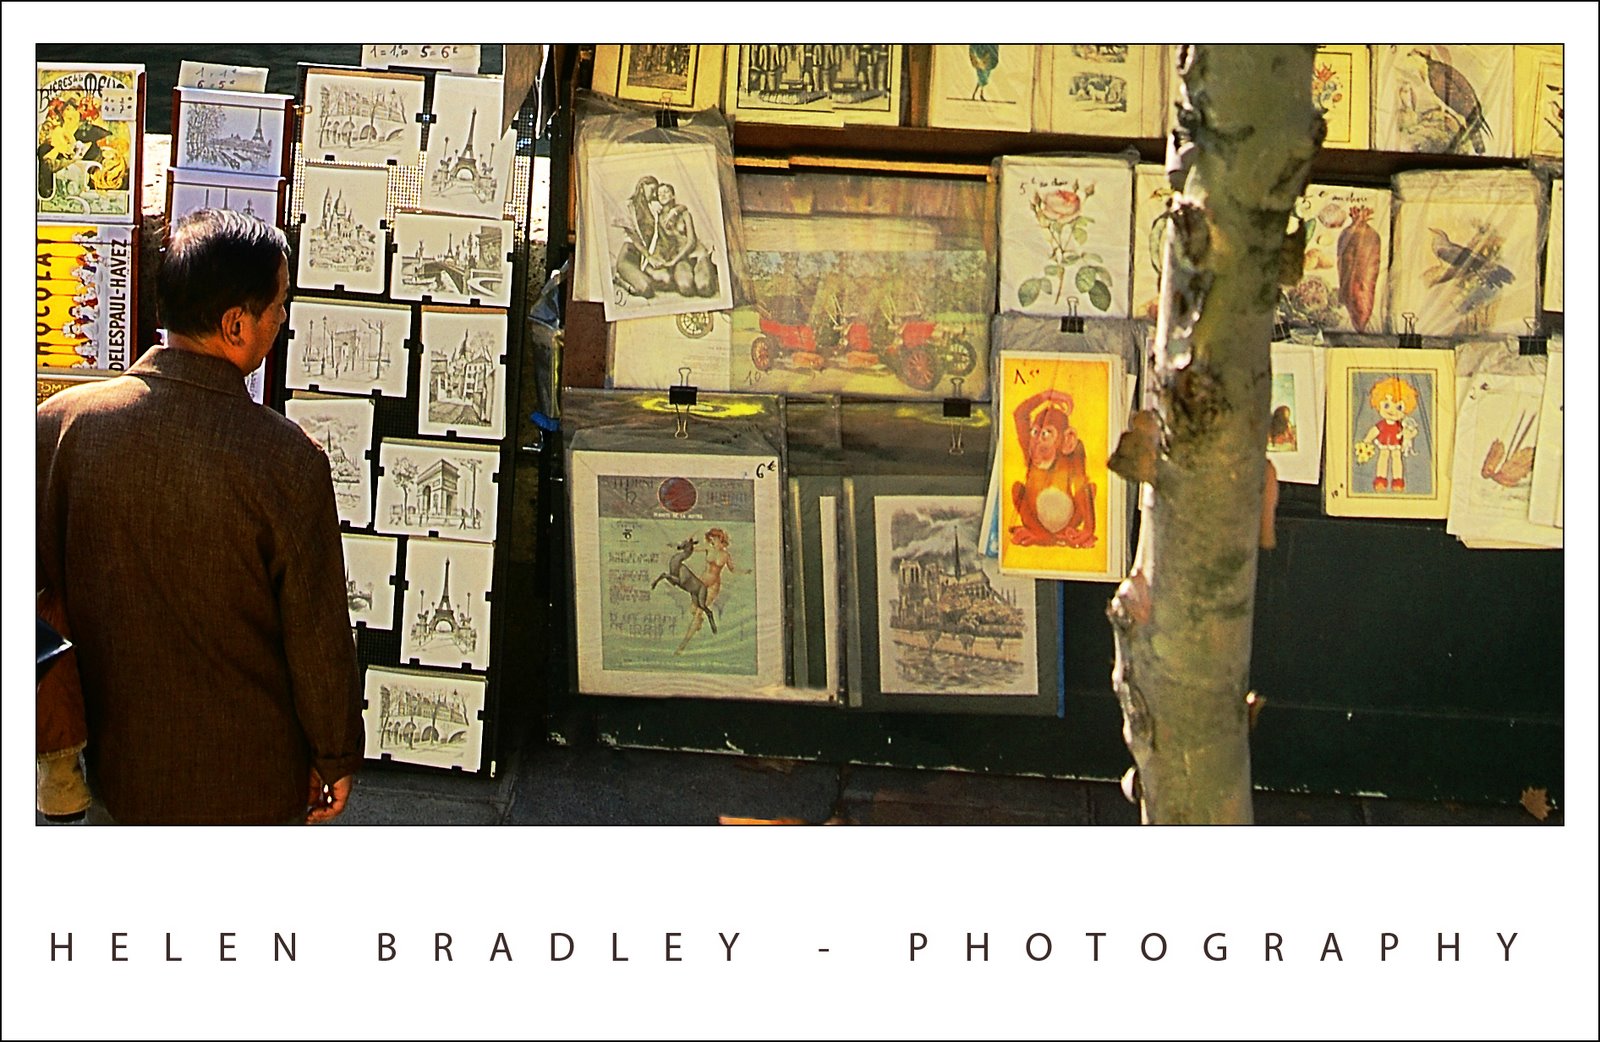
I took yesterday’s image and decided I wanted to look at it another way. So, I cropped it horizontally this time and worked a lot with the colors. I wanted not only to crisp it up but to punch some of the colors.
I’m working on some notes from Dan Margulis from Photoshop World in Las Vegas – his 5 minutes to a picture postcard class.
One of the great tricks I learned there is using the Luminosity channel to add punch to a photo. The idea is to duplicate the main layer in the image and then select this duplicate layer. Then use the Apply Image command. It’s a command most people don’t use because it’s so damn obscure but I’ve used it quite a bit before and I love it. Here you apply a channel such as the Red, Green or Blue to the image but, after you’ve done this, instead of accepting the default blend mode in the Layers palette – which is Normal and which makes the image Greyscale, you use the Luminosity blend mode to take the contrast but drop the color.
It’s a great tool – it’s only one of Dan’s tricks but it is fun to play with. Use the Green channel for portraits and the red channel for skies.
I did a lot to this image to try and recover and enhance the color. I started out by balancing the color to remove the cast. Then used a range of tools including curves and apply image to try to punch up the color.
I quite like the result.
Post a Comment
Please feel free to add your comment here. Thank you!