

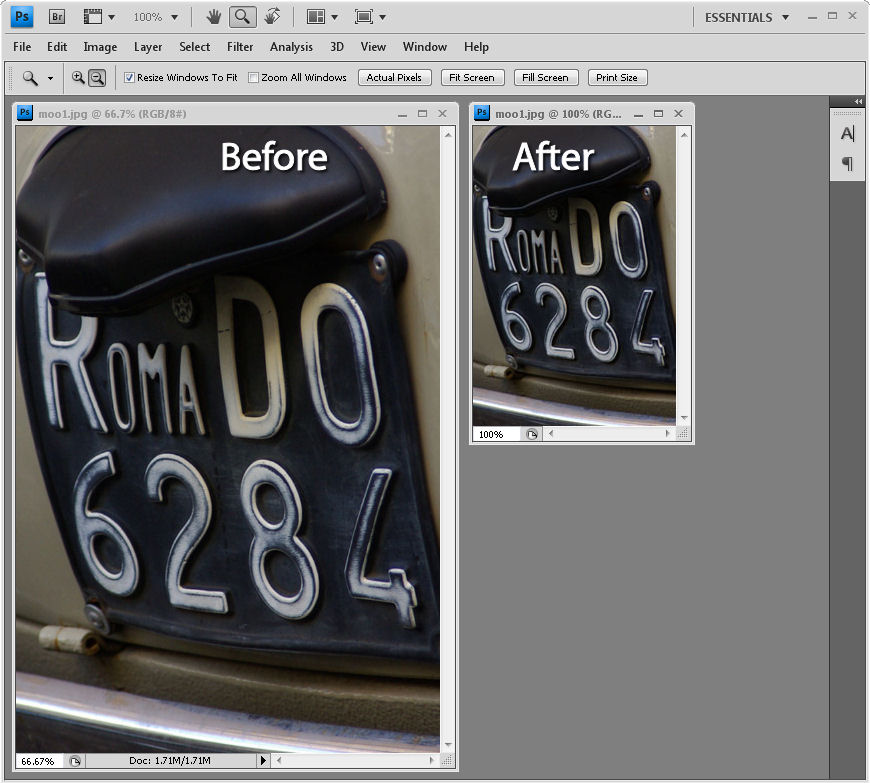
While it’s relatively easy to write an Action to resize a series of images in Photoshop, it’s easier still to get Photoshop to do all the work for you. Photoshop comes with an image processor script that will open, resize and save a series of images for you – very quickly.
Step 1
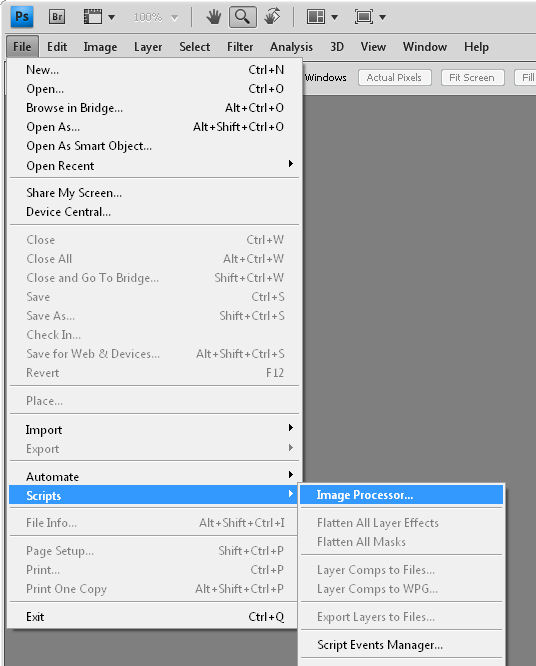
Choose File > Scripts > Image Processor. The image processor dialog shows a simple four-step process for resizing the images.
Step 2
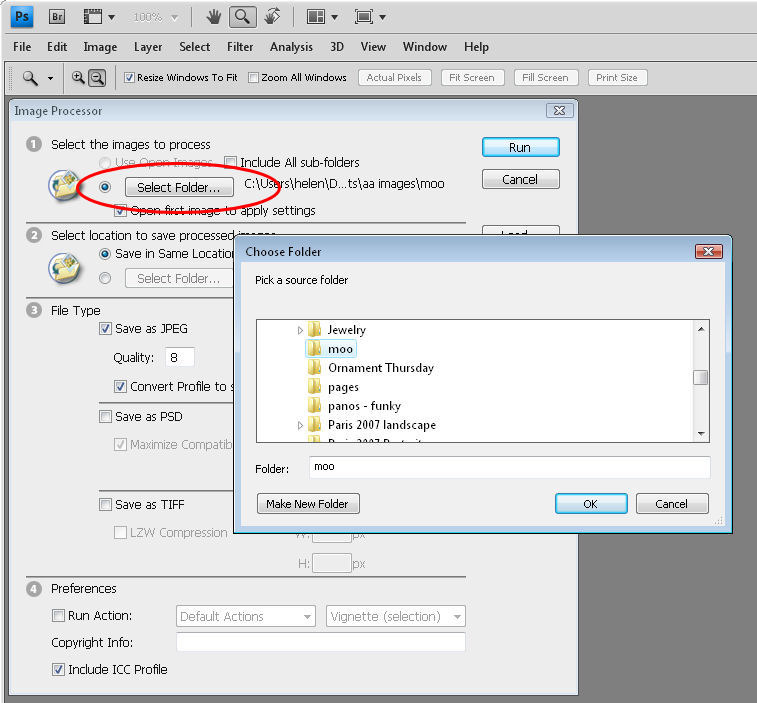
In Step 1 of the dialog, select to either resize the images already open in Photoshop (if you have them open), or click Select Folder and select a folder of images to resize. Select Include all Subfolders to include all subfolders of the selected folder.
Step 3
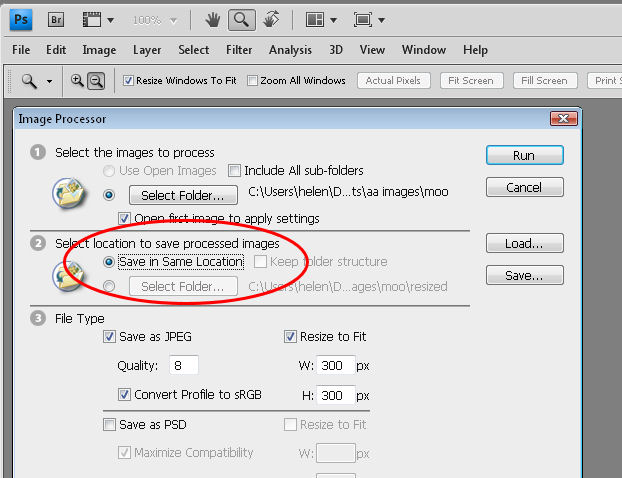
In Step 2 of the dialog select where to save the images. If you select Save in Same Location Photoshop creates a subfolder in which to save the images so you don’t have to worry about overwriting them. If a subfolder by the same name already exists with images with the same names in it, Photoshop saves to that folder but adds a sequential number to the file so you still won’t lose your files. Alternatively, you can select a different folder for the resized images.
Step 4
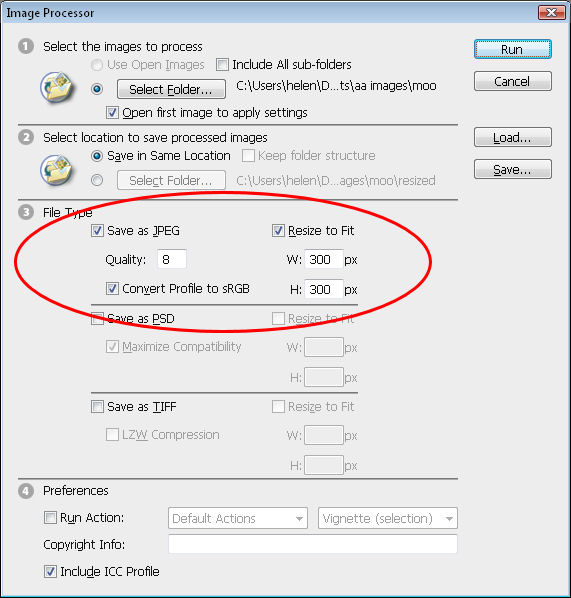
In Step 3 of the dialog select the file type to save in. For the web Save as JPEG is the obvious choice. Set a Quality value in the range 0 to 12 where 12 is the highest quality and 0 the lowest. For better color on the web, select Convert profile to sRGB and ensure that Include ICC Profile at the foot of the dialog is checked so the profile will be saved with the image.
To resize the images, select the Resize to Fit checkbox and then set the desired maximum width and height for the final image. For example, if you type 300 for the width and 300 for the height, the image will be resized so that the longest side of any image, whether it be in portrait or landscape orientation will be 300 pixels. The images are scaled in proportion so they won’t be skewed out of shape.
The Width and Height measurements do not have to be the same so you could, for example, specify a Width of 400 and a Height of 300 and no image will have a width greater than 400 or a height greater than 300.
Step 5
If desired you can save in another format as well by selecting its checkbox so you can save the same image in different formats and at different sizes in the one process. You can also select to run an Action on the images, if desired.
When you’re ready, click Run and the images will be automatically opened (if they are not already open), resized, saved and closed.
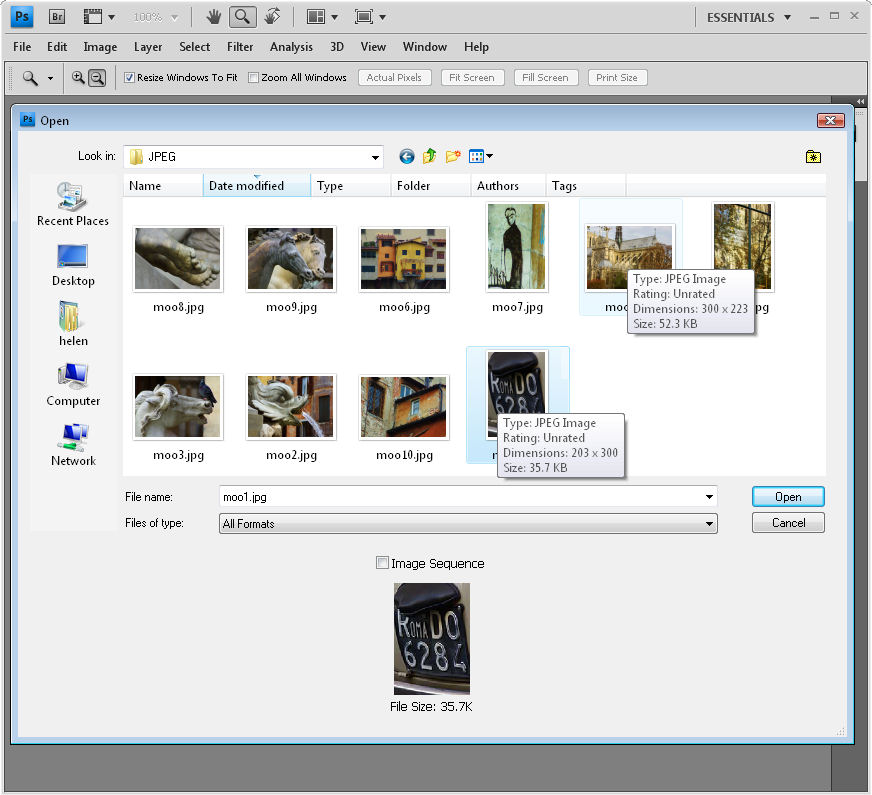
To see your resized images, choose File > Open and navigate to the folder that you specified the images to be saved to. If you chose to save as JPEG, the images will be in a subfolder called JPEG, for PSD in a folder called PSD and so on.
So whenever you need to resize a lot of images for uploading to the web, for example, the Photoshop Image Processor script makes the job almost painless.
One Comment
Post a Comment
Please feel free to add your comment here. Thank you!