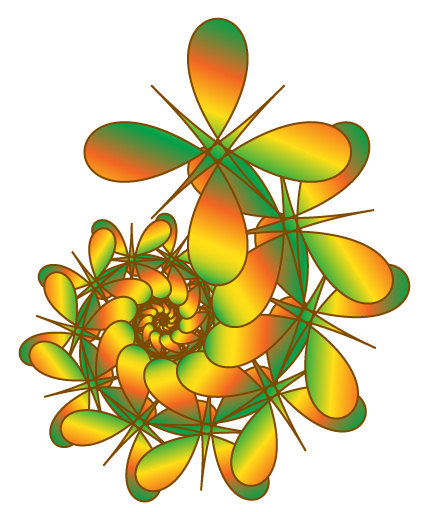
Spiral shapes are simple to create in Illustrator using some of its built in effects.
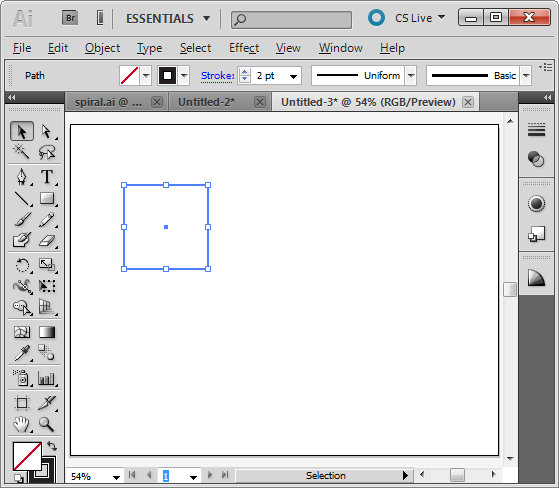
To get started, create a new image and select the rectangle tool. Hold Shift as you drag to create a small square on the artboard. Set the stroke to around 2 pixels, set black as the stroke color and don’t apply any fill.
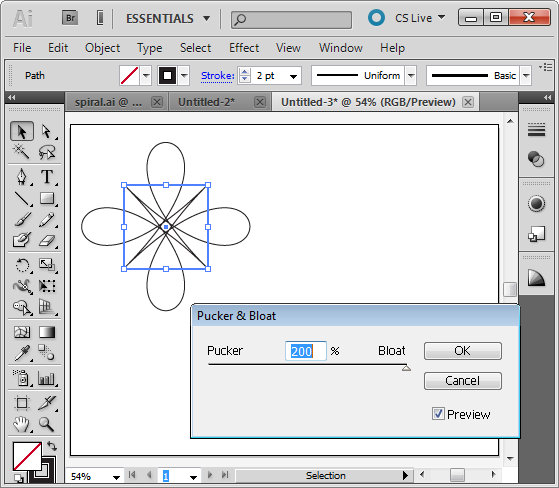
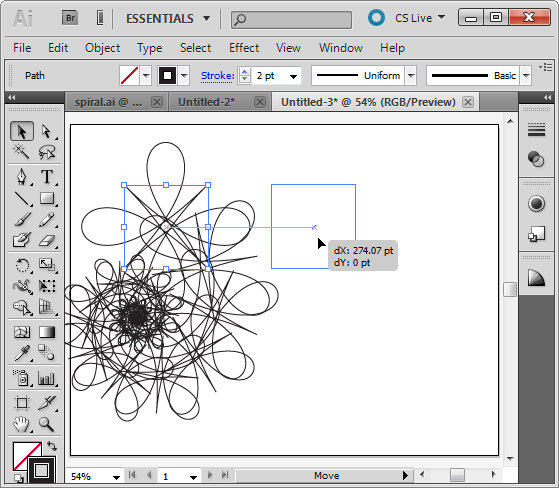
With the shape still selected, choose Effect > Distort & Transform > Pucker & Bloat. Enable the Preview checkbox and drag the slider to create an interesting shape. Here I dragged it to 200, which gives an interesting floral shape. Click Ok to confirm the transformation.
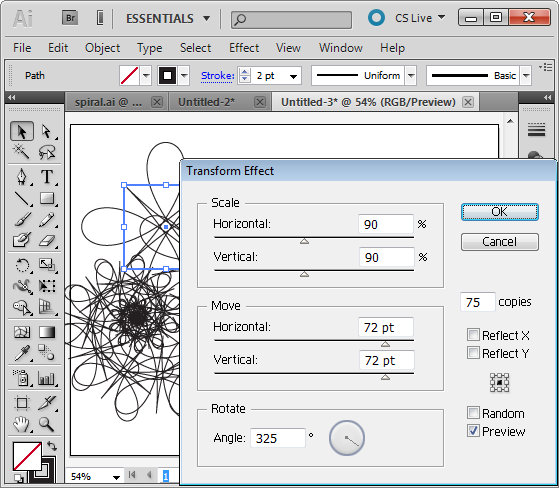
To create the spiral, with the shape still selected choose Effect > Distort & Transform > Transform to open the Transform Effect dialog. Enable the Preview checkbox. Set the number of copies to, for example, 75 and then experiment with various settings of the various sliders.
Changing any of the sliders will alter the shape significantly. Here I set Scale: Horizontal and Vertical to 90% so the shape gets incrementally smaller each transformation. I set the Move: Horizontal and Vertical to 72 pt so the shape moves both horizontally and vertically a small increment each transformation and the Rotate Angle to 325 degrees so each shape is rotated as it is transformed.
Once you have a shape that you like, click Ok.
If necessary, use the Selection tool to move the shape back so it sits within the artboard.
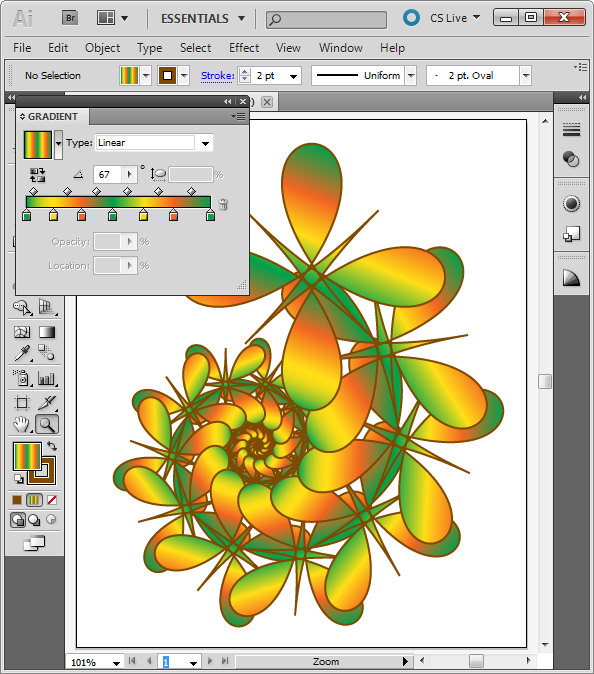
With the shape still selected, set the Stroke to a color of your choice. Select Fill and select a gradient such as the built in Green, Yellow, Orange gradient. By changing the angle of the gradient, for example, you can change the look of the filled shape.
In an up coming blog post I’ll show you more about working with Gradients in Illustrator.


One Comment
Post a Comment
Please feel free to add your comment here. Thank you!