Exposure vs. Brightness vs. Whites Vs. Highlights – Understanding the differences
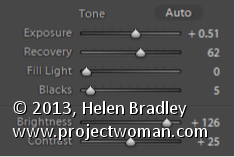
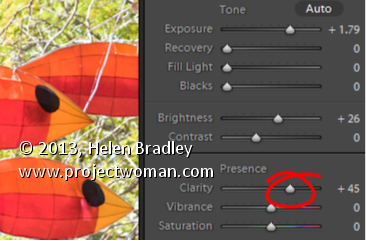
When you increase Exposure, you’re increasing the exposure across the image and the entire histogram will move to the right. When processing it is best to adjust Exposure until the histogram moves to the right but stop short of clipping the highlights. So make sure the right hand side of the histogram doesn’t hit the right wall of the chart.
Brightness in Lightroom 3 is a midtone lightening tool, which protects the highlights more so than Exposure does. So, if you can’t get the image bright enough without blowing out highlights using Exposure, adjust the Exposure but without blowing out the highlights and then use Brightness to lighten the image further.
In Lightroom 4 you can adjust the Whites slider to lighten the whites or the Highlights to lighten the next brightest areas of the image.


