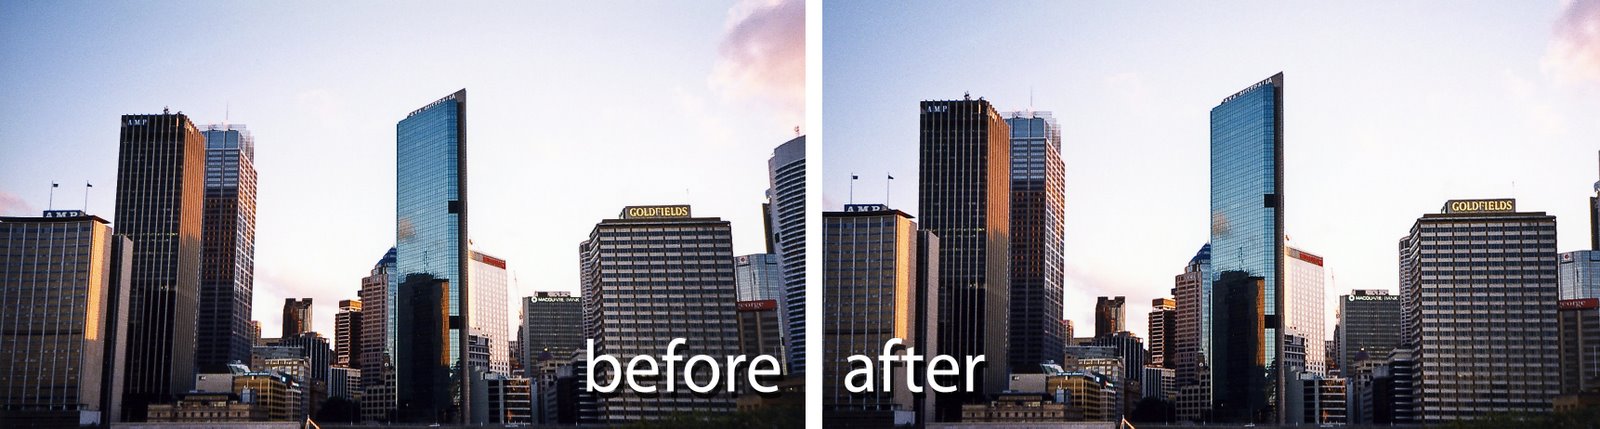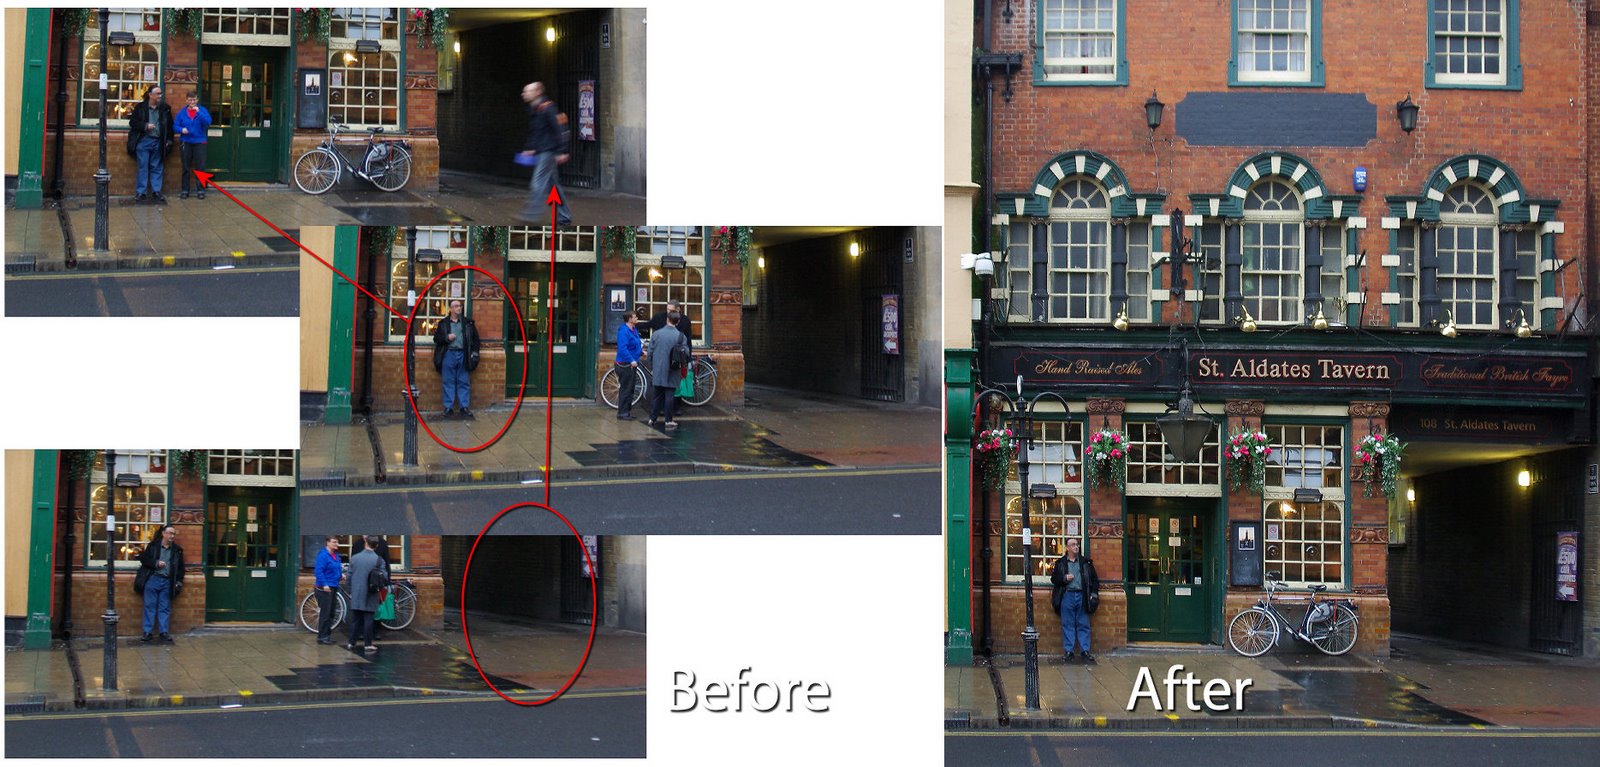
When you’re photographing popular places this summer, one issue you’ll face is getting a clean shot of what you’re photographing. Too often popular places are filled with tourists so it’s difficult to capture a scene without getting lots of people in it too.
The solution is to recognize the problem when you’re shooting and capture a series of images and use the Photoshop Elements 7 Scene Cleaner tool to assemble an uncluttered scene later on.
When you are shooting take care to take two or more images each showing various elements of the scene uncluttered by people. It is best if these photographs are captured using a tripod but it’s not necessary to do so. What is most important is that you stand still as you capture all the shots – don’t move yourself or the camera as you take them and don’t change your camera settings as you photograph either – if you’re using a manual mode, use Aperture priority not Shutter Priority. Make sure to get every part of the scene without people in it.
Step 1
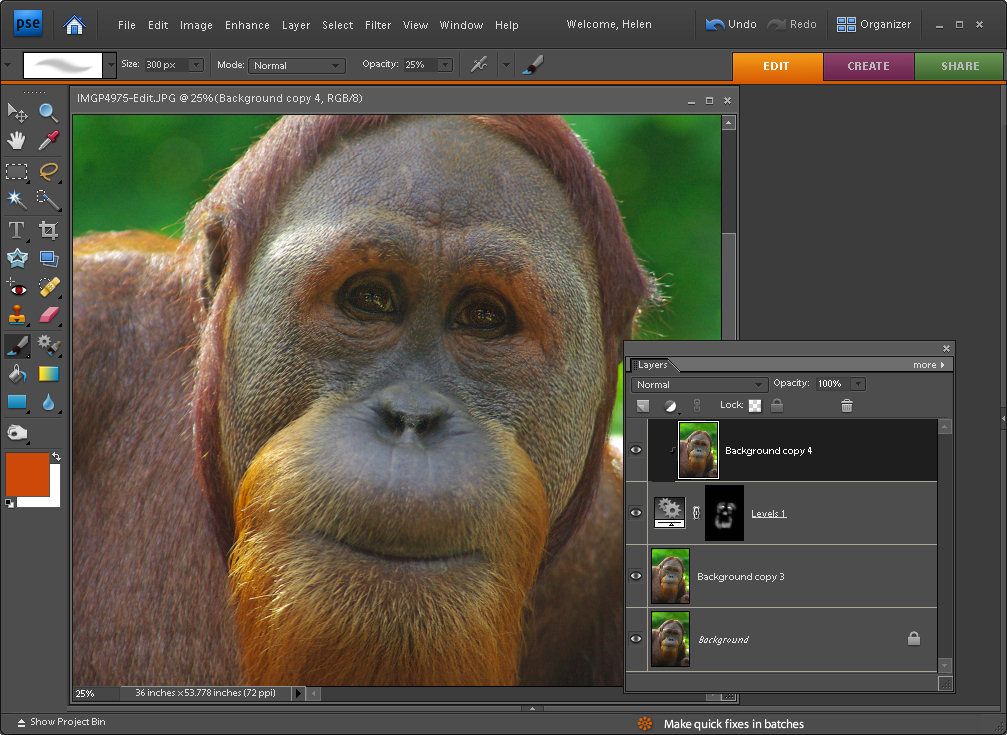
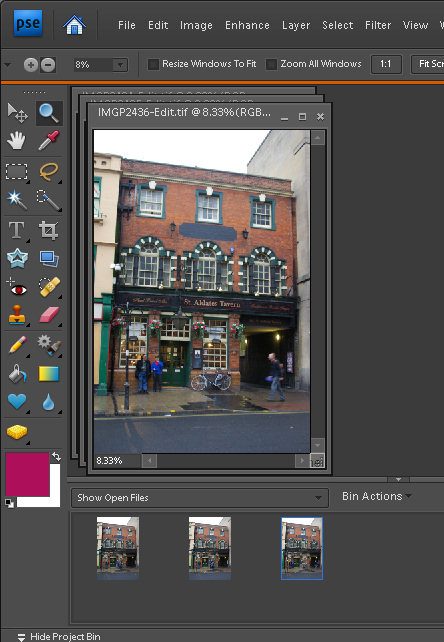
When you return home, download your images and open them in Photoshop Elements 7 so that they appear in the Project Bin.

Step 2
Click on the first image in the Project Bin and Ctrl + Click on each subsequent image in your series.
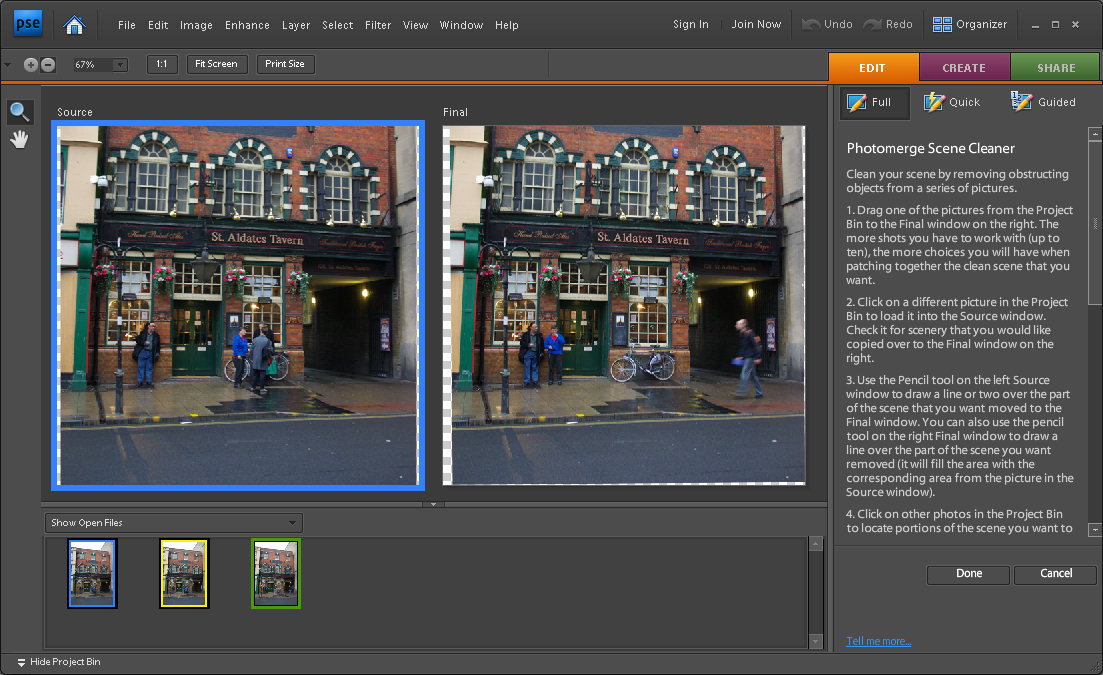
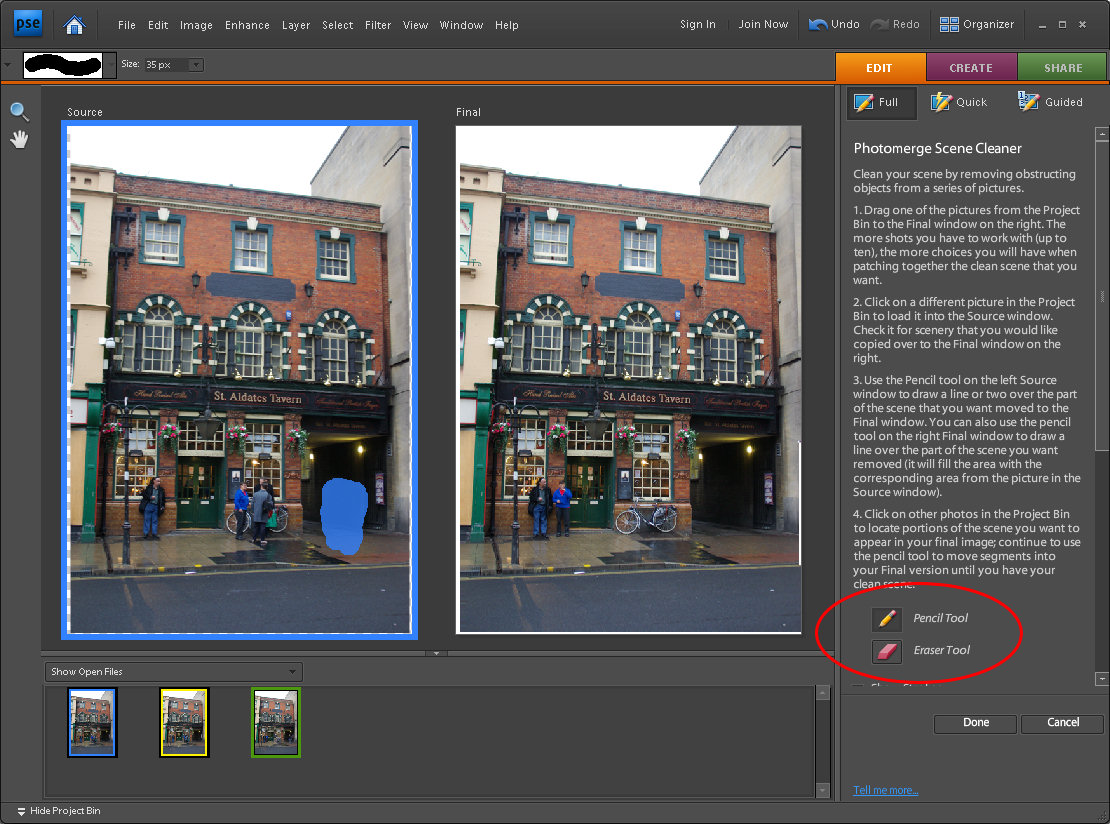
Choose File > New > Photomerge Scene Cleaner. When you do this, one image will be loaded in the Source area on the left and nothing will be in the right hand panel.
Step 3
The source image has a colored surround which matches the color surrounding the photo in the Project Bin so you know which image is which.
Drag and drop an image from the Project Bin into the Final box on the right – this will be the image you will work on to clean up – choose the best image to work with.
Zoom in to see the problem area clearly. Note that Photoshop Elements has aligned the images relative to each other.
Step 4
Now locate areas of the final image that need to be replaced using areas of the source image. What you’re looking for here are people in the final image you want to remove for which the source image can provide a clean ‘people free’ area.
Click the Pencil tool in the right hand panel and draw over the area of the source image to use. As you do this you see a colored overlay on the source image and the area you’ve selected will appear on the final image.
Adjust the pencil size using the [ and ] keys if necessary. Use the Eraser to remove the highlight if you select too much of the source image.
Step 5
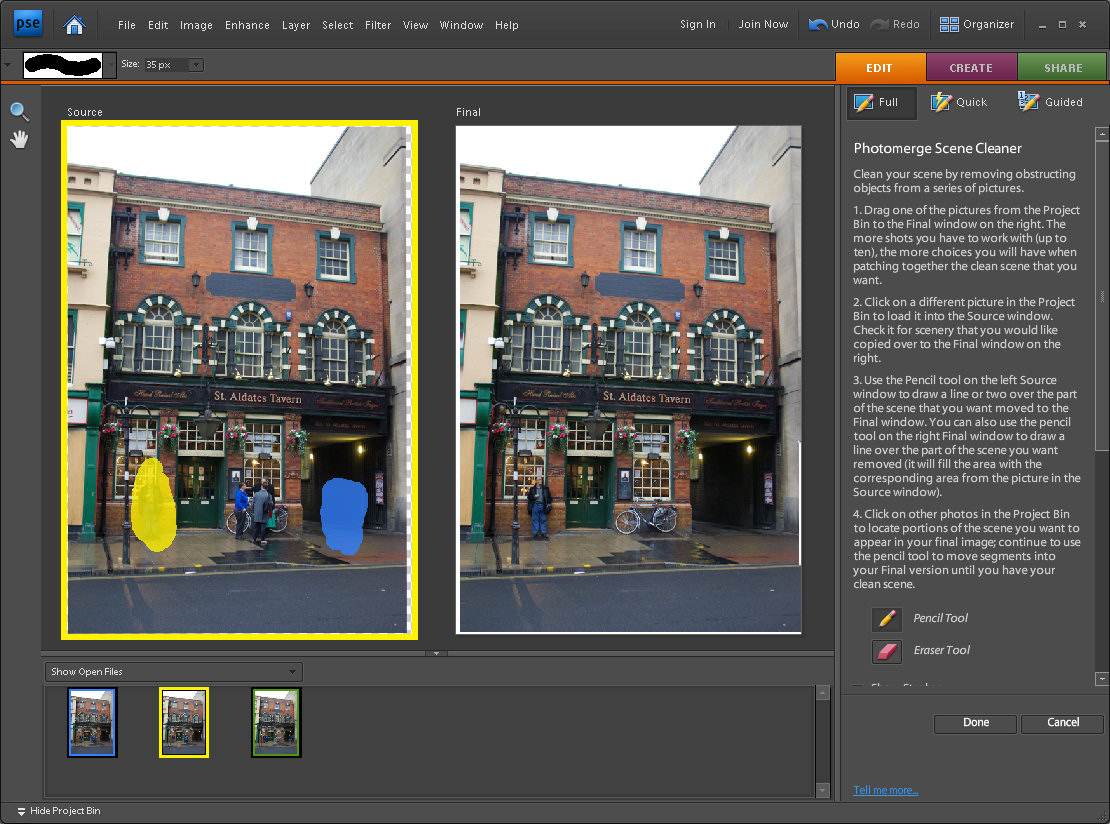
When you have used all the image data you can from the first source image, click on another source image in the project bin and it will move automatically to the Source area replacing the current image.
Continue and select areas of the source image to use to remove problems you see in the final image.
Step 6
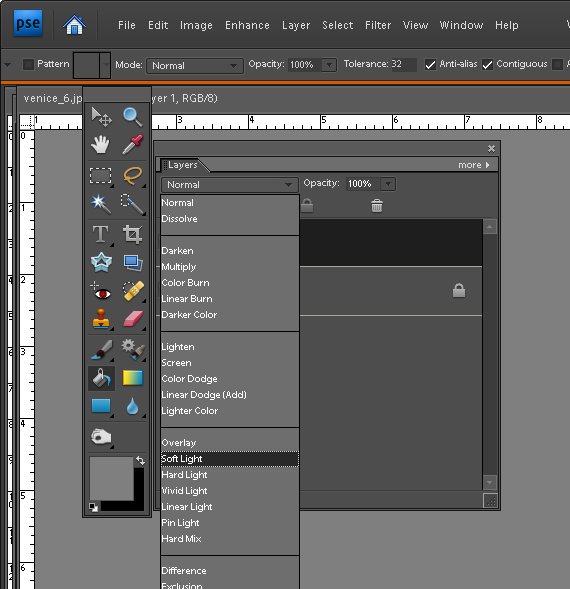
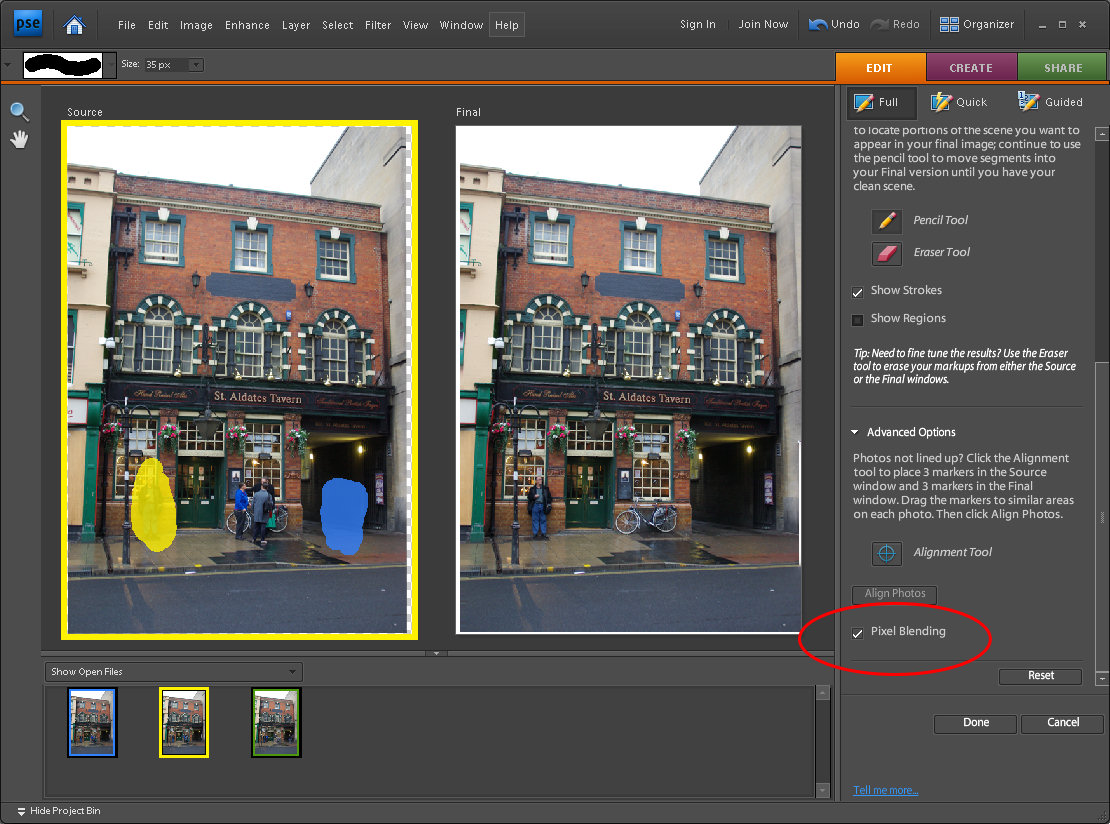
When you have the final image looking as you want it to look check to see if the pieces in the final image need blending or not. If they do, click the Pixel Blending check box in the right hand panel and the copied portions of the source images will be blended into the final image.
Click Done and you can then save the final version as a new file.
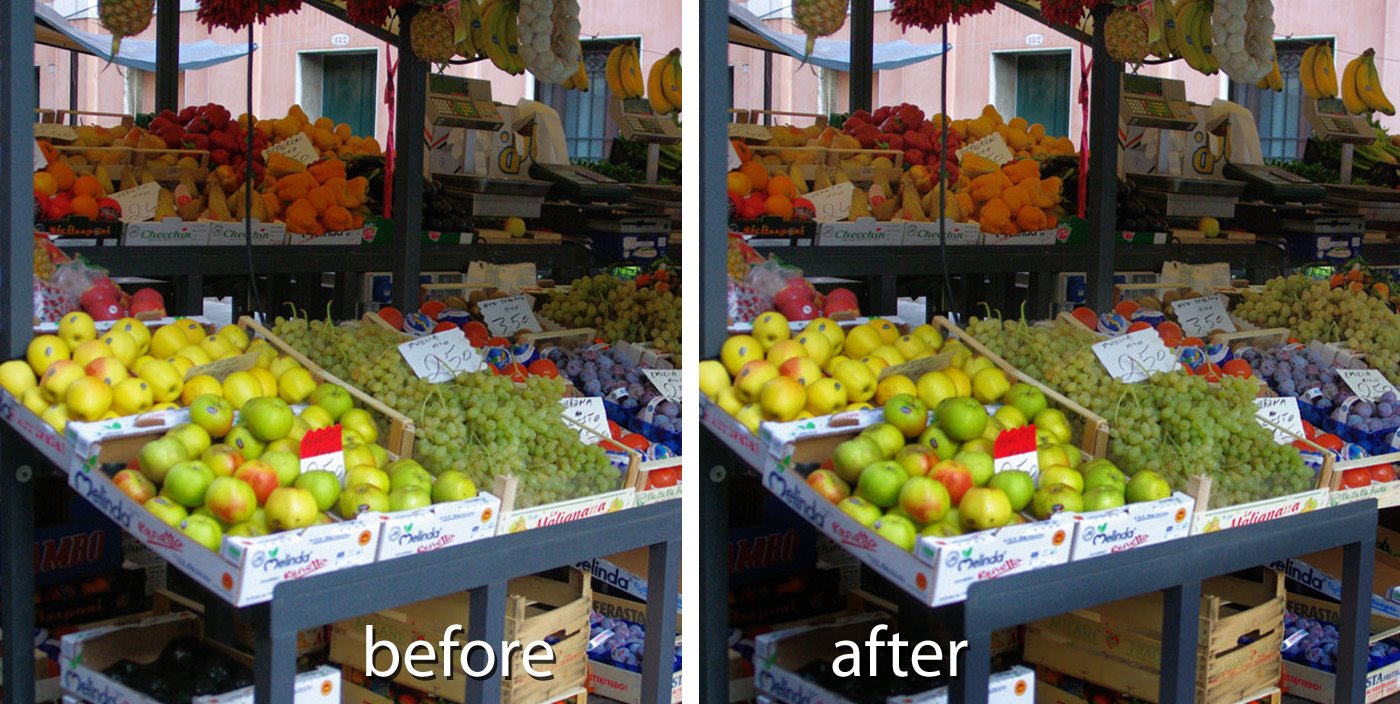
This tool is useful for removing tourists from around monuments, cars from roadways and other distractive elements in images where all you want is the scene unencumbered by people. The key is to recognize you have a problem when you’re shooting and capture multipe images to use.