Learn how to make sure that printing multiple sheets to a pdf gives one pdf and not many
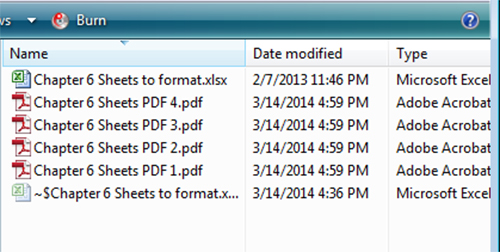
If you have ever tried to print a large Excel workbook to a PDF file, you’ve probably run into this issue. You press print, Excel asks you to name the PDF, and then it begins to print. Everything seems fine, but then Excel asks you to name another PDF, then another, then another, ad infinitum. When the operation finally finishes, Excel has properly printed the workbook to a PDF format, but your worksheets have been split into several different PDF files. Some PDFs contain multiple worksheets, others only a single one, but all you really wanted was one PDF file with the entire workbook.
It turns out this issue is caused by having different Page Setup options on each worksheet. For example, Excel can’t print two pages with different paper sizes to the same “piece of paper” (actually a PDF in this case). Instead, it insists on having two different PDFs to print to, one for each paper size. So, to resolve this issue, you must make sure each worksheet’s page setup agrees with the others.
Fortunately, doing this is very simple. To begin, in your Excel workbook, right click one of your worksheet tabs at the bottom of the window and choose Select All Sheets. Any changes to the Page Setup options will now be applied to every worksheet.
This means we don’t have to check each worksheet to make sure it has the same settings as the others; we simply choose which settings we want and all the worksheets will automatically match. To do this, go to the Page Layout tab in the ribbon. In the Page Setup section, click the small arrow in the bottom right corner to open the Page Setup dialog.
The Page tab of the dialog contains the critical options that can lead to this issue, namely the paper size and print quality settings. Change these to whatever you wish, typically something like letter paper at 300 dpi. Other settings, such as orientation and scaling, do not cause the multiple PDFs issue so if you wish you can change them for individual worksheets. Still, it’s best to have all worksheets print with the same settings. Once you have chosen your desired settings click OK and they will be applied to every worksheet.
You can now print your workbook to a single PDF file.


