Helen Bradley explains how to get the best shots of that very important person in your life – mum!
My mum hates being photographed! I’m not that fussed about photographs of myself either. As I age, my face doesn’t always refect the age I feel inside and many photos catch me looking less attractive than I’d like to look. I have every sympathy for my mum who is obviously years older again than I am.
However, chronicling the women in our lives, our mums, mums in law, grandmothers and aunts is an important part of recording our family history. This mother’s day or some time soon, grab the special woman in your life, sit them down and take a portrait that they’re happy to look at. It’s not difficult when you know these few tricks for capturing them at their best.
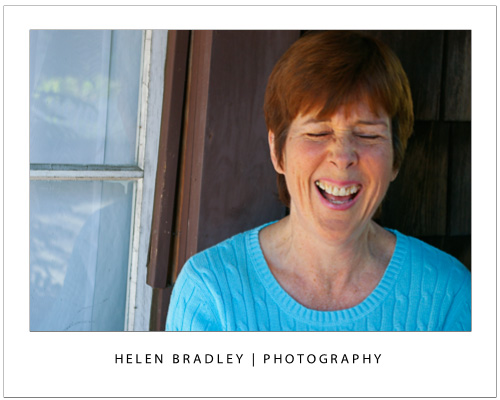
When something really strikes your subject as funny – be ready to capture a one off shot that will make you smile.
Most people look better looking up at the camera rather than looking down at it. Even someone with no double chin will get one when looking down! Looking down at the camera also accentuates a person’s nostrils which isn’t always flattering.
When taking a photo, position your mum so you can stand higher than she is – this usually means that she needs to be sitting down. Find a place indoors with good natural light and shoot inside or find a shady spot outside.
For our pictures of Anne here we hung some dark curtains from a front porch to shield the worst of the bright and uneven sunlight and shot outdoors.
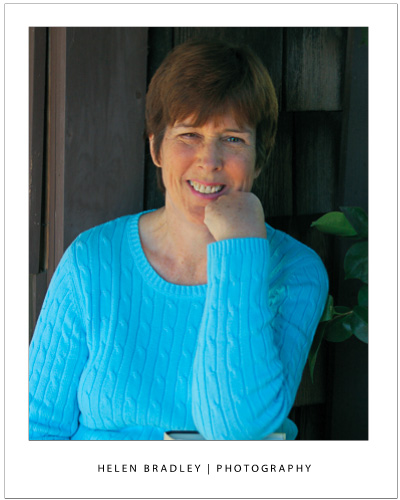
Here the subject leans on a favourite book and the pose is nice and relaxed.
Using a tripod will ensure that the camera is still when you take the shot – if not, focus on keeping it steady – especially if you start clowning around and you need to laugh. Jokes are good – in fact anything that works to make mum relaxed will help lots. I usually take a friend who is a bit of a wag with me and she makes comments and asks questions of the person I’m shooting. By the time a few minutes have passed the person being photographed forgets I’m even there.
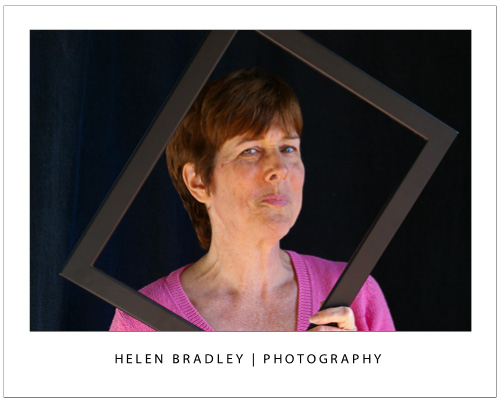
Having something for your mum to hold or to rest on works well as it gives her something to do with her hands. We used an empty picture frame, a chair turned backwards, a book and a sledge hammer (there was some discussion about eyelet setting that prompted Anne to pick it up) when shooting.

Holding a frame gives the subject something to do with her hands and the natural reaction is to ham it up a bit for the camera.
You can use anything from a flower to a stuffed toy – whatever helps to take mum’s attention off the fact that you’re photographing her. Ask mum to wear some light makeup – while you can remove obvious blemishes later on, the even skin tones you get from wearing makeup can save hours of fixing on the computer and really will improve the portrait a lot.
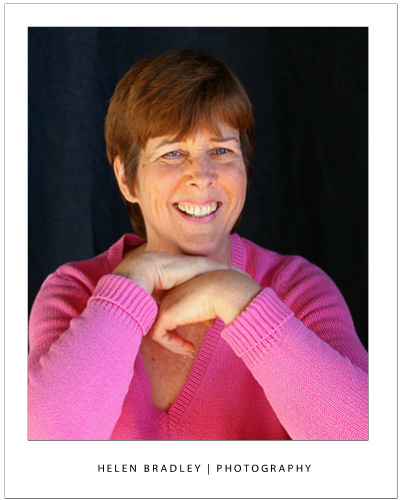
Having the subject lean on something – here a chair turned around gives them something to do with their hands.
When you’re shooting, take lots of photos. I take as many as I can with the promise that I’ll keep only the best and anything that the person absolutely hates will be deleted – no questions asked. After all, I want to do this again and building trust in me as a photographer is really important.
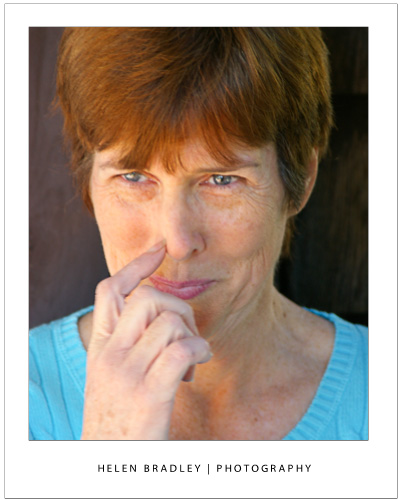 Keep shooting even when the subject is scratching their nose!
You will find that the best shots generally have the person looking direct at the camera – this isn’t to say you won’t get great shots when they’re looking elsewhere but you can improve your chances by having them look at the camera as much as possible. When shooting, fill the frame with the person’s face. The closer you get, the more detail you will capture and the more intimate the resulting portrait will be. Check the results from time to time to make sure they are well lit and check again every time you move position, because the light will change – particularly when you are out of doors.
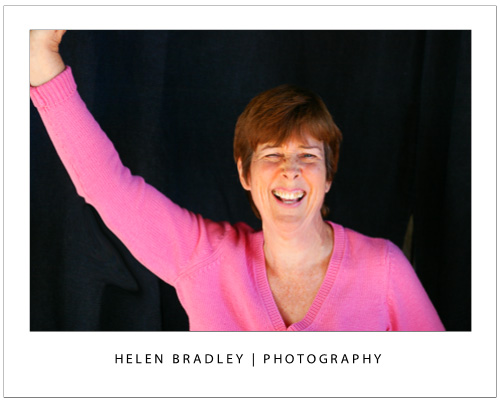
Here we asked our subject to strike some funny poses and the result was captivating.
If time permits, have mum change clothes half way through the shoot to a different colour so you get a different feel to your photos. You might be surprised how some colours work better with certain skin tones. We liked Anne in the pink jumper best of all. If you have the space to work, move around to get a different perspective of your mum, but always take care that the background isn’t cluttered and that it remains unobtrusive.
Helen Bradley


