

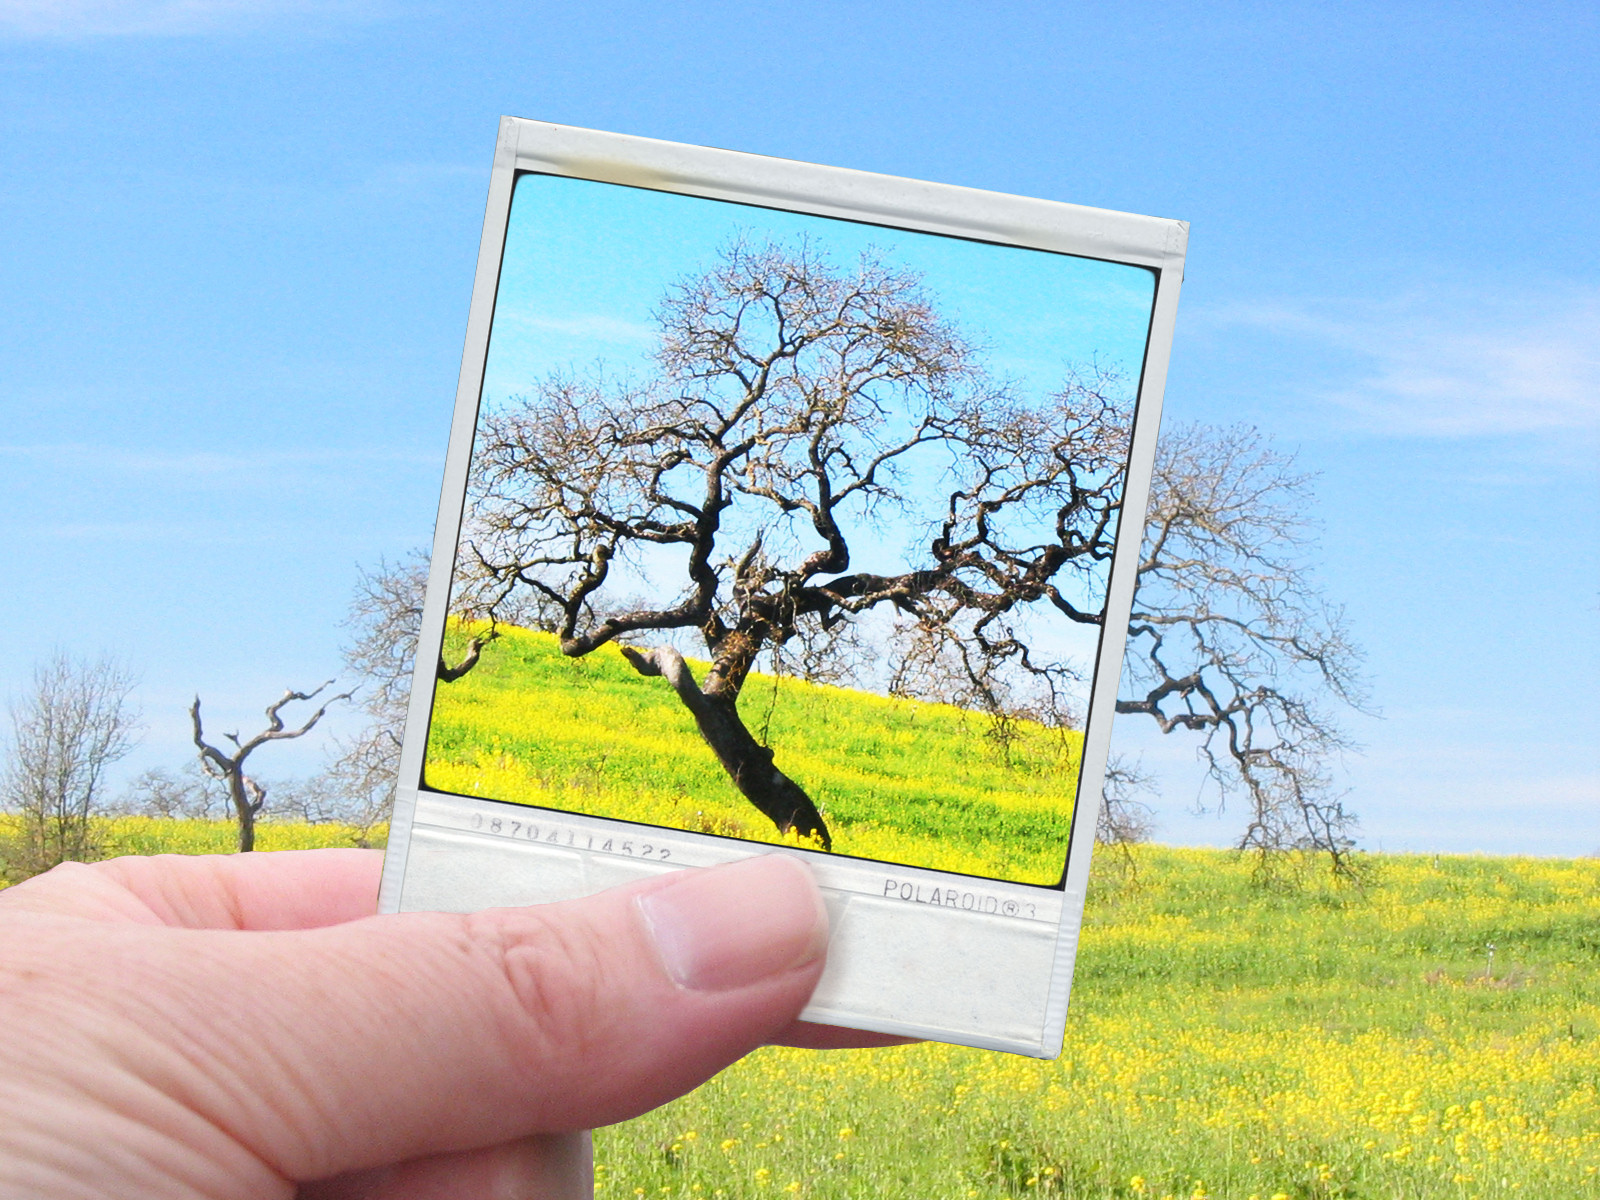
There are heaps of creative things you can do with your images in Photoshop and one I think totally rocks is a collage technique that turns your photo into a photo of itself. If you’re totally confused, check out the image – you’ll see a hand holding up what appears to be a Polaroid image in front of a scene – the Polaroid image itself shows part of the background scene and it’s all done in Photoshop – here’s how:
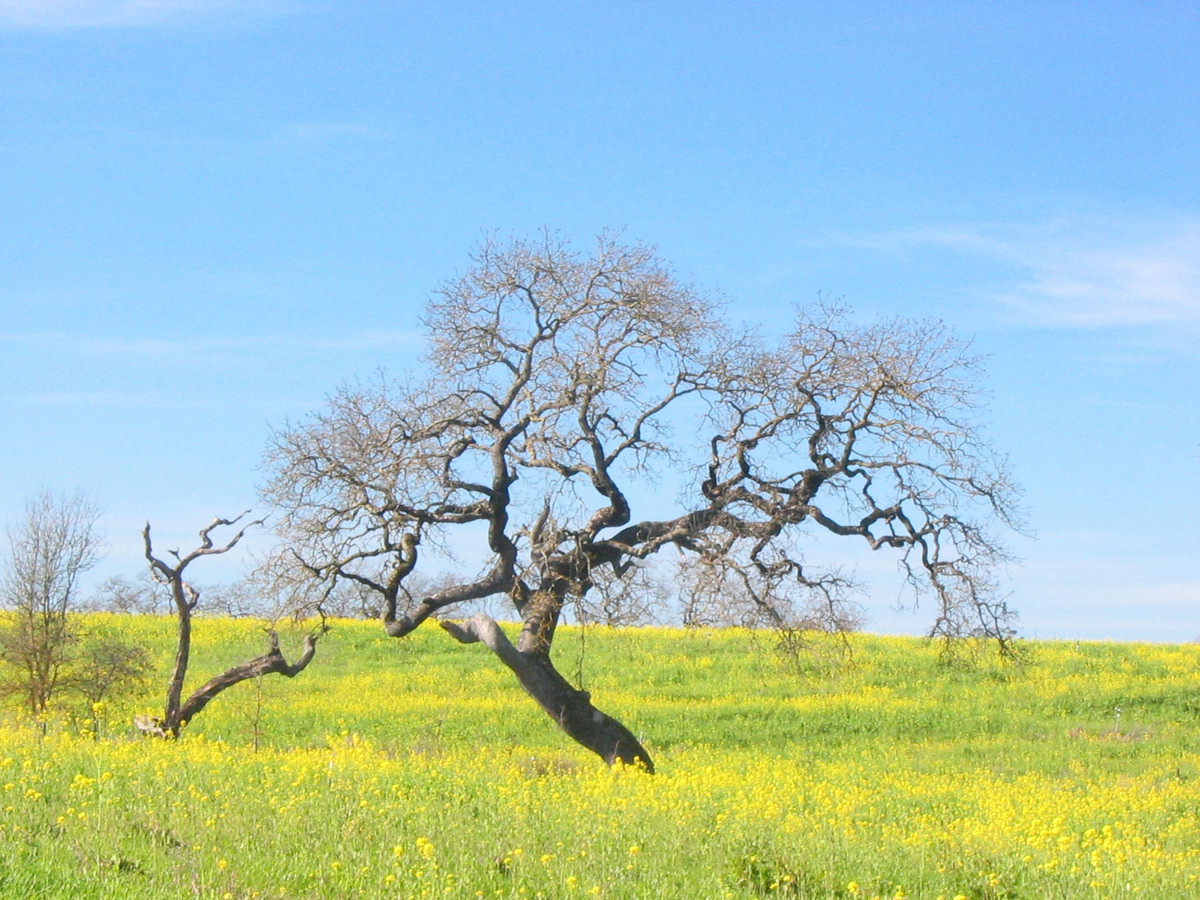
To create this image you will need a photo with an interesting subject. I’ve used a spring landscape.
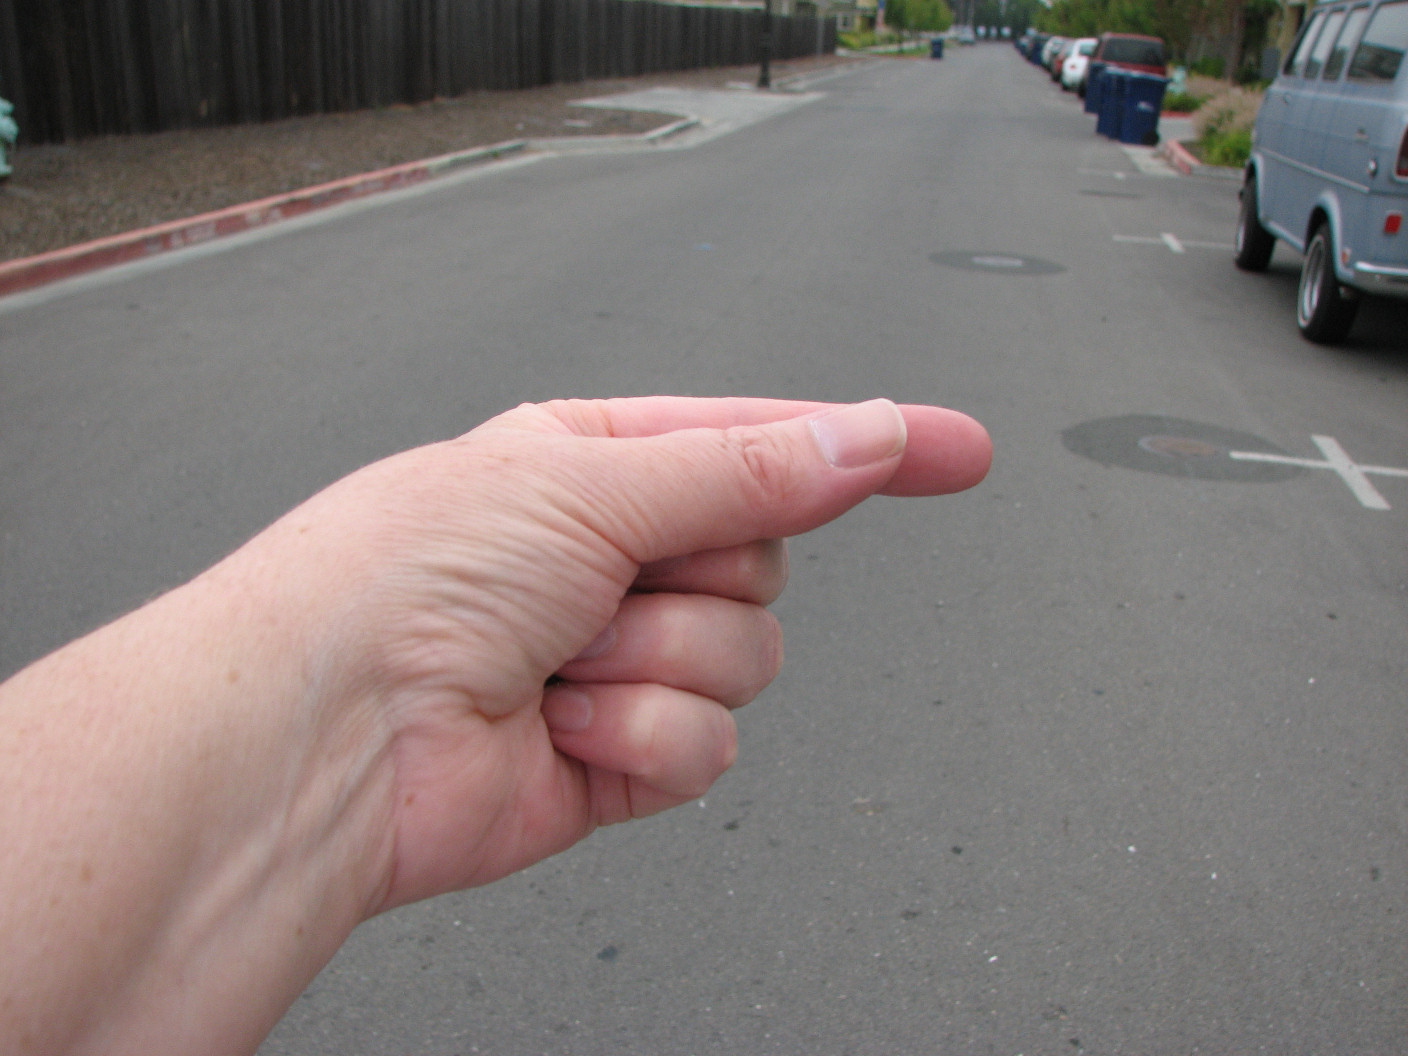
You will also need a photo of your hand held as if you are holding a photo in it. Take the photo of your hand with your point and shoot camera held in one hand and your other hand stretched out in front of you. You may need to use macro mode to ensure that the hand is in focus and not the scene behind. The ideal setup for photographing your hand is with a road or carpark as the background – the contrast between your skin and the road will make it easy to select around your hand.
While you can create your own faux Polaroid image, there is a good one you can download from http://lured2stock.deviantart.com/art/Polaroid-3262470.
Open the photo of your hand, the landscape and the Polaroid image in Photoshop. Crop the hand to remove excess background.
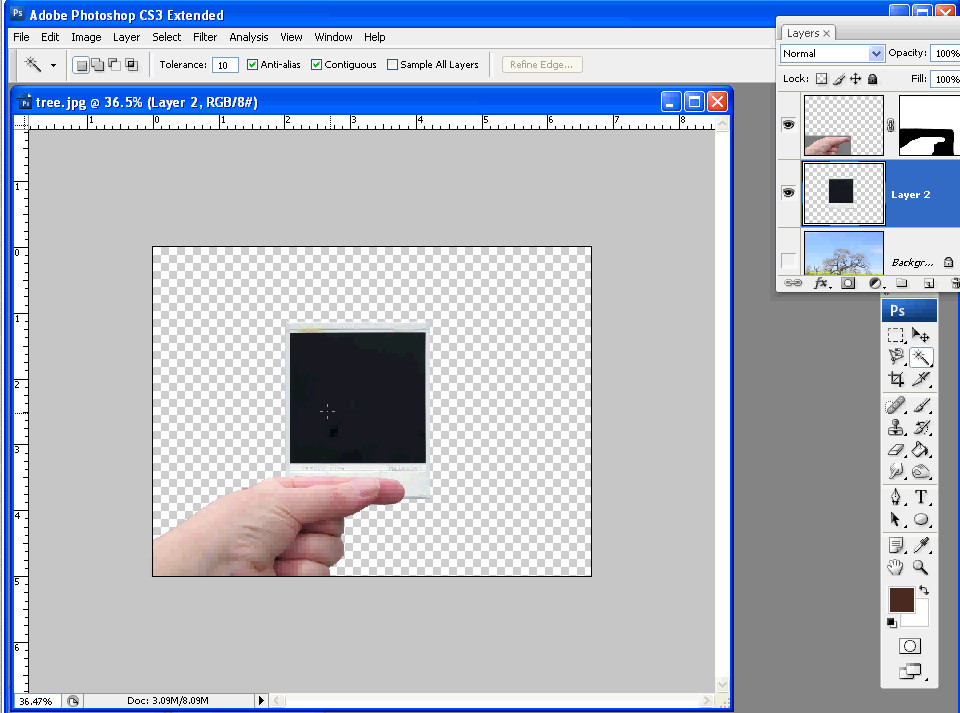
Select around the edge of the Polaroid image and remove its excess background so you have only the image itself.
Drag the background layer from the Polaroid image and the hand image into the landscape image. Each element will appear on its own layer.

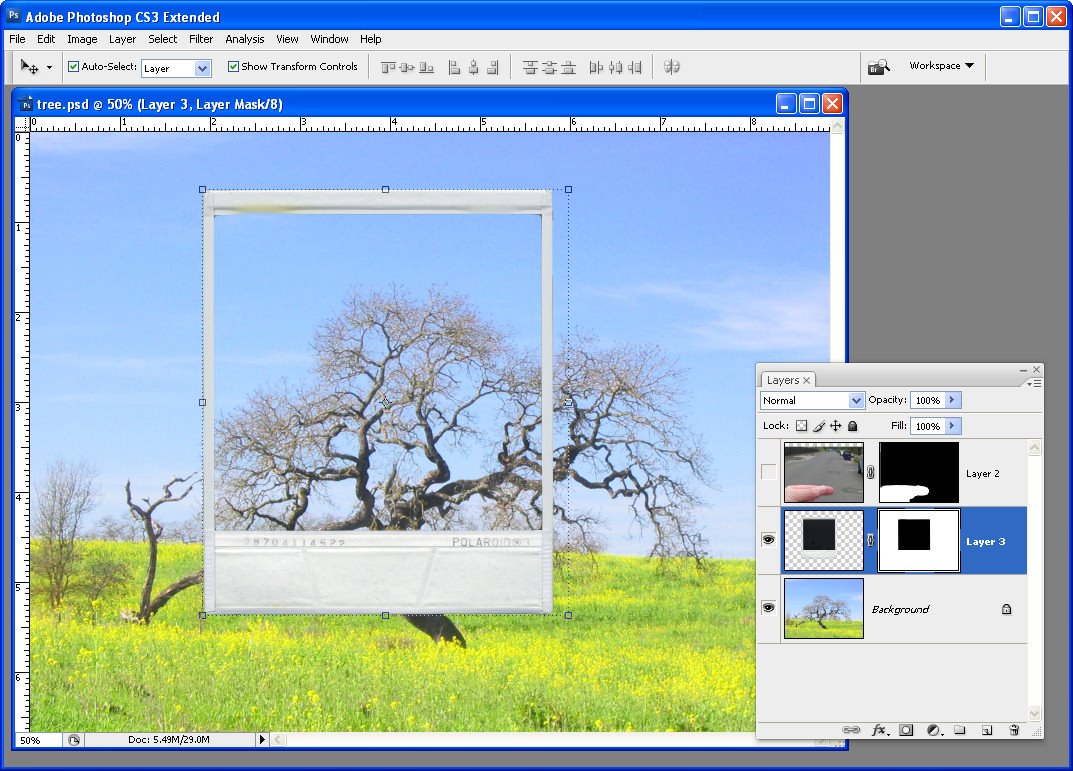
Drag the hand to the top of the layer stack and hide the other two layers. Use your favourite section tool to select around the hand and add a layer mask by clicking the Add Layer Mask icon at the foot of the Layer palette (use Alt + Add Layer Mask if you selected the background rather than the hand). Using a layer mask makes it easier later on to remove parts of the hand so the Polaroid will look like it is held in your hand.
To transform the Polaroid image so it is the correct size, Ctrl + click on its layer thumbnail and select the Move tool. Press Ctrl + T to select the free transform tool and then Ctrl + 0 (zero), to scale the image so that you can see its sizing handles. Drag the Polaroid into the approximate position it should appear in the image and size it to suit. It should appear partially covered by the hand.
Make a selection around the inside of the Polaroid image and delete it or add a mask to hide it. Select the background layer and hide the two top layers. Move the selection over the underlying image – choose Select > Transform Selection and resize it in proportion if desired.
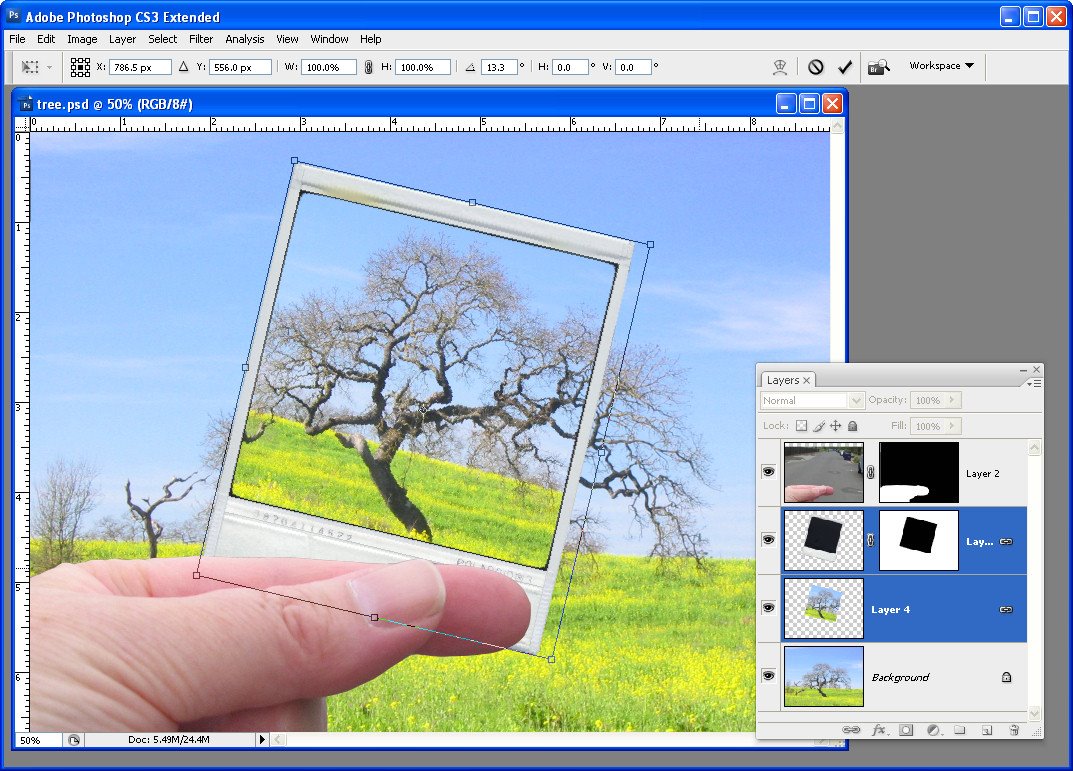
Choose Edit > Copy to copy the selection onto the clipboard, then Edit > Paste to paste it into a new layer, size it to fit the hole in the layer above. Brighten this layer if desired. Select this layer and the Polaroid image by Shift + clicking on each of them and choose Layer > Link Layers. Rotate the Polaroid slightly.

Make the hand layer visible again. Select the brush and black paint, click on the layer mask for the hand layer and paint out portions of the hand that should be behind the Polaroid. Add a new layer below this layer and paint a small drop shadow along the edge of the fingers over the Polaroid.
Mashallah