When you’re developing a social marketing campaign using Twitter you will want to find people to follow who are the kind of people that you want to sell your services to.
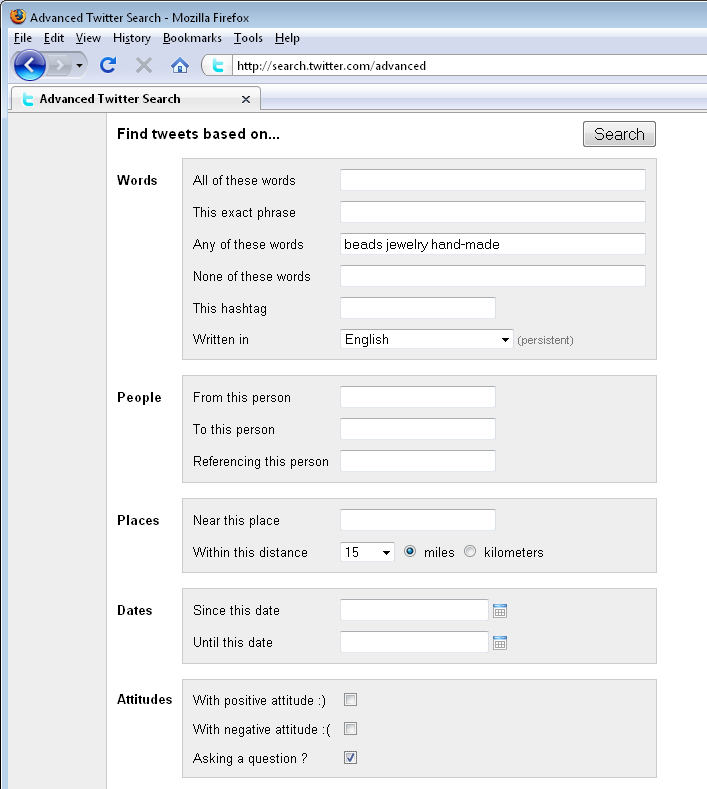
Twitter’s advanced search tool at http://search.twitter.com/advanced can help you here. In the Advanced Search tool you can find Tweets based on words that are in the tweet or which contain a certain hashtag. You can find tweets by references to people or places as well as attitude or those that contain links.
Using this you can locate people within a specific geographical location or who appear to have an interest in something that you are interested in. By being able to find these people very quickly you can then follow them in the hopes that they will follow you back and so you build your follower list.
If, in time, you find that you have a lot of people who you are following and if you suspect that not all are following you, it is time to cull your following list. Visit this post to learn more about how to quickly cull your Twitter list as a batch job so you don’t have to do it one person at a time.
When you’re developing a social marketing campaign using Twitter you will want to find people to follow who are the kind of people that you want to sell your services to.
Twitter’s advanced search tool at http://search.twitter.com/advanced can help you here. In the Advanced Search tool you can find Tweets based on words that are in the tweet or which contain a certain hashtag. You can find tweets by references to people or places as well as attitude or those that contain links.
Using this you can locate people within a specific geographical location or who appear to have an interest in something that you are interested in. By being able to find these people very quickly you can then follow them in the hopes that they will follow you back and so you build your follower list.
If, in time, you find that you have a lot of people who you are following and if you suspect that not all are following you, it is time to cull your following list. Visit this post to learn more about how to quickly cull your Twitter list as a batch job so you don’t have to do it one person at a time.