Wednesday, August 15th, 2012
 (photo by: Amy Burton)
Paths can be a very helpful tool when editing and can be saved along with your image in .jpeg files. To do this create a path in the desired location on your image. Go to File > Save As choose JPEG as the file type. Name your image and save it. When you open it next the path will be accessible in the Paths palette.
Helen Bradley
Labels: jpeg., path, Photoshop, save a path, saving, tip, trevor adobe, trevor payen
Categories:photoshop, trevor tip
posted by Trevor Payne @ 8:00 amNo Comments links to this post
Wednesday, August 8th, 2012
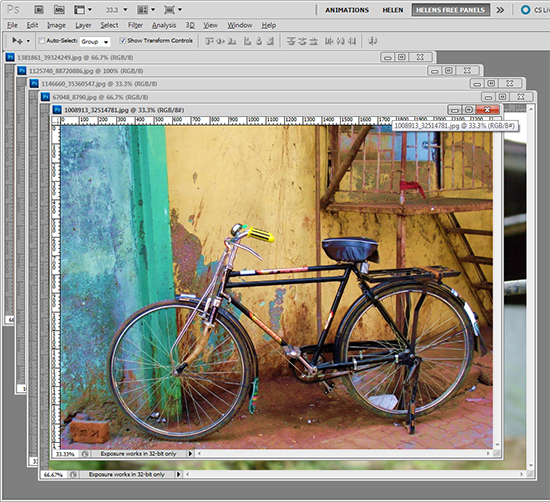 (photo by: Asif Akbar)
Cycle through your open images by pressing the Ctr + Tab keys on the keyboard.
Helen Bradley
Labels: cycle, documents, how to, images, photohshop, tip, trevor adobe, trevor payne, work flow
Categories:photoshop, trevor tip
posted by Trevor Payne @ 8:00 am1 Comment links to this post
Wednesday, August 1st, 2012
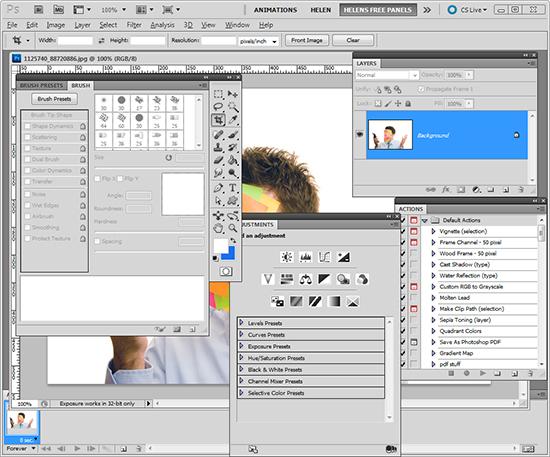 (photo by: Piotr Bizior)
If your work space is feeling cluttered with palettes you can press the Tab key on your keyboard to hide them all or Shift + Tab to hide all but the tools palette. Want them back? Press Tab again and there they are.
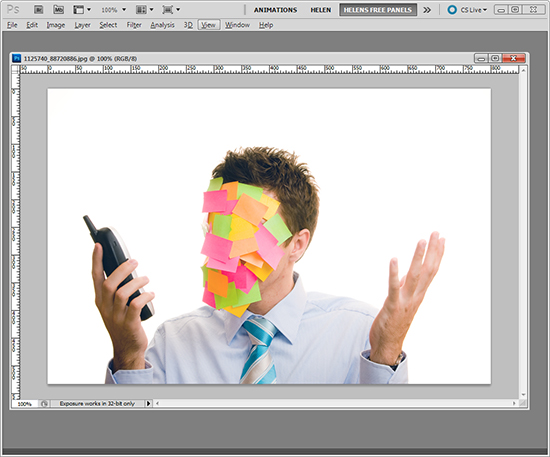 (photo by: Piotr Bizior)
Helen Bradley
Labels: palettes, Photoshop, tip, trevor adobe, trevor payne, work space clean up
Categories:photoshop, trevor tip
posted by Trevor Payne @ 8:00 amNo Comments links to this post
Thursday, July 26th, 2012
 (Photo by: Jorge Vicente)
Change the size of your brush, eraser, or any tool that is brush based quickly by press the ] key to increase the size and the [ key to decrease the size.
Helen Bradley
Labels: brush, brush size, Photoshop, shortcut, size change, tip, trevor adobe, trevor payne
Categories:photoshop, trevor tip
posted by Trevor Payne @ 8:00 amNo Comments links to this post
Thursday, July 19th, 2012
 photo by: lcrumling via www.sxc.hu)
Want to quickly match a color without disrupting your work flow? Press the I key to activate the Eyedropper tool, then click on the color your trying to replicate to sample it.
Helen Bradley
Labels: color, color matching, eyedropper, Photoshop, tip, trevor adobe, trevor payne
Categories:photoshop, trevor tip
posted by Trevor Payne @ 8:00 amNo Comments links to this post
Thursday, July 12th, 2012
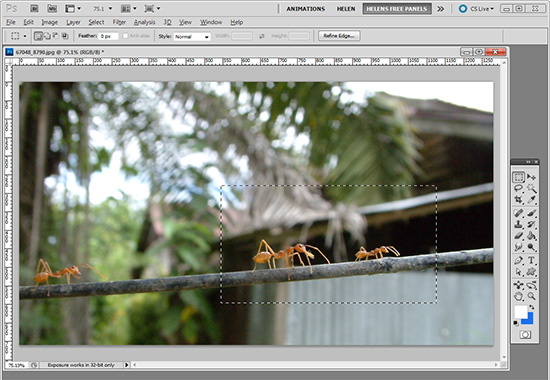 (photo by: Miwa via www.sxc.hu)
When those marching ants are too distracting on a selection you can make them disappear by pressing Ctr + H on a PC or Command + H on a Mac. Don’t forget to reverse it when you’re done by using the same commands.
Helen Bradley
Labels: how to, marching ants, Photoshop, quick tip, tip, trevor adobe, trevor payne
Categories:photoshop, trevor tip
posted by Trevor Payne @ 8:00 amNo Comments links to this post
Thursday, July 5th, 2012
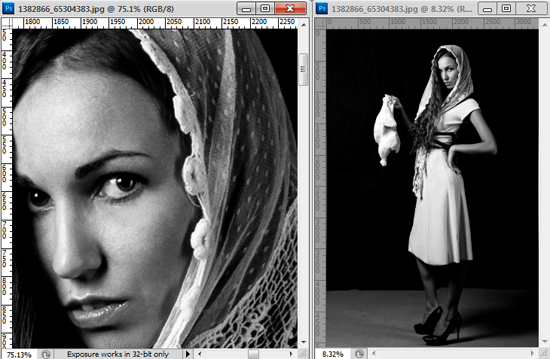
(photo by: Belovodchenko Anton)
When doing detailed work, such as sharpening or color correction, on an image it’s important to see how your changes affect the whole image. You can do this by having the same image appear in two separate windows. All you need to do is select an image, go to Window > Arrange, and there will be a New Window for <image name> option at the bottom of the drop down menu. Click to select it and you now have the same image in two windows that you can size and edit separately.
Helen Bradley
Labels: Helen Bradley, helpful, how to, photo editing, Photoshop, photoshop tip, tip, trevor adobe, trevor payne, weekly tip
Categories:photoshop, trevor tip
posted by Trevor Payne @ 8:00 amNo Comments links to this post
Thursday, June 28th, 2012
(photo by: Luis Gustavo)
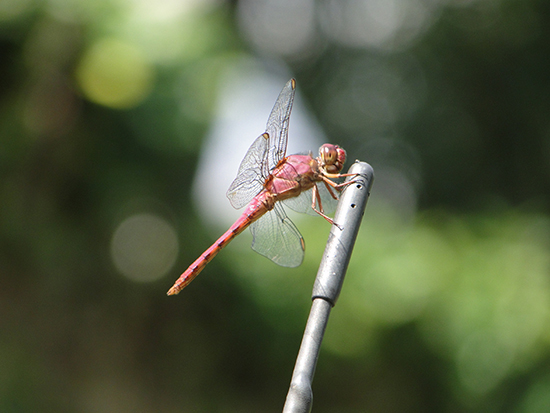
A quick tip for Photoshop that will save you some time. To see an image at 100% size all you have to do is double click the zoom button in the tool bar.
Helen Bradley
Labels: 100%, how to, Photoshop, quick, tip, trevor adobe, trevor payne, Zoom
Categories:photography, trevor tip
posted by Trevor Payne @ 8:00 amNo Comments links to this post
 (photo by: Amy Burton)

 (photo by: Asif Akbar)
 (photo by: Piotr Bizior)
 (photo by: Piotr Bizior)
 (Photo by: Jorge Vicente)
 photo by: lcrumling via www.sxc.hu)
 (photo by: Miwa via www.sxc.hu)
