Capture the magic of spring with great flower photos
There’s simply no better time to get out and take photographs than in Spring. The weather is great, the colors are spectacular and the flowers are at their peak. Flowers are great to photograph – they don’t get fractious and they don’t blink so they’re good subjects to practice your skills on. Here, I’ll introduce some techniques to try that will ensure you get great photos.
Get up close and personal
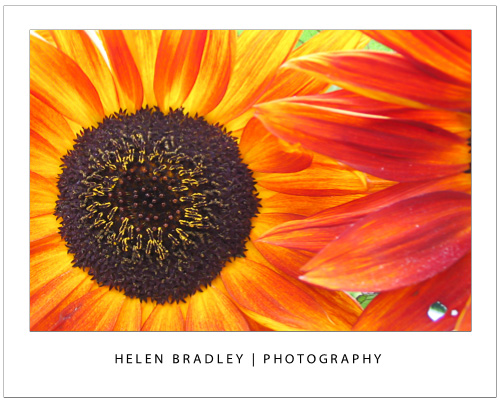
When you see a wonderful flower to photograph, move very close so the flower fills the camera’s viewfinder or its LCD screen. When you are this close, the camera won’t focus properly unless you set it to Macro mode – this is indicated by the flower icon and it’s usually easy to find. If you can’t see it, check your camera’s manual to learn how to set this mode. With macro mode set, you should see the flower in focus and you can take the shot.
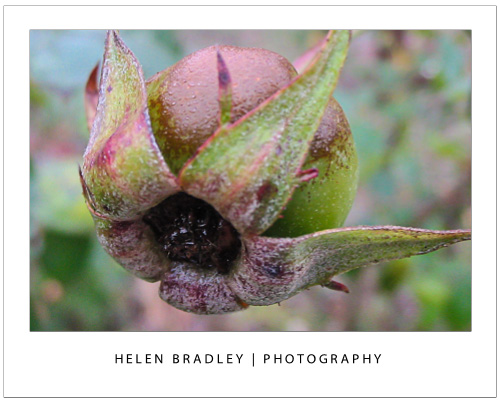
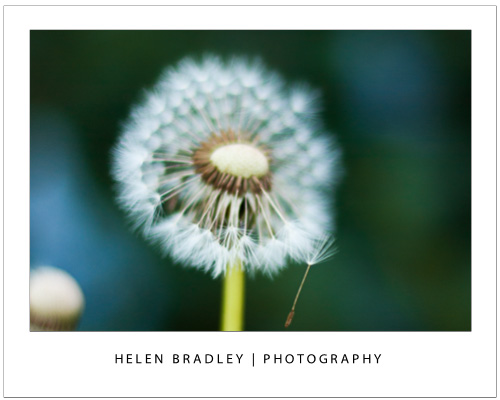
Macro mode not only ensures the flower will look crisp and in focus but it also has the effect of blurring out the background detail. In macro mode your camera shoots with a short depth of field so only objects on the same plane as the flower should be in focus, things closer to you or further away than the flower won’t be in focus. This is an effect that photographers try to achieve. It is, however, critical that your camera focuses on the flower.
To check the camera is focusing correctly press the shutter release half down and check the LCD screen. If the object is out of focus, let go the shutter release, move the camera so the flower is centred in the screen and press half down again. When the focus is correct, continue to hold the button half down as you move the camera slightly to compose the shot. Then continue to press the button to take the shot.
Even though the background in the shot will be blurred in macro mode, you should still check that any background that is visible is not distracting. If it will ruin your shot, move and try shooting from higher up or lower down so the background isn’t as visible.
Apply the rule of thirds
Apply the Rule of thirds to your flower photography. This rule says you should divide the area being photographed into a grid like a tic tac toe board. Place something of interest along one of the horizontal or vertical lines or where the lines intersect. The result is that you’re not centering everything – and your photo will look much better.
Vary your position
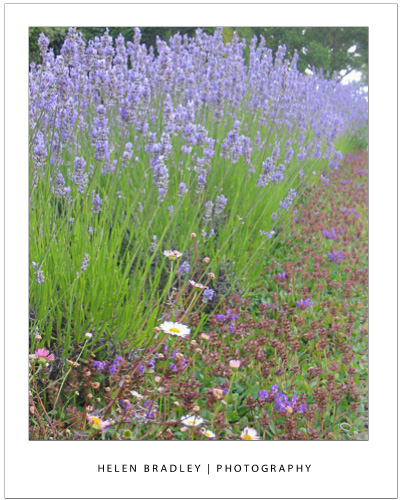
Don’t take all your photos close up and, instead, look out for opportunities to photograph masses of flowers. If you position yourself carefully you can make a bank of flowers look as if they go on forever!
Include the kids
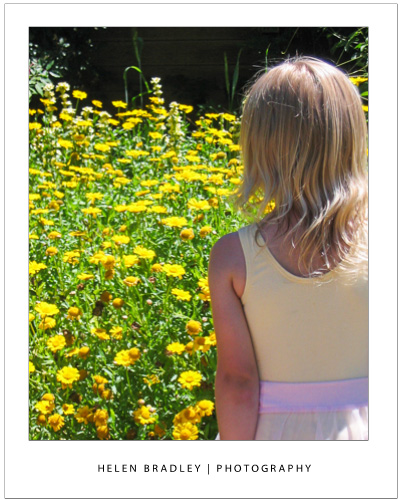
Occasionally, include children or other people in your flower photos for some added interest.
Shoot side on and from underneath
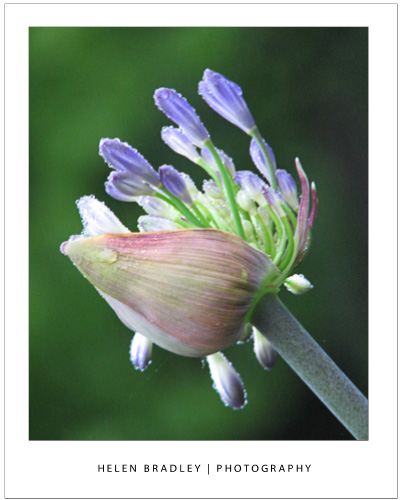
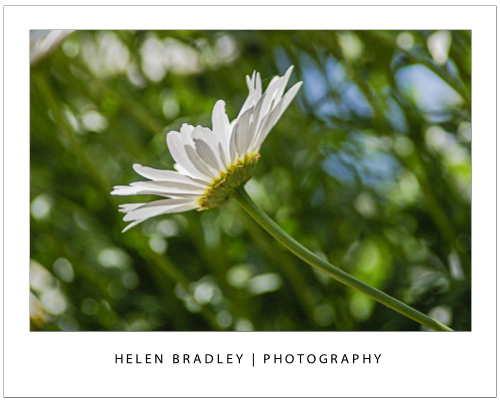
Vary how you shoot your flowers too. While it is typical to take photos of a flower looking into it, you don’t have to take them this way. Shooting from the side will show the shape of the flower and, in some cases, this is what makes them compelling subjects.
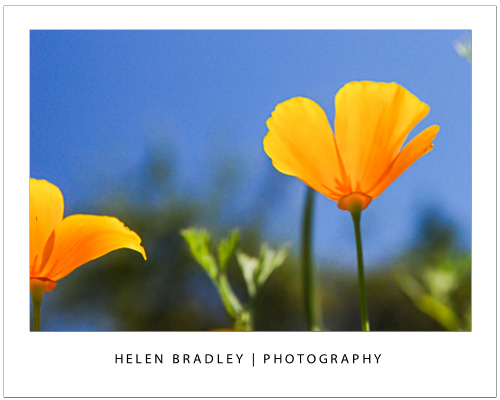
Unusual photos can also be taken shooting blind from under the flower. To do this, you’ll benefit from having a polarizing lens on your camera particularly if you’re photographing on a sunny day. This will cut a lot of the glare and give you deep saturated colors. Hold the camera at ground level under the flower and shoot up through the flower to the sky avoiding shooting direct into the sun. The results you’ll get will be of the “hit or miss” variety – because you can’t see what you’re shooting you’ll have to try a few times until you get results you like. However, you’ll get a totally new perspective on things and you just might be surprised at how interesting the photos are.
Walk and snap
If you’re lucky enough to live in a rural area, take a walk along your favorite towpath or lane and capture the wild flowers that are so often overlooked as subjects for photography. If you live in a city – visit a local park or photograph the colorful display of a local flower vendor. When you’re shooting up close, one flower is all you need to get a wonderful shot.


