Wednesday, June 19th, 2013

Capturing Photos of reflections – Pt 2

Let’s look a little deeper into how to capture great reflections

In the previous post we looked at the basics of capturing reflections. Here we’ll look at some additional tips and tricks.

Frame the image

When capturing a reflection of a building in a lake, for example, you have two choices for framing the image. You can capture the reflection alone or you can capture the original object and its reflection. The choice is yours. If you’re shooting digital, capture both shots and see which you like best later on.

If you opt to capture both the original and the reflection, consider where the line where one ends and the other begins should be. You can shoot with the ‘line’ across the middle of the photo but this can be distracting as the eye doesn’t know exactly which image to focus on.

A better solution is to place the ‘line’ along the top one third or bottom third of the image – so the reflected area is double the size of the original or half its size. This will balance the image better and give a more restful image. Make sure the line between the reflection and what’s being reflected is very straight, if it is not, it will be very distracting.

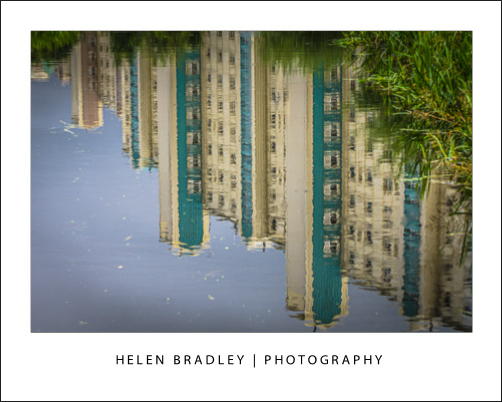
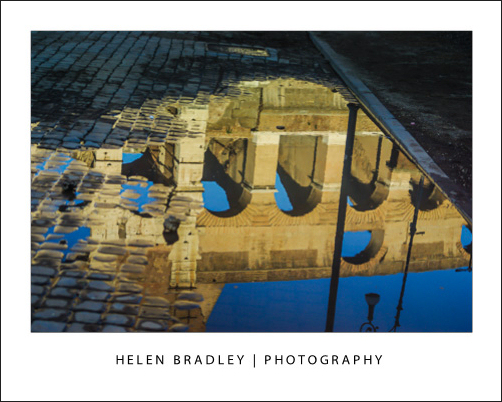
Here the buildings are much more interesting as a reflection than they were right side up!

Capture the imperfect

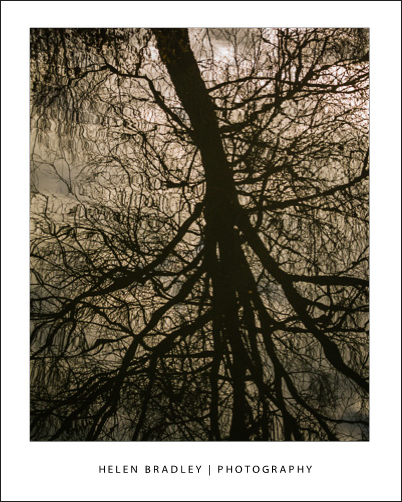
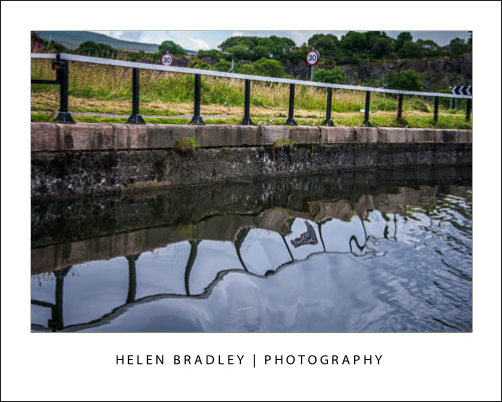
When you’re looking for reflections, don’t always look for perfection. There are interesting photos to be taken where the reflection is bent or rippled because of the characteristics of the reflective surface.

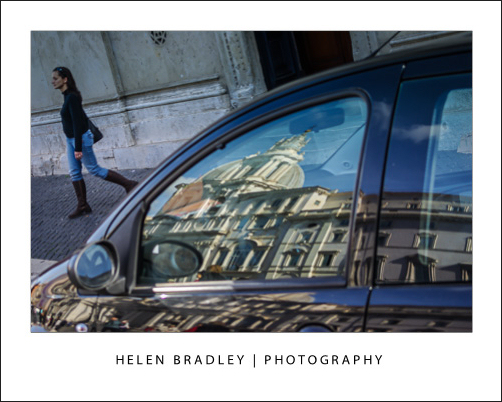
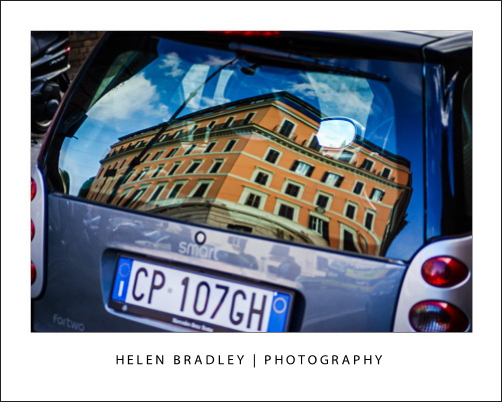
For example, try shooting a reflection captured in a car windscreen. The reflection will be bent and distorted because of this and all the more interesting.

Here the wake of the boat I was travelling on broke the reflection in a very visually rich way:

A sudden shower of rain will open up new adventures in capturing reflections as you will see the surrounds reflected in puddles of water on the ground. Even a storm-cloud laden sky will look more threatening if captured reflected in a puddle.

Focus on the point of focus

When you’re shooting a reflection, check your camera is focusing correctly. You want it to focus on the reflected surface and some cameras may not do this correctly and may, instead, focus on the objects behind the reflective surface.

If you’re using a digital SLR, you can switch to manual focus and focus the lens yourself so you can make sure that the area you’re most interested in is  nice and sharp.

Once you start looking for reflective surfaces to shoot images from you will be surprised at just how many there are and what great effects you can get from them with not
much effort.

Helen Bradley

Wednesday, June 19th, 2013

Lightroom Tip – Faux Orton Effect

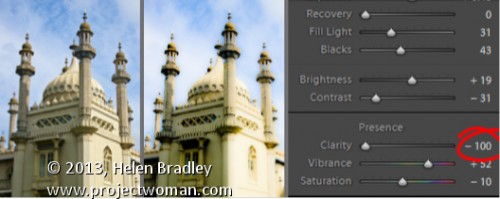
Create the Orton Effect in Lightroom with the Clarity Slider

The Orton Effect is named after photographer Michael Orton. This process results in a somewhat surreal image which has a slightly out-of-focus look while retaining lots of edge detail.

You can quickly give an image a faux Orton look using the Clarity slider in Lightroom. All you need to do is drag the Clarity slider to the left close to -100 and then, increase the Blacks in the image to an higher than usual value.

Of course there is a lot more to the Orton effect than this but this gives you a good start and, for many images, may be all you really need.

Helen Bradley

Saturday, April 20th, 2013

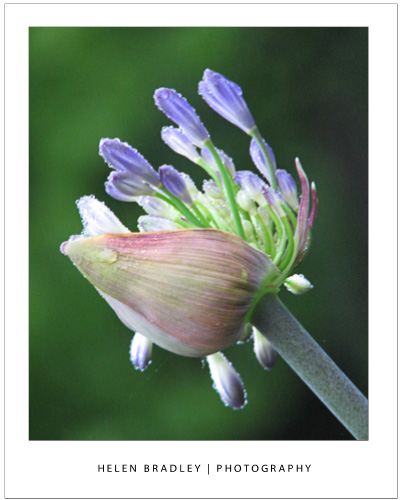
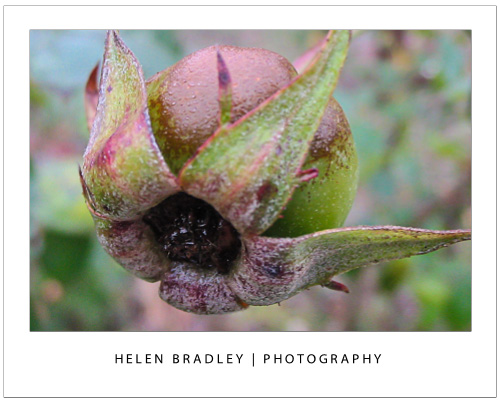
Spring photo inspiration and how to capture great flower photos

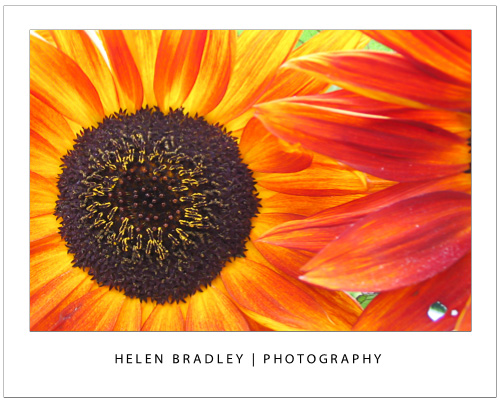
Capture the magic of spring with great flower photos

There’s simply no better time to get out and take photographs than in Spring. The weather is great, the colors are spectacular and the flowers are at their peak. Flowers are great to photograph – they don’t get fractious and they don’t blink so they’re good subjects to practice your skills on. Here, I’ll introduce some techniques to try that will ensure you get great photos.

Get up close and personal
When you see a wonderful flower to photograph, move very close so the flower fills the camera’s viewfinder or its LCD screen. When you are this close, the camera won’t focus properly unless you set it to Macro mode – this is indicated by the flower icon and it’s usually easy to find. If you can’t see it, check your camera’s manual to learn how to set this mode. With macro mode set, you should see the flower in focus and you can take the shot.

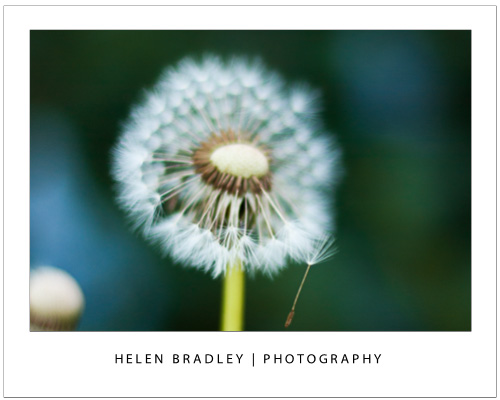
Macro mode not only ensures the flower will look crisp and in focus but it also has the effect of blurring out the background detail. In macro mode your camera shoots with a short depth of field so only objects on the same plane as the flower should be in focus, things closer to you or further away than the flower won’t be in focus. This is an effect that photographers try to achieve. It is, however, critical that your camera focuses on the flower.

To check the camera is focusing correctly press the shutter release half down and check the LCD screen. If the object is out of focus, let go the shutter release, move the camera so the flower is centred in the screen and press half down again. When the focus is correct, continue to hold the button half down as you move the camera slightly to compose the shot. Then continue to press the button to take the shot.

Even though the background in the shot will be blurred in macro mode, you should still check that any background that is visible is not distracting. If it will ruin your shot, move and try shooting from higher up or lower down so the background isn’t as visible.

Apply the rule of thirds
Apply the Rule of thirds to your flower photography. This rule says you should divide the area being photographed into a grid like a tic tac toe board. Place something of interest along one of the horizontal or vertical lines or where the lines intersect. The result is that you’re not centering everything – and your photo will look much better.

Vary your position
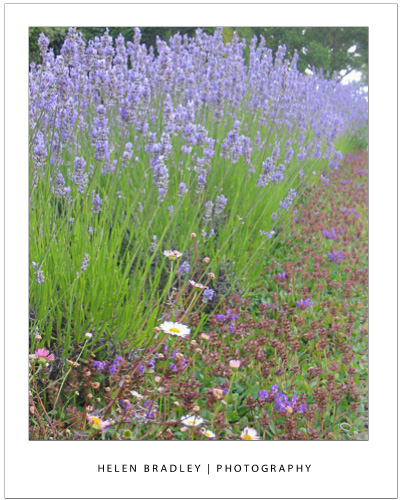
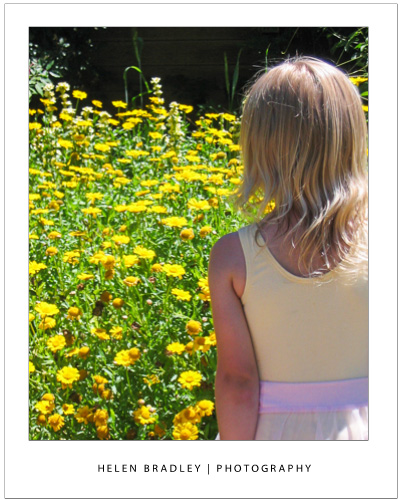
Don’t take all your photos close up and, instead, look out for opportunities to photograph masses of flowers. If you position yourself carefully you can make a bank of flowers look as if they go on forever!

Include the kids
Occasionally, include children or other people in your flower photos for some added interest.

Shoot side on and from underneath
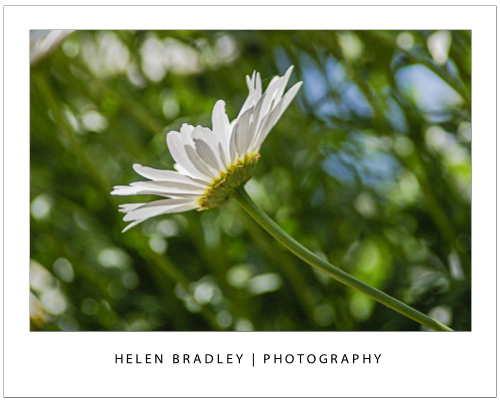
Vary how you shoot your flowers too. While it is typical to take photos of a flower looking into it, you don’t have to take them this way. Shooting from the side will show the shape of the flower and, in some cases, this is what makes them compelling subjects.

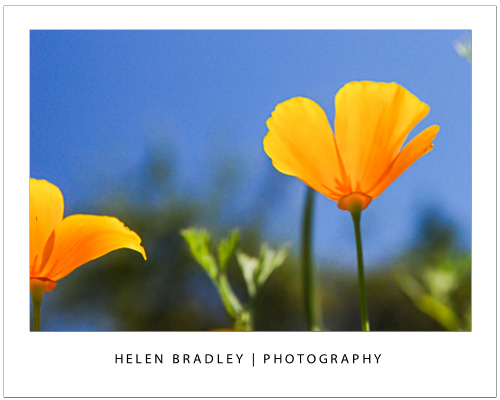
Unusual photos can also be taken shooting blind from under the flower. To do this, you’ll benefit from having a polarizing lens on your camera particularly if you’re photographing on a sunny day. This will cut a lot of the glare and give you deep saturated colors. Hold the camera at ground level under the flower and shoot up through the flower to the sky avoiding shooting direct into the sun. The results you’ll get will be of the “hit or miss” variety – because you can’t see what you’re shooting you’ll have to try a few times until you get results you like. However, you’ll get a totally new perspective on things and you just might be surprised at how interesting the photos are.

Walk and snap
If you’re lucky enough to live in a rural area, take a walk along your favorite towpath or lane and capture the wild flowers that are so often overlooked as subjects for photography. If you live in a city – visit a local park or photograph the colorful display of a local flower vendor. When you’re shooting up close, one flower is all you need to get a wonderful shot.

Helen Bradley

Thursday, September 13th, 2012

Layers in your photos

I’ve been photographing recently on the canals of Scotland. There has been so much potential for creative stuff I have really been glad that I photograph so regularly and I’m so familiar with my lenses and camera that I don’t worry too much about setup and can spend more time on the creative side.

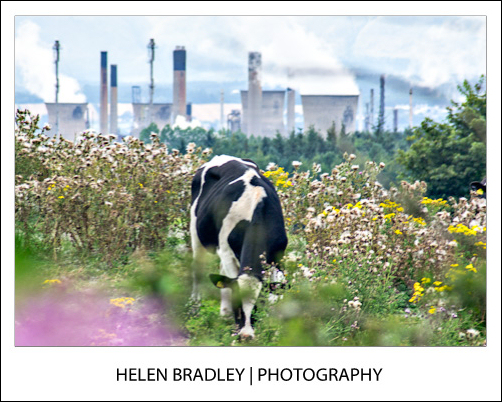
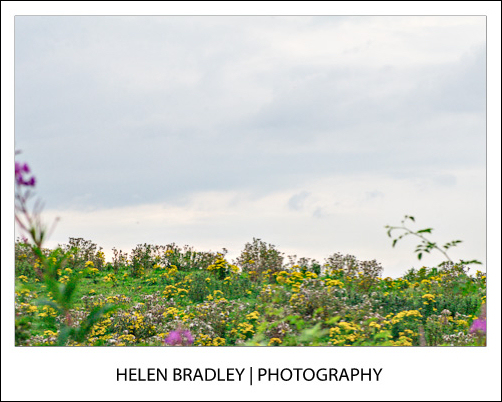
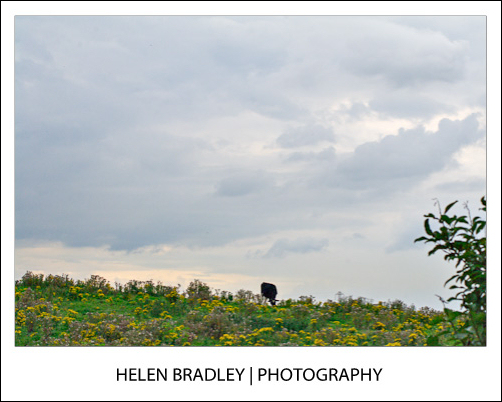
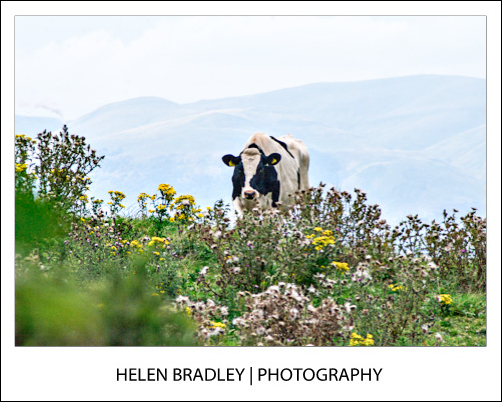
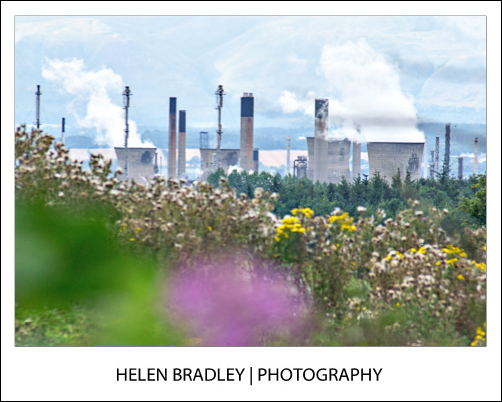
Here I had photographed these industrial buildings already and I knew there were steers in the field but nothing had quite come into position. The secret is to wait, somehow if you wait, chances are that things just move to where you want them. This field had wonderful colourful scrub, green grass, black and white (friesian) steers and buildings belching smoke in the background. I just had to wait till everything lined up and, in time, it did.


So far as apertures are concerned this is a hard shot to get everything all in focus. It is just too much depth and it was early evening so the light was low. I settled for what I generally use when I want a big depth of field which is around 7.1 or 8 and then I focused on the steer. This brought the industry on the horizon into some focus but threw the flowers close to me out of focus. There was no where to move to as I was standing in the only place I could get everything in the picture and that put some flowers directly in front of my camera.

Turns out I love the effect and the colours in the foreground just work for me. The layers in the image from the out of focus flowers through the field and the steer and back to the industry on the horizon just makes this image for me.

Next time you are out, look for layers to capture. Look for something interesting to shoot and then ask yourself how can you position yourself to capture the shot and get some foreground interest too. You might be surprised at what you can find and what creative opportunities you encounter.

Helen Bradley

Saturday, January 16th, 2010

Better Photos Tip #5 – Use Macro

Use your camera’s macro setting to shoot flowers and other objects up close.

When you are shooting within a few inches (or centimetres) of your subject your digital camera will make a poor job of focusing on the subject unless you use its macro setting.

Macro is indicated by a small flower icon on a dial on your camera or configurable within its menu system.

The macro setting ensures the camera will focus on an object which is only a few inches or centimetres from the camera. Use this setting when shooting a close up of a flower or an insect in the outdoors or when capturing detail indoors like objects on your desk.

If you’re using a digital SLR you won’t generally find a macro setting on your camera and the lens that it came with probably won’t focus well enough to get good close up shots.

Instead, consider investing in a telephoto zoom lens with a macro setting so you not only get a good telephoto lens but it doubles as a macro lens too.

One benefit of this setup is that you can stand back from your subject and still get in very close to the subject so you don’t scare small insects.

Helen Bradley