Thursday, July 25th, 2013

Word 2010 and 2013 Tip – Making shapely images


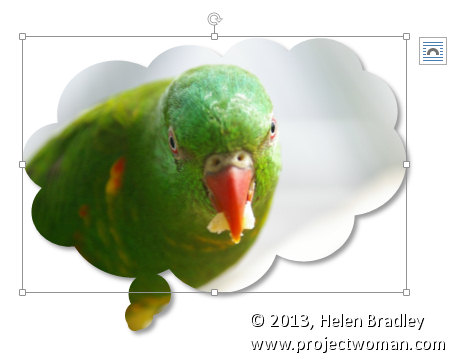
Crop your image to a shape in Word
It is easy to crop an image to a shape such as a star or a heart in Word by using the Crop to Shape feature.

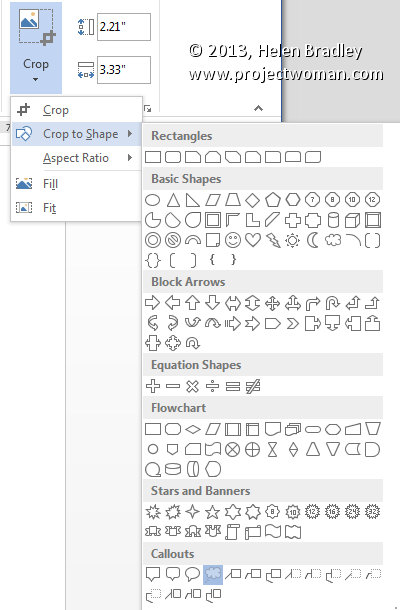
First add the image to your document then click to select it. From the Picture Tools > Format tab click Crop > Crop to Shape.


Select the shape to use to crop the image to. You can then add a shadow or reflection or other effect to the shape as desired.

Helen Bradley

Wednesday, June 19th, 2013

Capturing Photos of reflections – Pt 2

Let’s look a little deeper into how to capture great reflections

In the previous post we looked at the basics of capturing reflections. Here we’ll look at some additional tips and tricks.

Frame the image

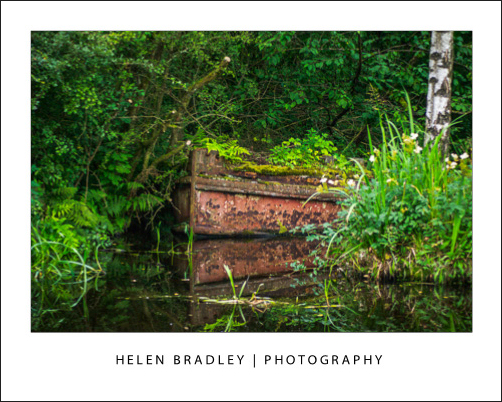
When capturing a reflection of a building in a lake, for example, you have two choices for framing the image. You can capture the reflection alone or you can capture the original object and its reflection. The choice is yours. If you’re shooting digital, capture both shots and see which you like best later on.
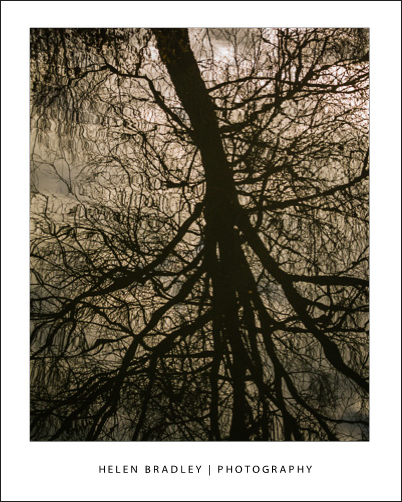
If you opt to capture both the original and the reflection, consider where the line where one ends and the other begins should be. You can shoot with the ‘line’ across the middle of the photo but this can be distracting as the eye doesn’t know exactly which image to focus on.

A better solution is to place the ‘line’ along the top one third or bottom third of the image – so the reflected area is double the size of the original or half its size. This will balance the image better and give a more restful image. Make sure the line between the reflection and what’s being reflected is very straight, if it is not, it will be very distracting.

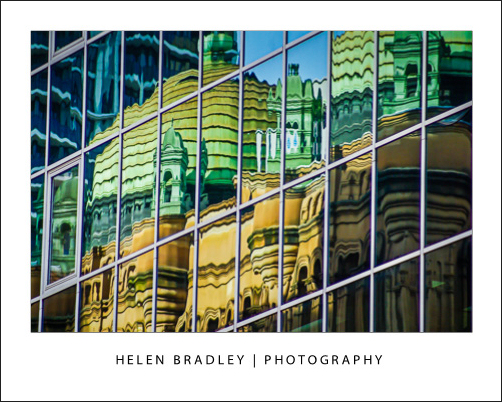
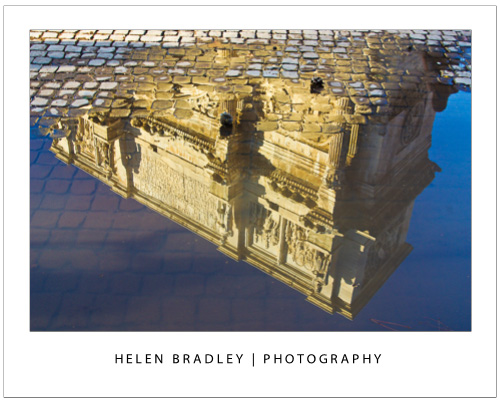
Here the buildings are much more interesting as a reflection than they were right side up!
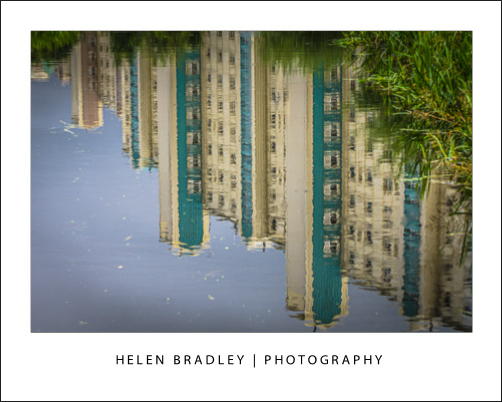
Capture the imperfect

When you’re looking for reflections, don’t always look for perfection. There are interesting photos to be taken where the reflection is bent or rippled because of the characteristics of the reflective surface.

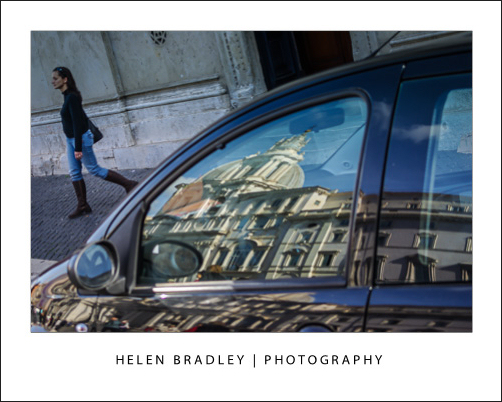
For example, try shooting a reflection captured in a car windscreen. The reflection will be bent and distorted because of this and all the more interesting.

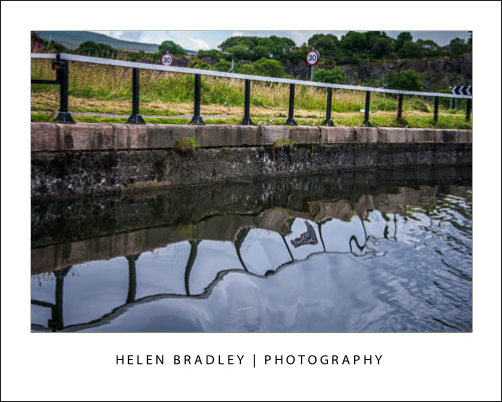
Here the wake of the boat I was travelling on broke the reflection in a very visually rich way:
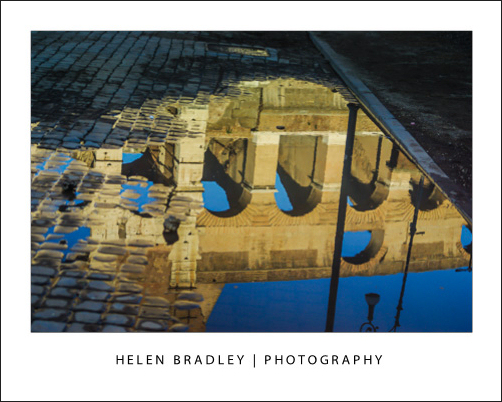
A sudden shower of rain will open up new adventures in capturing reflections as you will see the surrounds reflected in puddles of water on the ground. Even a storm-cloud laden sky will look more threatening if captured reflected in a puddle.
Focus on the point of focus

When you’re shooting a reflection, check your camera is focusing correctly. You want it to focus on the reflected surface and some cameras may not do this correctly and may, instead, focus on the objects behind the reflective surface.

If you’re using a digital SLR, you can switch to manual focus and focus the lens yourself so you can make sure that the area you’re most interested in is  nice and sharp.
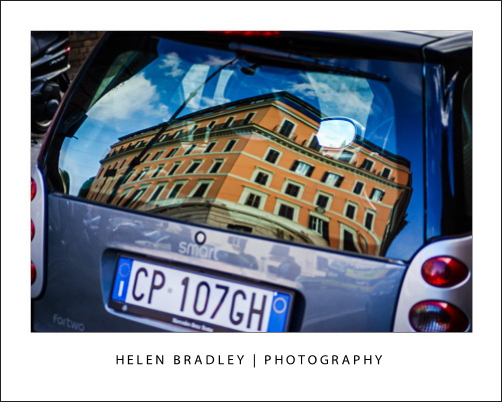
Once you start looking for reflective surfaces to shoot images from you will be surprised at just how many there are and what great effects you can get from them with not
much effort.

Helen Bradley
Wednesday, June 12th, 2013

How to photograph reflections

Reflections make for great photos so here’s how to capture them

Reflections occur all around us. When you’re driving, the road behind you is reflected in the car rear vision mirror and your car will be reflected in the chrome on the car next to yours at the stop light.

Other reflections are more obvious and often constructed to be so, for example, the Reflecting Pool at the War Memorial in Canberra reflects the surrounding buildings and beautiful houses are often constructed with lakes in front of them to reflect their beauty.

Capturing these objects and their reflections can lead to some wonderful photos so here I’ll show you want to look out for and how to capture a great shot.

Axe the Polarizer

The first thing to do when shooting reflections is to remove the polarizing filter from your camera. This filter is designed to reduce reflections which, most of the time is a good thing, but not when it’s the reflections themselves you’re interested in.

If you leave the filter on and photograph something reflected in a window, chances are you’ll capture an image of what’s behind the window instead of what is reflected in it.

Ideas for reflections – sunglasses

While a beautiful building reflected in a lake makes for a great shot, there are reflections you’ll come across every day that will often be more interesting because they are not staged or expected.

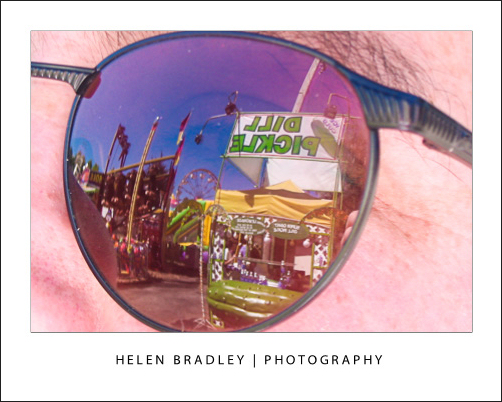
For example, the lenses in sunglasses will reflect the scene around them. By positioning yourself so you can see something interesting reflected in the lens you can capture a mini scene within the glasses themselves.

Ideas for reflections – rear vision mirror

Car rear vision and side mirrors are great for capturing interesting reflections.

Hold the camera at an angle to the mirror so you don’t capture the camera in the shot (unless you actually want to) and frame the shot in the mirror. You’ll need to frame it very accurately because anything outside what shows in the mirror won’t be captured.

Ideas for reflections – city buildings

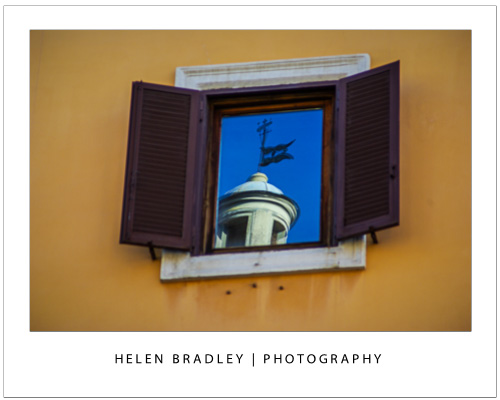
If you live in a city there will be reflection opportunities in the buildings around you. For example, capture a busy streetscape in the glass front window of a shop. Look out for an interesting shop to use for this purpose such as a fruiterer or bakery or some shop where what is in the window is as much of interest as what is reflected in it.

When you’re shooting reflections in shop windows, there’s a good chance the final shot will be a mix of reflection and what shows through the glass.

Tall buildings with mirror glass will reflect the buildings around them and the sky too. Look for opportunities where the sun is right and the reflected image an ideal one to compose and capture.


Helen Bradley

Wednesday, April 24th, 2013

Photography quick tip – add a frame

Looking to add something extra to your photos? Add a natural frame

When composing a photo, add more interest to the photo by framing it with something in the foreground.

You can use a window or tree to create a natural frame for a landscape or a building to give the image more depth.

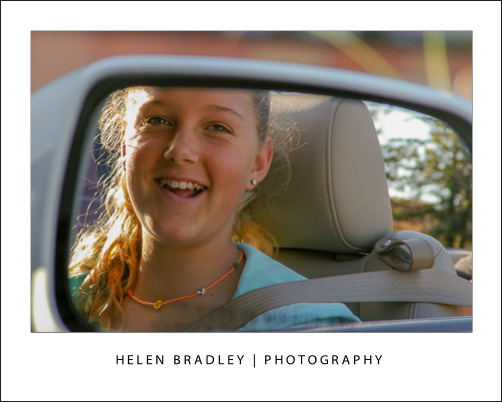
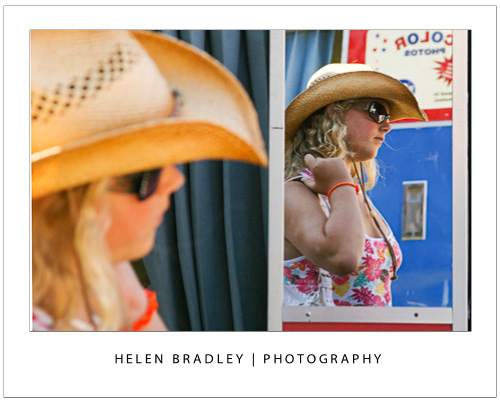
Here the subject herself creates a frame for her reflection in the mirror.

Helen Bradley

Tuesday, April 2nd, 2013

Photographing in the Midday Sun Part 3

Here are some more techniques for capturing great images in full sun

The worst possible time to take photos is when the sun is overhead. But that doesn’t mean you should head home, because you can capture good images even when the light is harsh. Here are some techniques to put to use at midday:

Capture Reflections

You can capture reflections in just about any light and when the sun is at its highest you’ll find interesting reflections where one building is reflected in another and also reflections in water such as in fountains and lakes where the surrounding areas are reflected.

If the water is still the reflections will be perfect and if the water is rippling you may capture abstract patterns. If you are experiencing sunshine after rain look for water on the ground so you can capture things reflected in puddles. In fact, reflections can be an interesting way of capturing a tourist attraction in a way that it’s different to what you’ve ever seen before.

Capture shadows

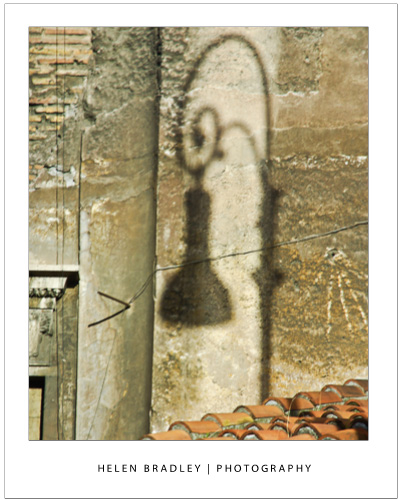
With the sun high overhead, anything between the sun and the ground or the face of a building will throw strong shadows. By looking for shadows, you can often capture an interesting image either by capturing the shadow rather than the object itself or by getting both the object and its shadow. The brighter the sun the crisper the shadows will be so look for an interesting contrast between the shadow and its surrounds.

Shadows are like reflections in that you won’t necessarily see shadows or reflections until you train your eye to look for them. When you do start looking for them you’ll see shadows and reflections everywhere and you’ll wonder how you ever missed seeing them before.

Capture Lens Flare

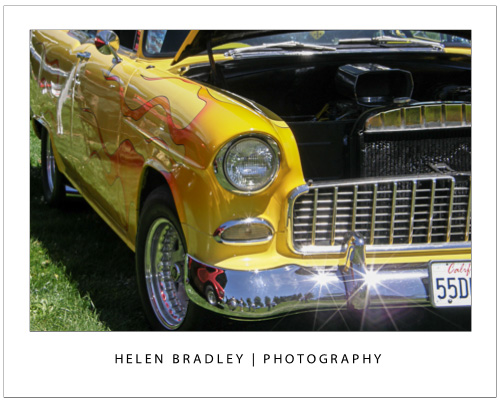
When the sun is very bright, you’ll find that shiny objects result in little flares where the sun hits them. These flares can make an attractive star shape and add sparkle to your images. You might also see interesting patterns where the sun is filtered through trees or along narrow alleys between buildings. Look out for these opportunities to capture light that you won’t see at other times of the day.

When capturing a lens flare you’ll may need to slightly underexpose the image so the flare is captured as a subtle star rather than an overexposed white blob. To do this, adjust your camera to manual mode and increase the shutter speed or reduce the aperture to underexpose the image.

Alternatively use the camera’s Exposure Compensation (EV) adjustment to underexpose the image. You will need to experiment with the setting but start with around -1 (one stop underexposed) and adjust from there. The result should be an underexposed image with a good looking flare. You can adjust the remainder of the image in post processing to bring back some detail. If you capture the image in a raw format, you will ensure you have plenty of image data to work with in post processing.

Go for Hot!

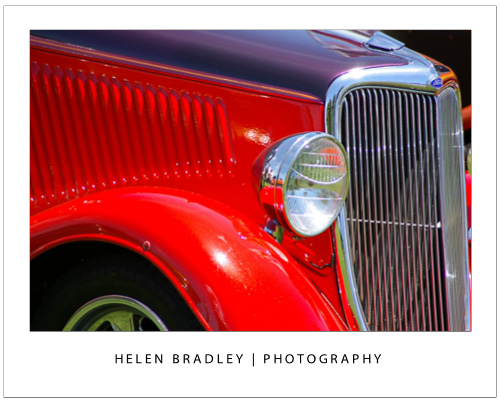
In bright sunlight colors can look very rich indeed. If you can zoom in to get the color and avoid excessive shadows or bright spots you can capture color that is nearly impossible to get in other light.

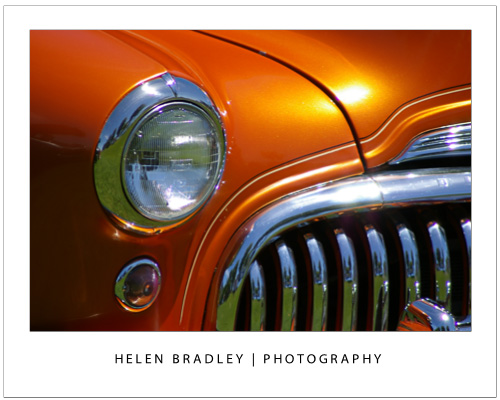
This car image was shot on a blistering hot day with high overhead sun in horrible conditions for photographing. By zooming in to remove all the background and choosing a great vehicle to shoot I’ve captured an image rich with color that would have looked a lot duller in other light.

Helen Bradley

Friday, February 15th, 2013

Setup and Wait – the secret of great shots

Often the secret to a great shot is to stop and wait

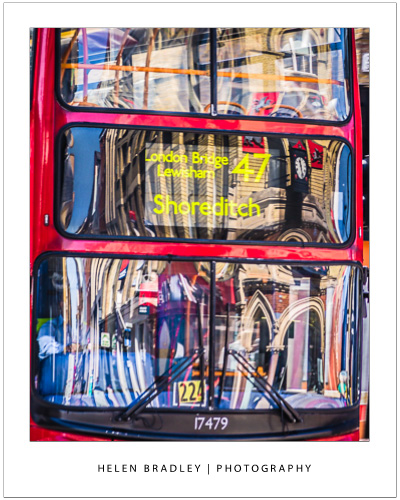
I shot this image in London recently. I had stopped at a busy street corner waiting for the lights to change and I saw a double decker bus go past and I caught the reflection in the front window. It was bright and colorful – but before I could do anything the bus motored past.

I had a choice, keep walking or stop and wait. I waited. I stood on that street corner waiting for the next double decker bus to come past in a position where the reflection hit the window nicely and without any distracting vehicles between the bus and me. I also wanted a clean bus so the window would reflect well.

It took a while and I shot quite a few buses until I got this shot. It’s a lucky shot in part because I saw the possibilities, the rest of the shot is pure patience – waiting long enough for the situation to occur again.

Do you stop and wait for things to happen or do you just keep moving on?

Helen Bradley

Thursday, February 18th, 2010

Word 2007 – Picture styles

Word 2007 comes with a range of styles you can use when inserting images into your document.

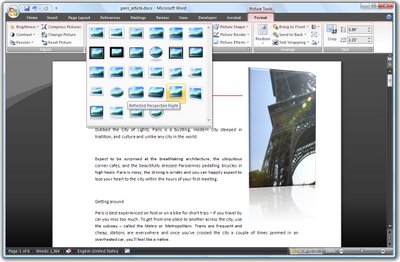
To see them at work, insert a picture into your document, click the image and choose Picture Tools > Format on the Ribbon.

The Picture Styles are formats you can apply to your image and they include some very attractive looking options.

Once you’ve selected a picture style you can adjust things like the Effects which are attached to it.

For example, you can create a picture reflection by selecting the picture and then choose the Picture Effects > Reflection option to create a reflected edge.

You can also recolor the picture border if desired by using the Picture Border option. If you have a picture inserted in a document and formatted the way you like it but determine that you don’t like the picture and want to replace it, choose Picture Tools > Format and click the Change Picture option and choose an alternate picture to use. The format will remain and only the picture itself will change.

Helen Bradley