When you’re printing a 50 page worksheet, you want to hold onto the printed pages very carefully. If you don’t the entire project is prone to disaster as it is all too easy for the pages to get out of order and it’s nearly impossible to sort out the mess. So, either staple them very quickly or use the header and footer tool in Excel to add page numbers to all your pages.
Of course, while page numbers are one of the most common things you might put in a header or footer it isn’t the only thing. You can add everything from the date to your company’s logo.
To add a header or footer that will print on every page of an Excel workbook, choose View > Header and Footer in Excel 2003 or, in Excel 2007 choose Insert tab > Header & Footer. In Excel 2003 you can select from a range of preset headers and footers which are configured using typical combinations of items usually used in headers or footers – for example, sheet and worksheet names, page numbers, filename and folders.
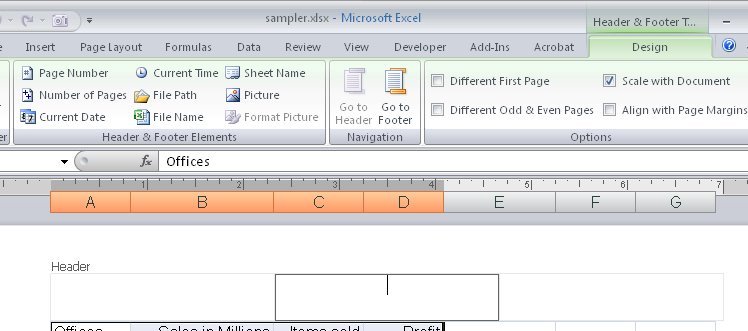
If you’d prefer to create your own headers and footers, click the Custom Header or Custom Footer button and create your own design – this is the way you create a header or footer in Excel 2007 too.
Click in the Left, Center or Right areas of the dialog to place information at any of these places on the page. In Excel 2003 the buttons you can select from to add preset information aren’t labelled but you can usually tell what they are. From left to right, they let you change the font used, insert the page number, number of pages, date, time, filename and folder, filename, sheet name, and an image. In Excel 2007 they are labelled.
When adding an image to a header or a footer, make sure it is small enough to fit in the header area – there’s no tool in this dialog to resize the image if it’s too big. When you’re done, check the header by selecting Print Preview.
Helen Bradley