Thursday, August 1st, 2013

Word 2010 and 2013 Tip – Add a time and date stamp to a printed page


Know when your document was printed by adding a date and time stamp to each printed page

Add a date and time stamp all your printouts by placing the current date and time in the document footer so it prints when the page is printed.

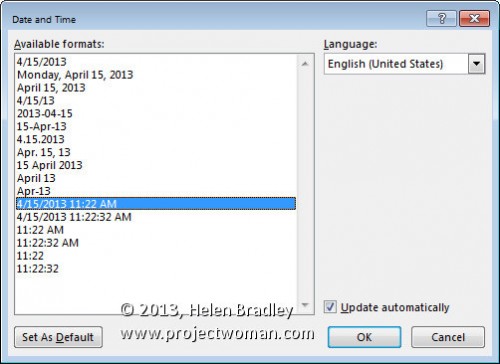
To do this in Word 2007, 2010 and 2013 choose Insert > Footer > Edit Footer. Click the Date & Time button and enable the Update Automatically checkbox. From the list of dates and times choose a date or date and time – depending on what you want to see on the page. Click Ok.

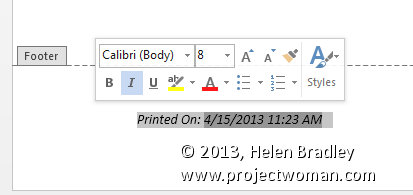
Select the text that Word has inserted in the footer and you can now format it to a small font – such as Italic 8 pt. You can also prefix the text with the words Printed On: or something similar, if desired.

Click Close Header and Footer to return to your document. Now the current date and time will be printed in the footer each time the document is printed.

Helen Bradley

Sunday, May 5th, 2013

Word 2010 and 2013 Tip – Back to Where You Were

Get to Your Previous Insertion Point with This Shortcut

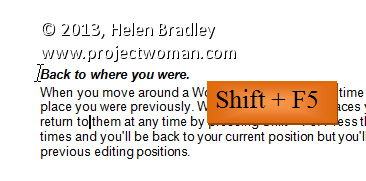
When you move around a Word document it can be time consuming to find the place you were previously. Word records the last places you worked and you can return to them at any time by pressing Shift + F5. Press this combination four times and you’ll be back to your current position and along the way you’ll have visited three previous editing positions.

Helen Bradley

Sunday, December 9th, 2012

5 Light taming Tips for Capturing better photos


These handy tips will help you tame any light condition to capture great photos:

Tip 1 – Time of day

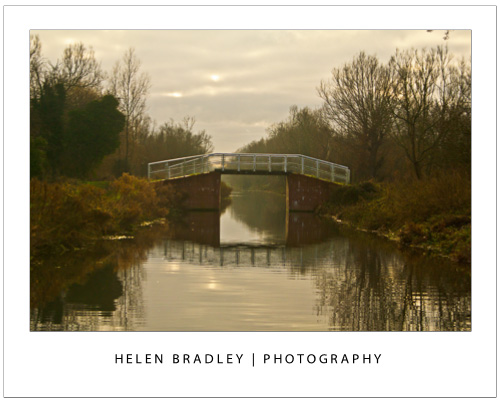
In the early morning and late evening the light can be quite spectacular and you can capture not only sunrises and sunsets but also interesting coloured lighting effects on trees, buildings and your subject’s face.

Tip 2 – Silhouettes

When the sun is down low look for opportunities to photograph into the sun and capture objects between you and the sun in silhouette. Look for subjects that have interesting shapes and where the skies behind them are well lit and colourful.

Tip 3 – Use available light

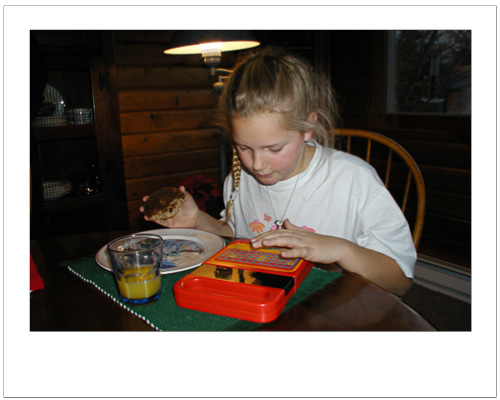
Look for light sources that are more interesting and varied than your flash. Place the subject close to a window to capture natural light or use reflected light, a skylight or even a lamp. Lighting a subject from the side is often more interesting than using the flash straight on.

Tip 4 – Capture Shadows

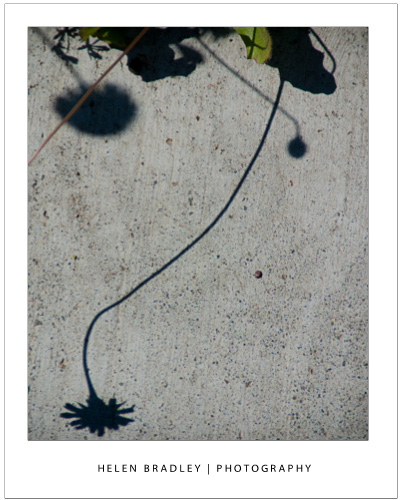
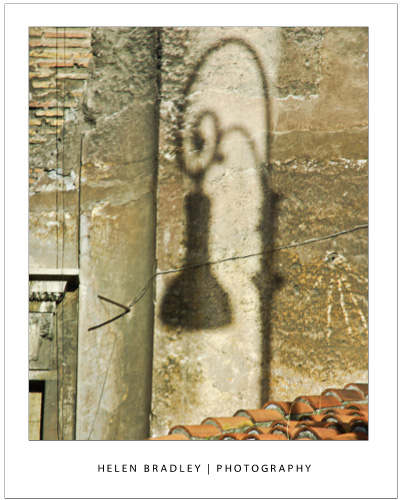
In the intense sun of midday look for interesting shadows and plays of light and dark on buildings and other surfaces. Although the harsh sun of midday is the worst time to photograph it doesn’t mean you can’t get great shots.

Tip 5 – Perfect skies with a Polarizer

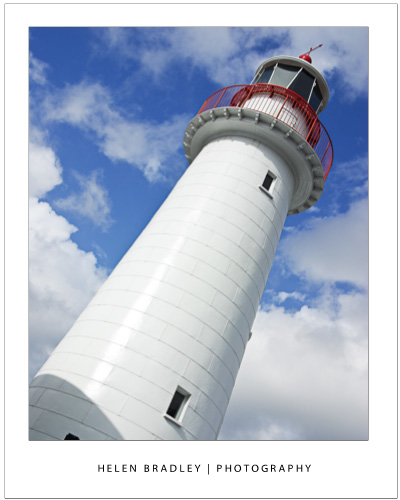
Invest in a quality Polarizing filter for your camera. This filter cuts the glare and reflections when shooting in bright sun and at the beach or in the snow. It gives you bright blue skies and crisper more saturated colours.

Helen Bradley